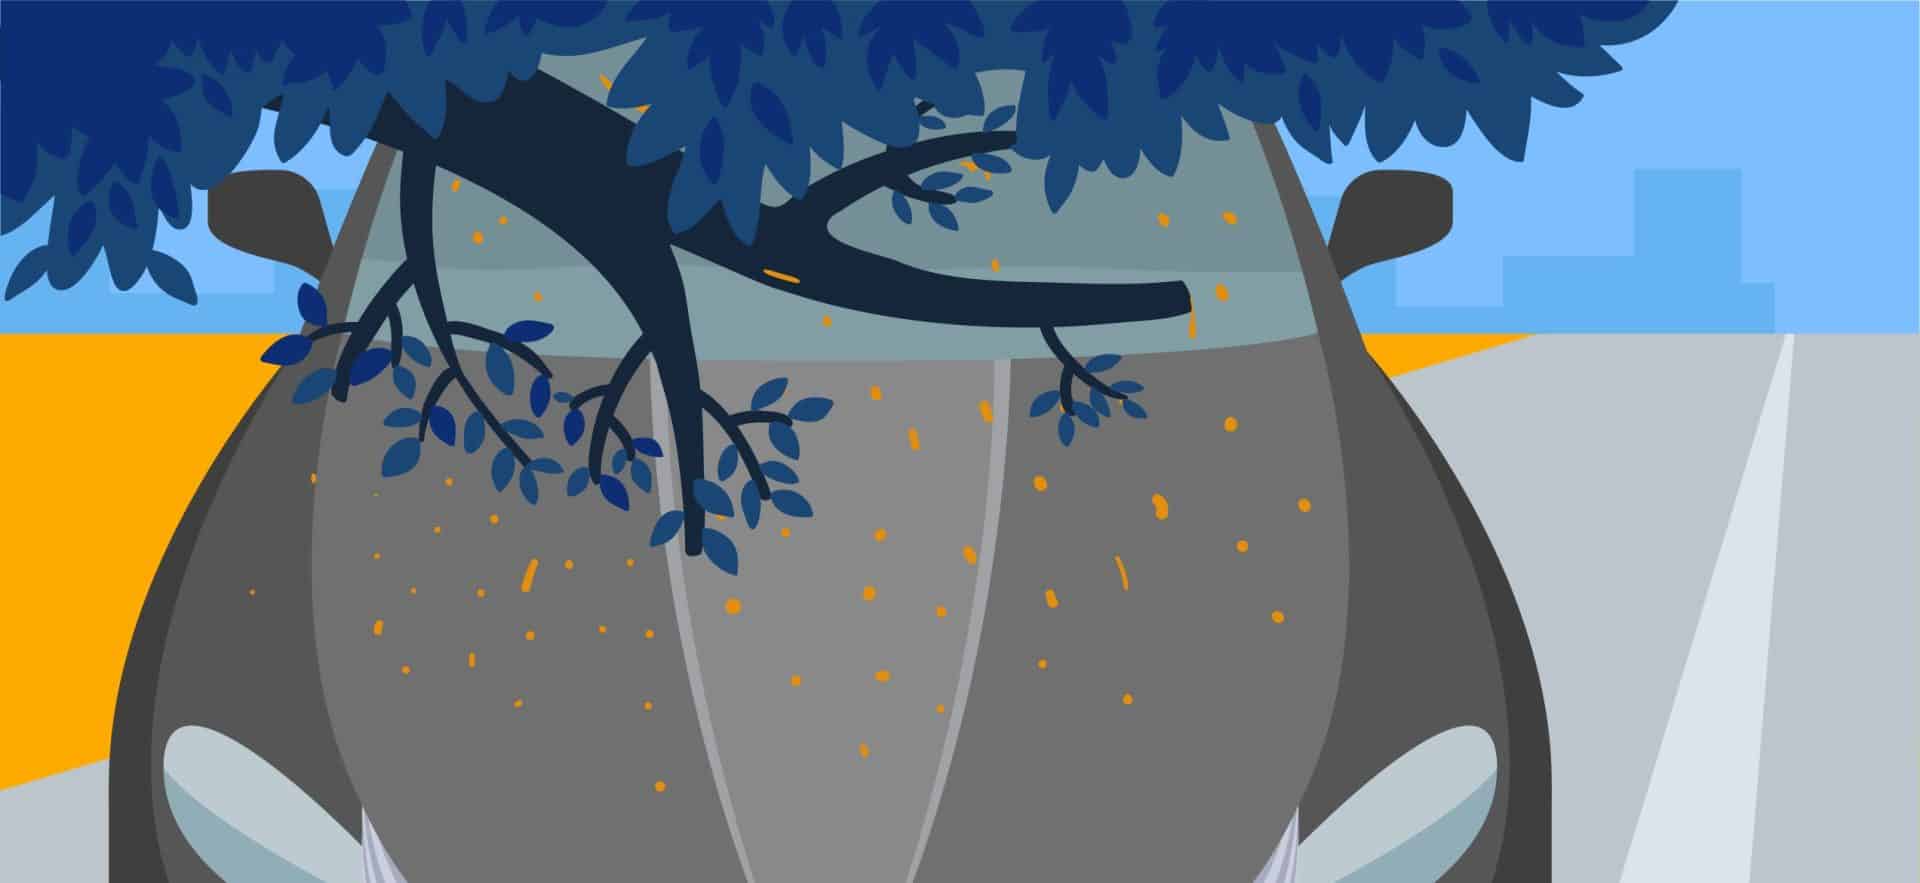
Your car’s paint job, while stunning, is vulnerable to a myriad of everyday threats. From a mischievous tree branch to bird droppings and even road salt, the threats to your car’s finish are constant, often leading to expensive detailing sessions. But what if there was a way to shield your vehicle from these elements?
Enter: ceramic car coating. This protective measure, often overshadowed by dealership prices or DIY apprehensions, offers a formidable defense against common vehicular blemishes. Dive in as we demystify ceramic coating, guide you through its at-home application, and spotlight our top three market picks.
What Is Ceramic Coating?
Before diving into the application process, it’s crucial to grasp what ceramic car coating truly entails and how it stands out in the crowded realm of vehicle detailing. Often hailed as a game-changer, ceramic coating, also known as ceramic paint protection, is a nano-scale, long-lasting treatment that, once applied, transforms into a robust protective layer over your car’s existing paint. The Drive describes it as “a long-term nanoscopic exterior automotive paint treatment and protectant that is applied in a liquid form and cures to form a hard layer on top of the paint.”
Imagine cloaking your car in a virtually impervious shield. This isn’t the fleeting protection offered by wax; once ceramic bonds with your vehicle’s surface, it’s there to stay, negating the frequent reapplications required by its wax counterpart. In essence, it’s a steadfast guardian against the myriad of elements eager to tarnish your car’s pristine appearance.
Benefits of Ceramic Car Coating
In today’s fast-paced world, your vehicle is more than just a mode of transportation; it’s an extension of your identity. Naturally, preserving its aesthetics and ensuring its longevity becomes paramount. Ceramic car coating emerges as a hero in this narrative, offering a suite of benefits that set it head and shoulders above traditional detailing methods.
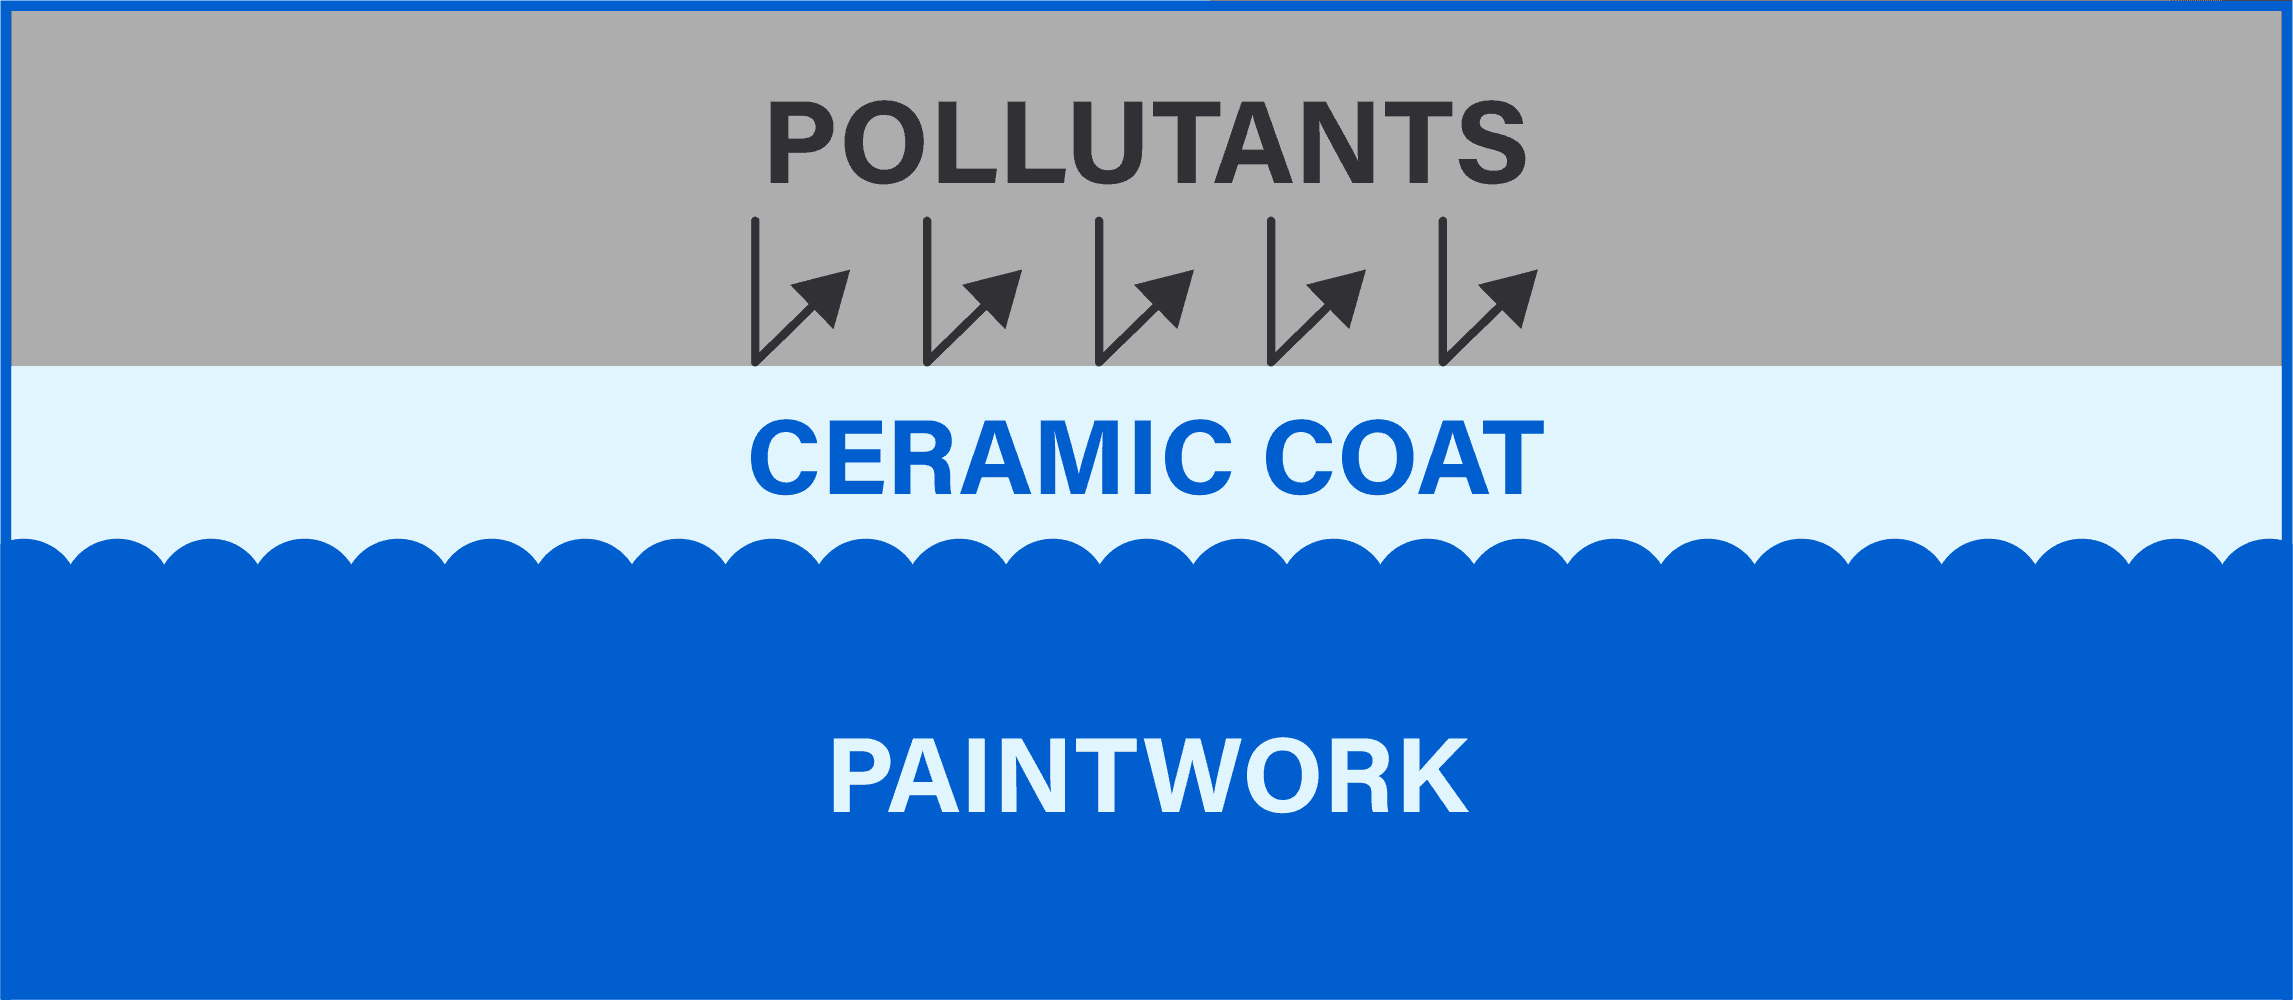
- Environmental Defense: At the heart of ceramic coating’s popularity is its unmatched ability to ward off environmental contaminants. Whether it’s acid rain, road salts, or tree sap, ceramic coating acts as your vehicle’s first line of defense. Especially against UV rays, which are notorious for causing paint fading or oxidization, the ceramic coating provides a shield, minimizing corrosive impacts and ensuring your paint job remains vibrant.
- Mirror-like Radiance: Beyond mere protection, ceramic coating elevates the visual appeal of your vehicle. It imparts an enhanced depth of color and a glossier finish, turning heads and amplifying the inherent beauty of your car’s paintwork.
- Built to Last: In contrast to fleeting solutions like waxing that call for seasonal touch-ups, ceramic coatings boast impressive longevity. Depending on the quality and maintenance, a single application can shield your vehicle for several years. It’s not just a protective layer; it’s a long-term investment in your car’s health.
- Weighing the Pros and Cons: Like all good things, ceramic coatings come with their caveats. While their durability and protective qualities are unparalleled, the initial costs can be steep, especially when professionally applied. Moreover, incorrect DIY applications can lead to streaking or uneven protection. However, considering the savings from less frequent detailing and the peace of mind ceramic coatings offer, many car enthusiasts deem the investment worthwhile
What’s the Cost of Ceramic Coating a Car?
Several things can affect the final price, whether you’re going DIY or professional. Obviously, bigger cars might use up more product. Where you live might also change the price—some places just charge more. And, of course, different brands of ceramic coating come with different price tags.
So, you’re curious about ceramic coating prices, right? Let’s get into it.
Professional Ceramic Coating Costs
According to Ethos Car Care, if you decide to let the pros handle your car’s ceramic coating, it’ll cost you somewhere between $1,500 to $5,000. The price varies based on where you live, the size of your car, its condition, and even the brand of the ceramic coating they use. The upside? The pros know their stuff, and you’ll likely walk away with a top-notch finish.
DIY Ceramic Coating
Now, if you’re thinking about rolling up your sleeves and doing it yourself, you’ll be spending way less. Most times, you can get all the supplies you need for under $100. With a bit of patience, some good instructions (like this guide!), and a free weekend, you can get your car looking sharp without breaking the bank.
Step-by-step Guide: Ceramic Coating Your Car the Right Way
Getting ready to ceramic coat your car? Nice choice! Let’s break it down step-by-step, so your ride ends up looking fantastic and stays protected for the long haul.
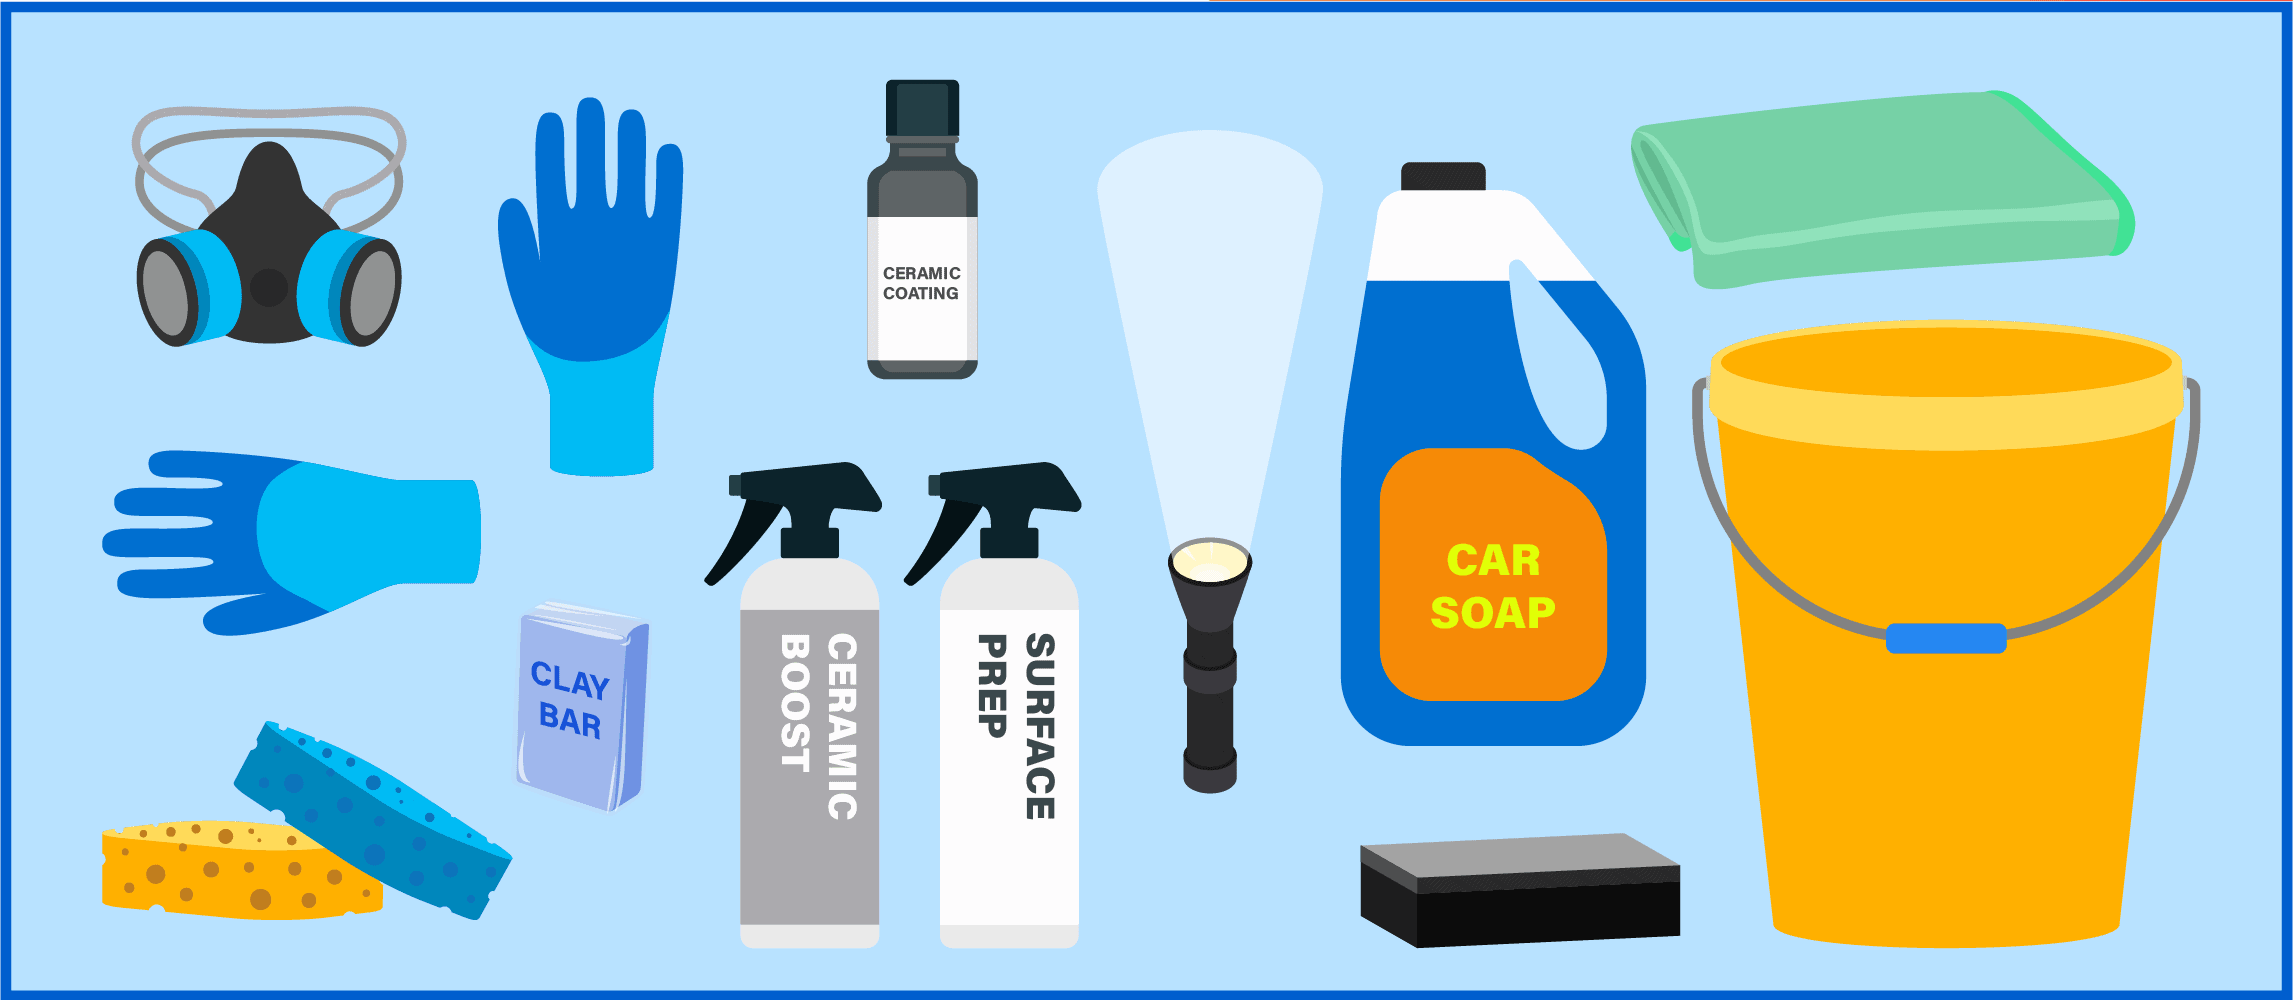
What You’ll Need:
- Gloves (unless you enjoy colorful hands)
- Microfiber cloths (for that flawless finish)
- Sponges and a wash bucket
- Car-specific soap (your regular dish soap won’t cut it)
- Clay bar or mitt (for that ultra-smooth touch)
- Polisher
- A trusty flashlight
- Ceramic coating kit of your choice
- A mask or ventilator (trust us, you don’t want to sniff that stuff)
1. Prep Time: Getting Your Car Ready
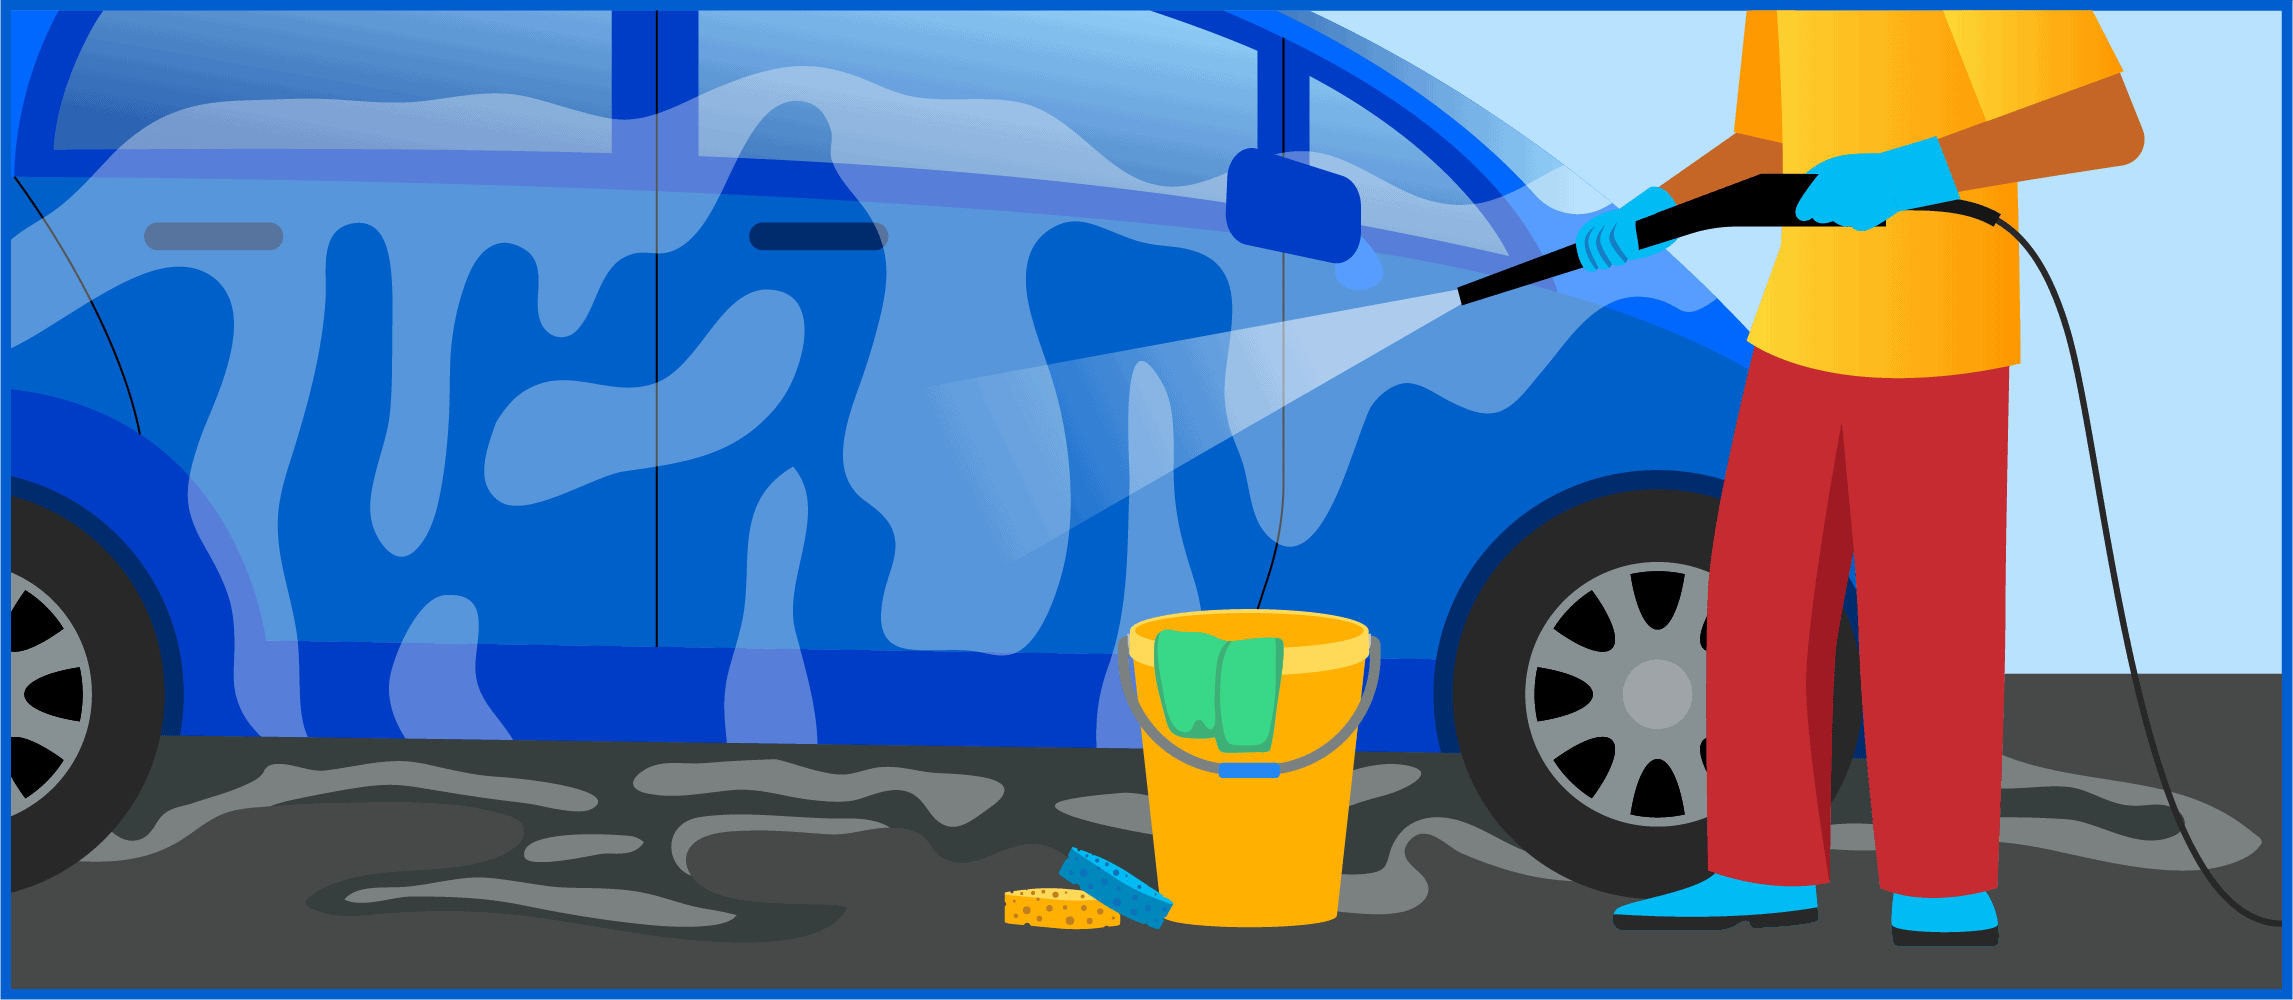
Before slapping on that ceramic coat, your car needs a deep clean:
- Start with a solid wash using car soap.
- Dry off with a microfiber cloth.
- Whip out the clay bar or mitt. Feel for any rough patches, and give those areas extra love.
- Any chips in the paint? Now’s the time to fix them.
- If your car’s a bit on the older side, consider a full cut and polish. For newer cars, focus on addressing trouble spots like swirl marks, minor scratches, or oxidation spots.
- Find a cool, shaded spot and let your car chill. Aim for a temperature between 50 and 70 degrees Fahrenheit.
2. Applying the Ceramic Coat
You’ve just powered through the most demanding part of this project. Now, the real transformation begins. It’s time to ceramic coat your ride, but proceed with caution. Here’s a breakdown of how you can get it done without a hitch:
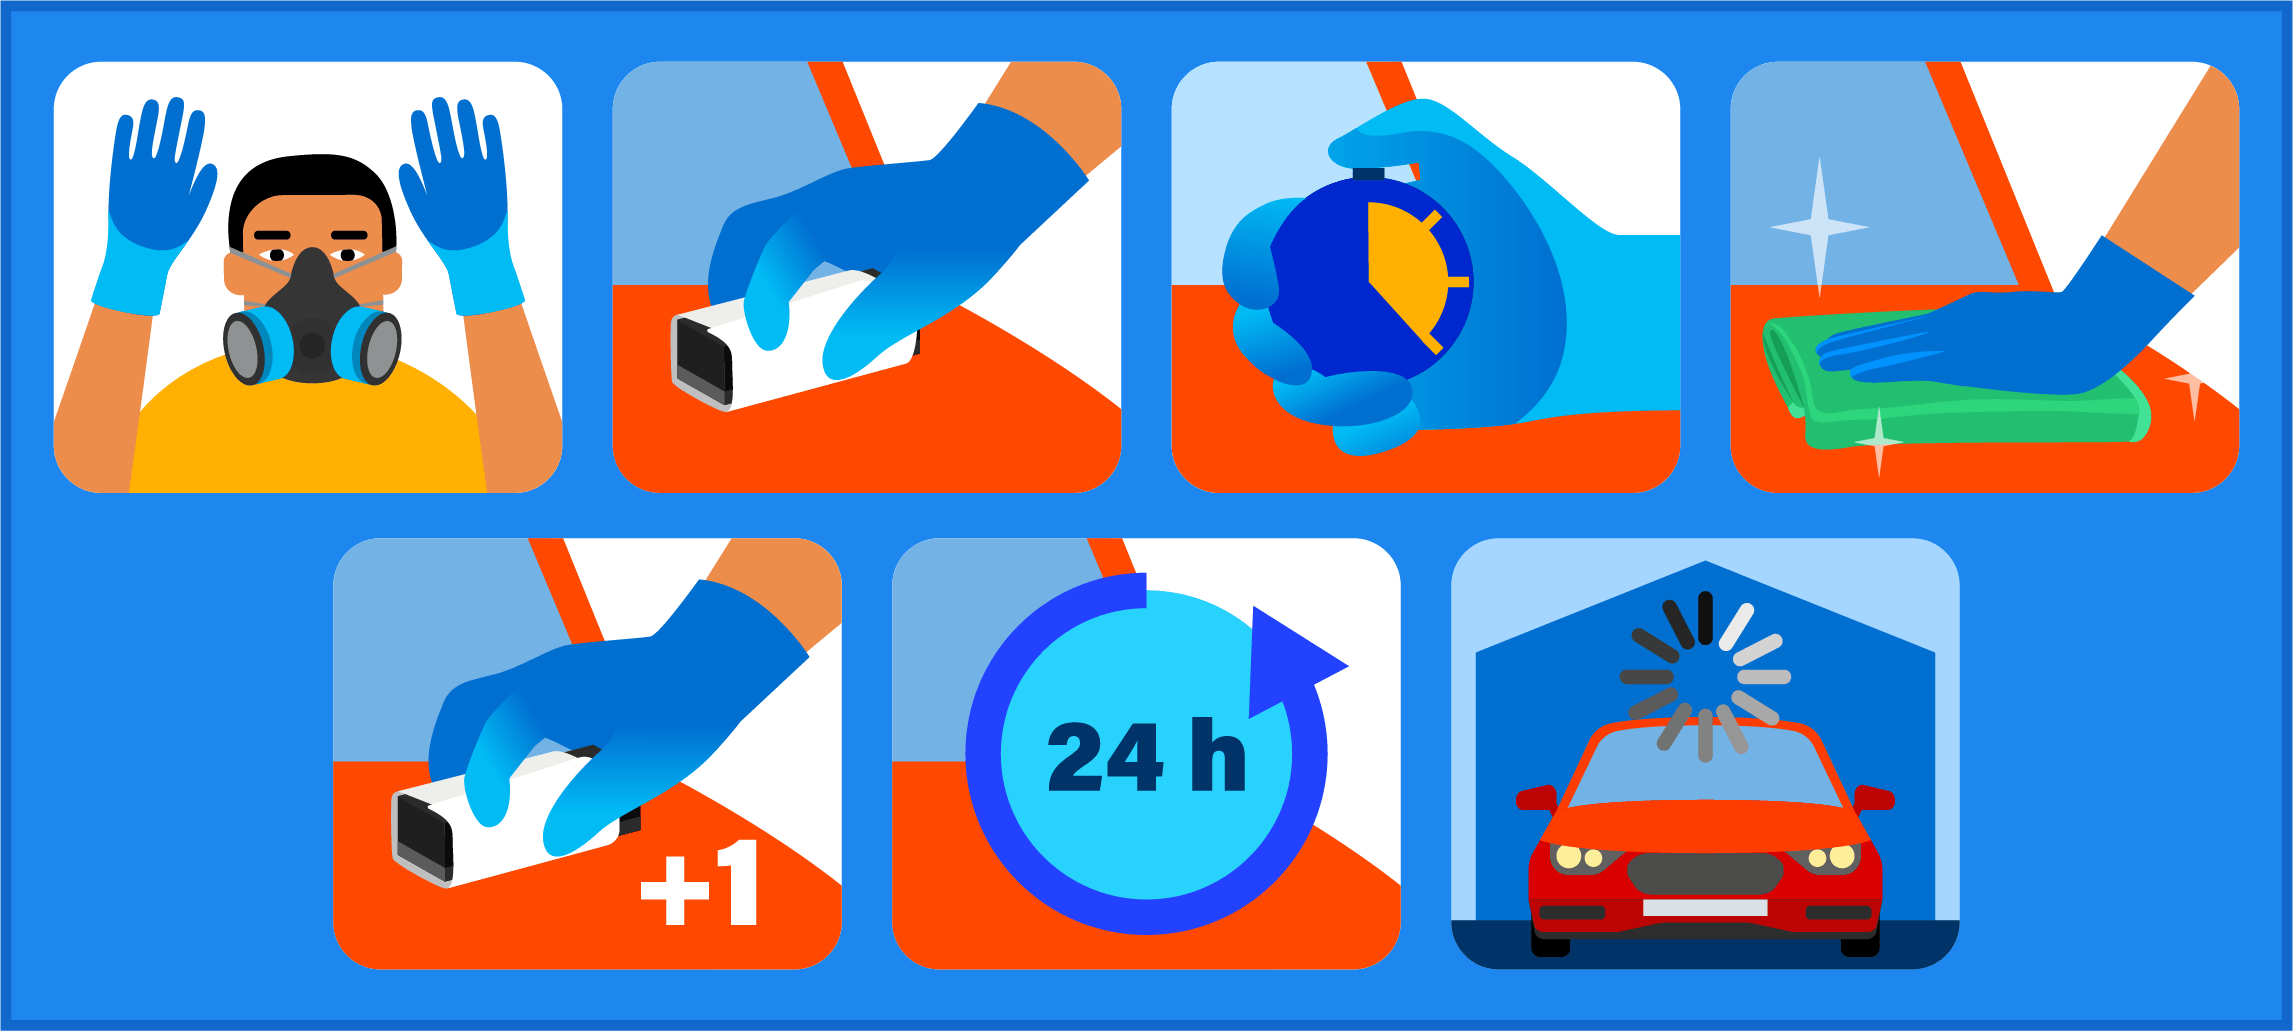
1. Gear Up For Safety
Start by donning the appropriate attire. Wear long-sleeved shirts and long pants to shield your skin. Don’t forget those gloves and a mask. And remember, your workspace should be well-ventilated. You want to coat the car, not inhale chemicals.
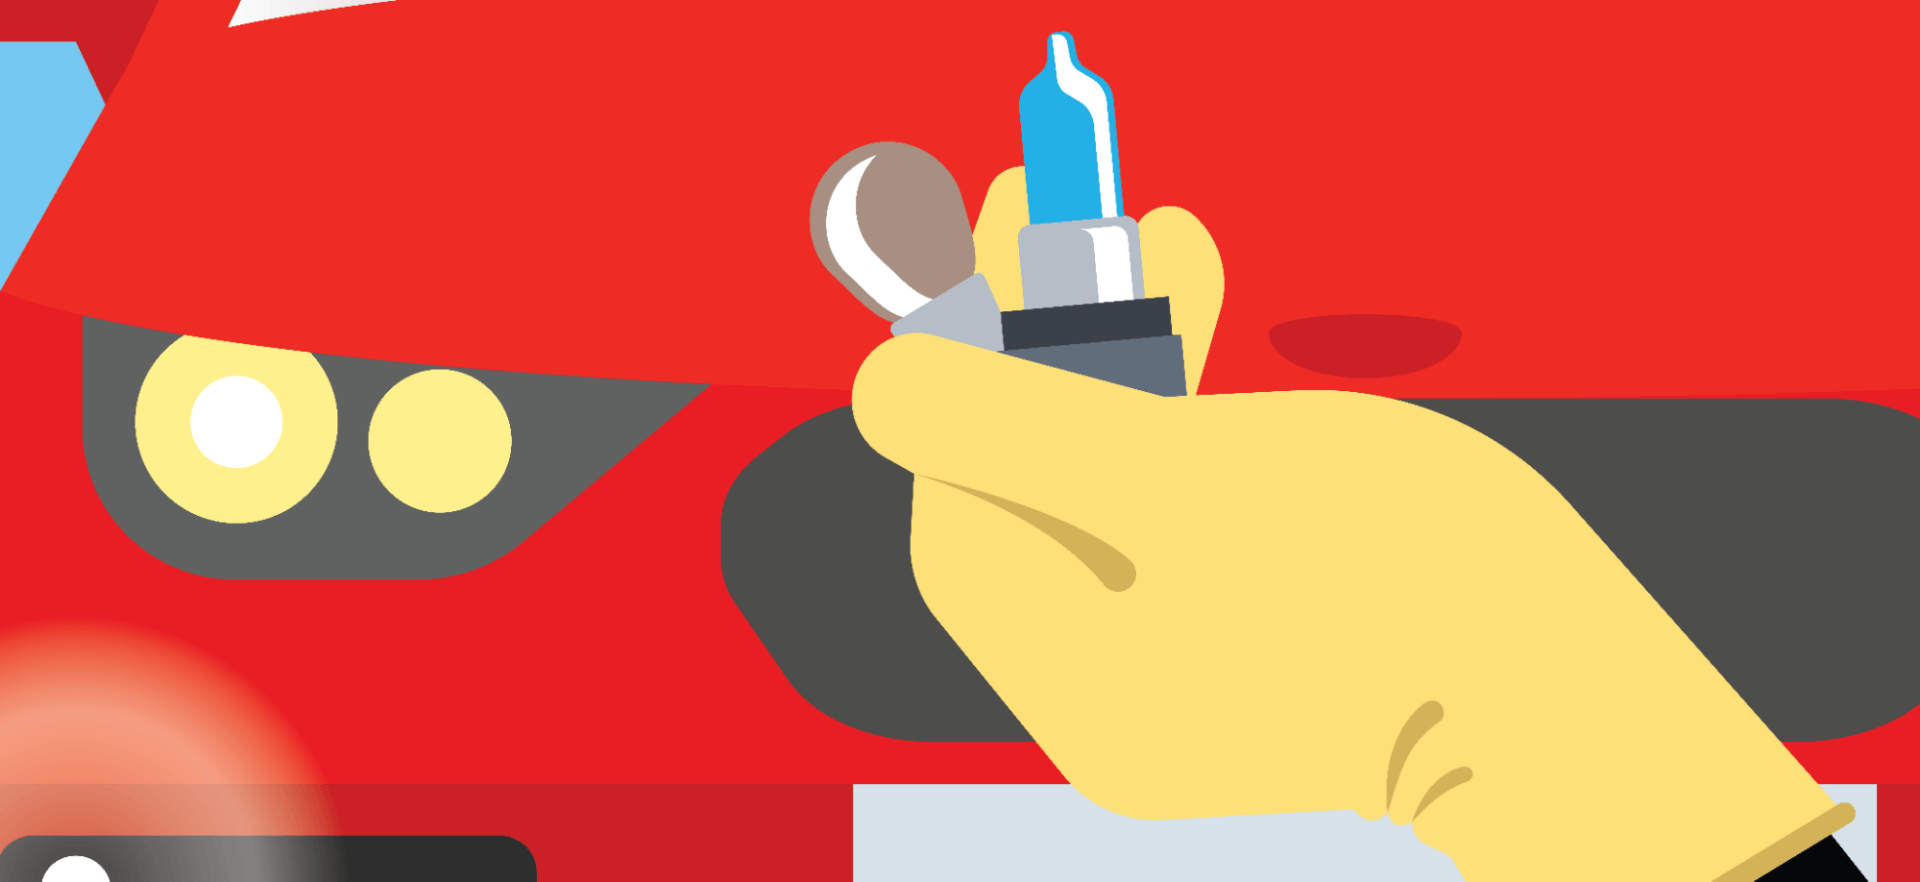
2. Applicator in Hand, Dive In
With a clean car and your protective gear on, it’s time to get down to business. Take the applicator and follow the manufacturer’s guide to the letter. Aim to cover small areas, around 3’ x 3’. Make sure the applicator moves smoothly. If it feels like it’s sticking, add a few more drops.
3. Let it Sit:
After you’ve applied the coating, let it rest for the specified time. This isn’t the step to rush. However, if you leave it on too long, it can harden and complicate things.
4. Time for Some Detailing:
With the product set, use your microfiber cloth to clean up any residue. A flashlight can be your best friend here, helping you catch spots that might have been overlooked.
5. Go Over Again, For Good Measure
Keep coating in small sections until the whole car is covered. You might feel like calling it a day after that marathon session, but consider a second coat if you’re looking for that extra layer of protection.
6. Let The Coating Cure
Even if it appears dry, the coating needs up to 24 hours to bond properly. So, find a nice spot where the car can sit undisturbed for a day.
7. Protect Your Coat
After putting in all that effort, the last thing you’d want is to see it go to waste. In the subsequent two weeks, keep the car out of prolonged sunlight and hold off on any washes. Adhering to these guidelines will ensure your car flaunts its ceramic coat for a good couple of years.
How Long Until You Can Wash Your Car After Ceramic Coating?

In terms of ceramic coating maintenance, after applying the coat to your vehicle, you should wait at least one week before washing it. During the subsequent weeks, it’s essential to protect the car’s finish by parking it in shaded areas or inside a garage, especially during daylight hours.
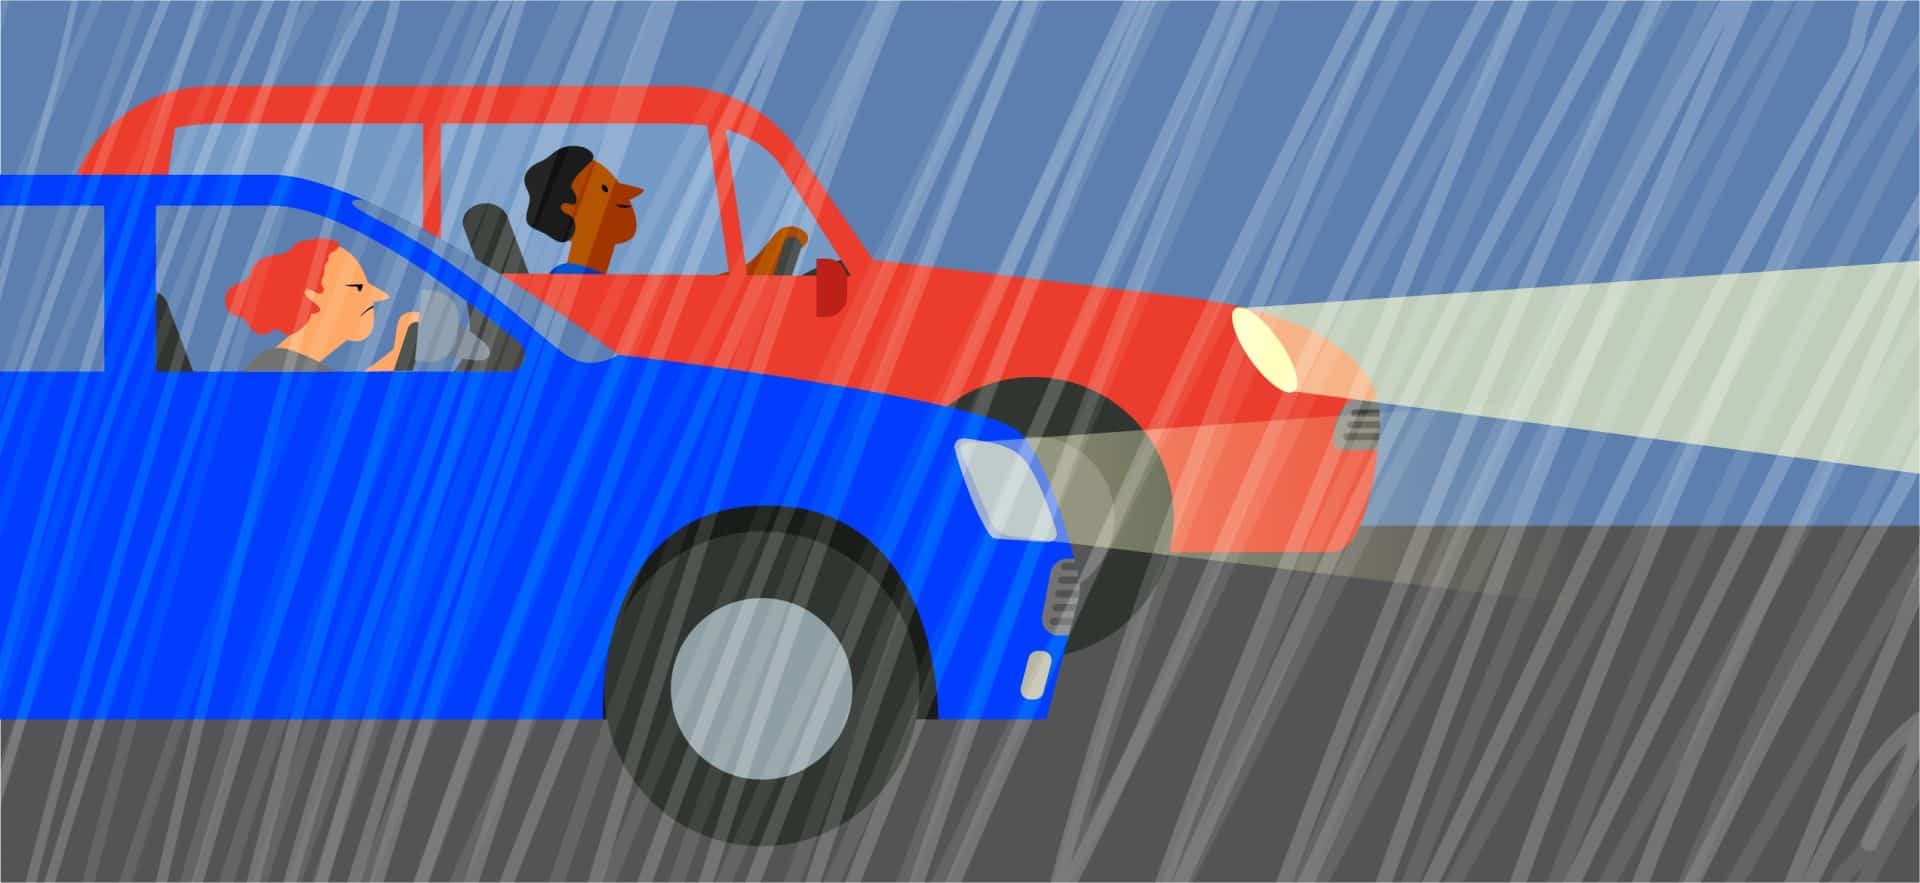
If you’re considering ceramic coating during a busy workweek, ensure you have alternative transportation to prevent unforeseen weather conditions from affecting the fresh coat.
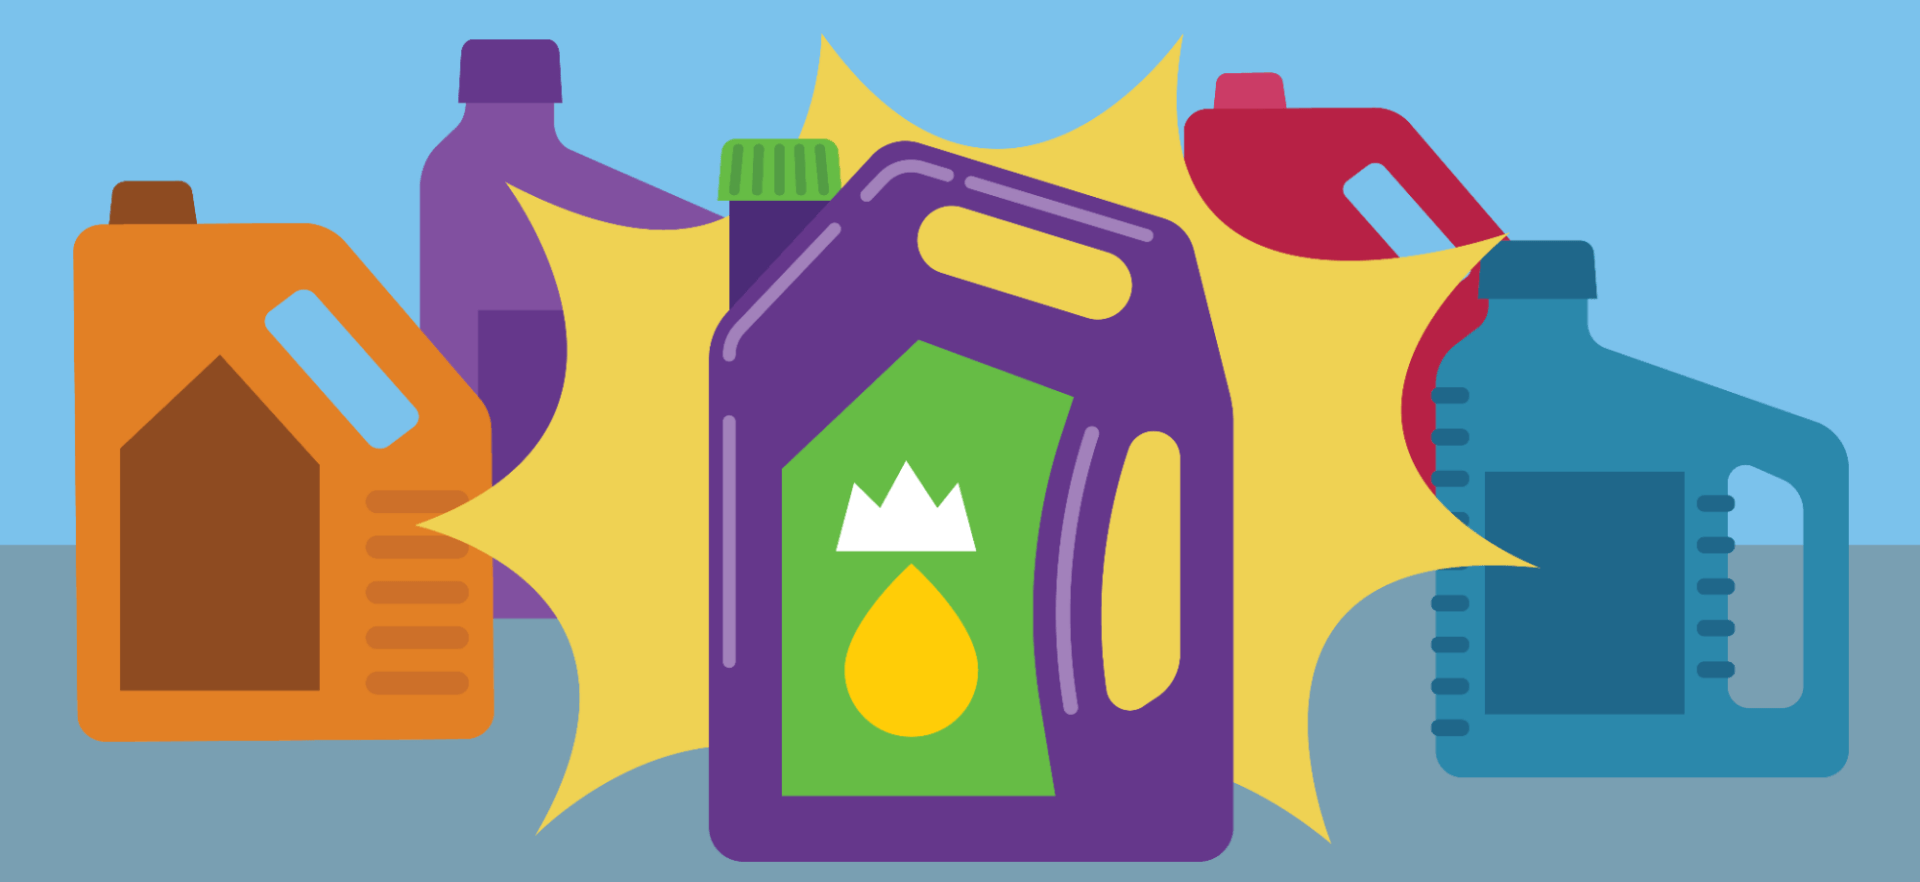
Recommended Ceramic Coating Products for Showroom Shine
Looking for the best ceramic car coatings on the market? Ready to buy a kit and achieve that mirror-like shine? Here are our top recommendations based on in-depth research:
1. Weiruxin’s 0H Ceramic Coating 3.0
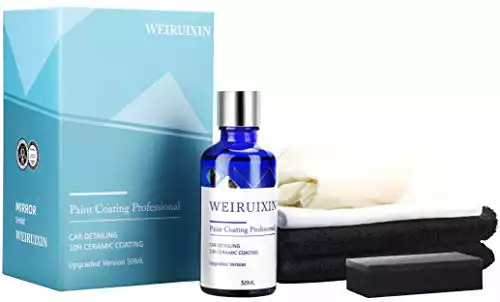
10H Ceramic Coating is a super durable barrier to protect paint from dirt and bonded contaminants, with outstanding water beading that makes water almost jump off the surface. by the way, get a waxing effect, give a cleaning, shining car back to you.
Perfect for those who are just dipping their toes into the world of car detailing, Weiruxin offers a reliable kit that’s light on the pocket. For under $25, you can expect a product that not only promises protection but also comes with all the essentials: towels, gloves, and microfiber cloths.
An ideal option for beginners, it’s been applauded by many for its ease of use and affordability. A user review on Amazon raves, “I was pleasantly surprised by the hydrophobic feature and the glossy finish. I covered my car’s exterior and interior with just one bottle. Definitely a wax replacement for me!”
2. Adam’s UV Graphene Ceramic Coating Kit
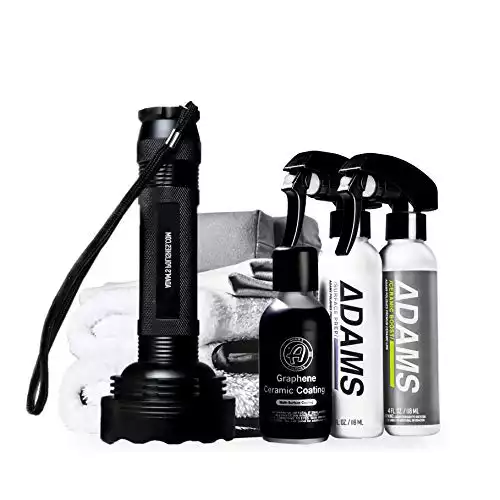
Adam’s UV Graphene Ceramic Coating is a clear, nanocrystalline coating that protects your vehicle from weather, chemicals, and UV rays while repelling water, dirt and other contaminants. Providing 10H hardness, 7+ years of protection even in the harshest conditions.
For those who’ve ventured into car detailing before and are seeking an upgrade, Adam’s UV graphene ceramic coating kit is worth considering. This kit stands out with its innovative “Ceramic Glow Technology.”
Using the provided UV light, you can quickly identify areas already coated, ensuring comprehensive protection. For a bit more than $100, it pledges seven years of protection and caters to those who like precision in their detailing tasks.
3. PROJE’s Premium Ceramic Coating Kit

Proje Ceramic Coating is a protective layer over your car's clear coat. The formula creates a coat of armor that is resistant to outside harmful elements and intensifies the gloss of car's surface.
Ideal for cars that have seen multiple detailing sessions over the years, PROJE’s kit is unique. With its included prep spray, it promises to cleanse the car of old polish, wax, and accumulated grime, providing a fresh canvas for the ceramic coat.
Not just for old cars, it’s also perfect for those wanting top-notch protection for up to 12 months on newer vehicles. A dedicated user shared, “By far, one of the most user-friendly ceramic coatings I’ve tried. Just a few drops did the trick. The outcome? Outstanding! Just stick to the instructions.”