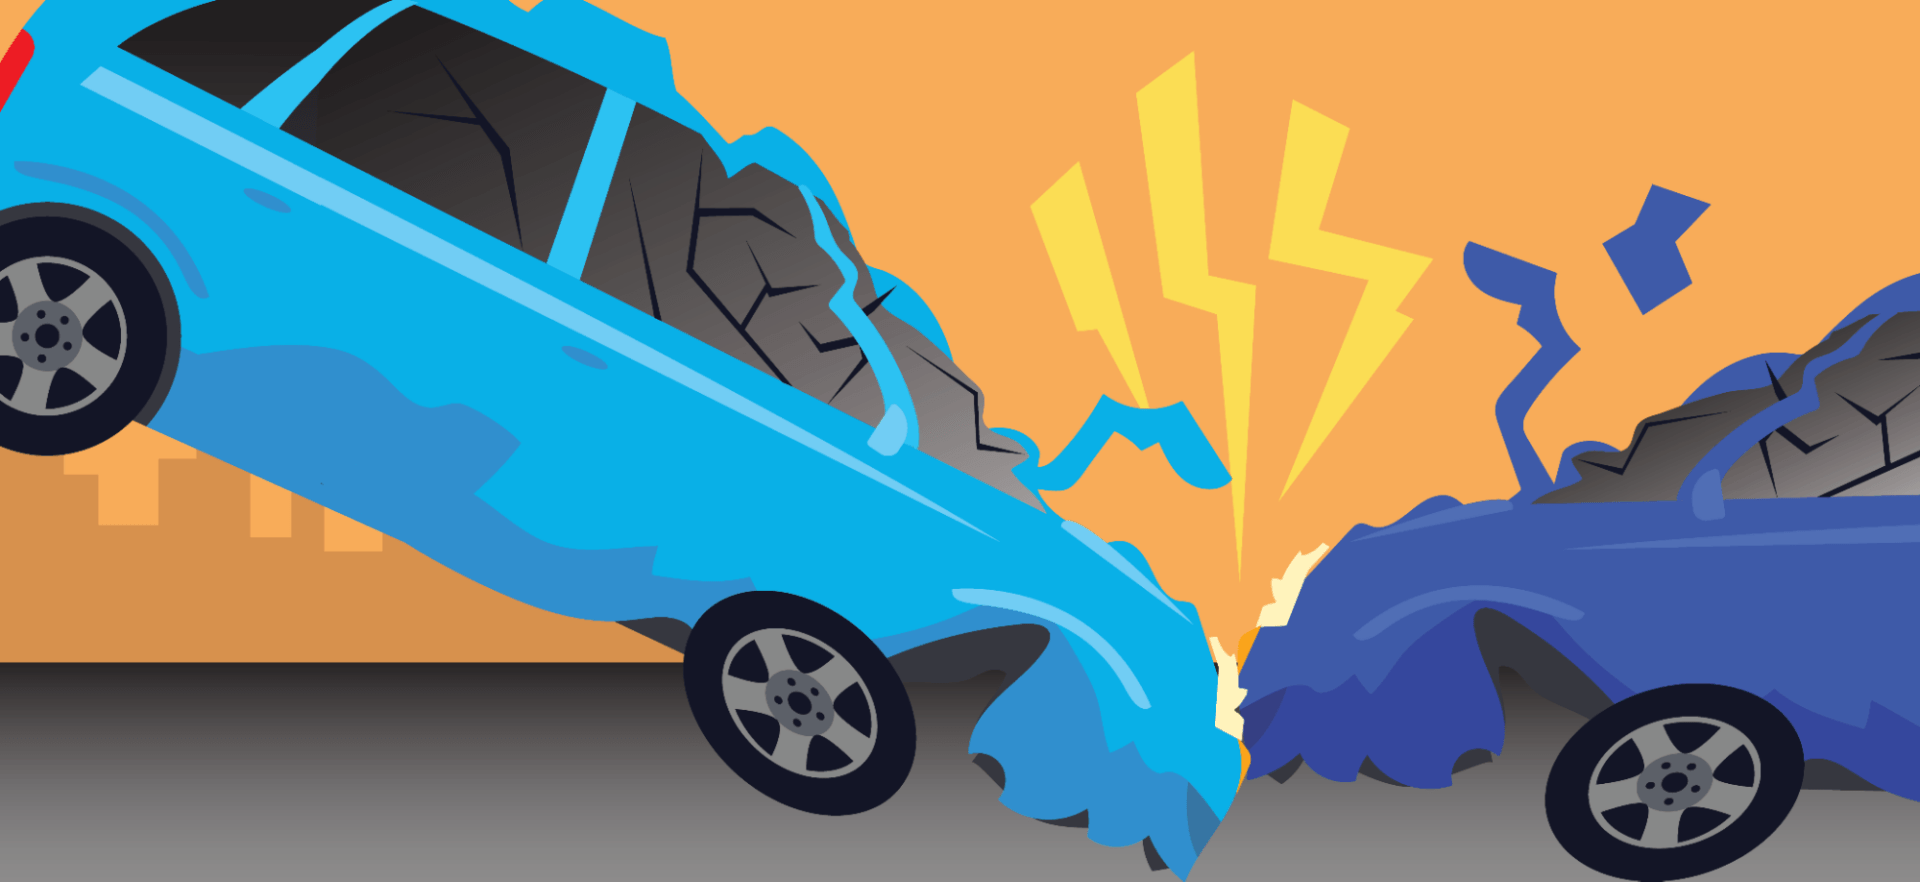
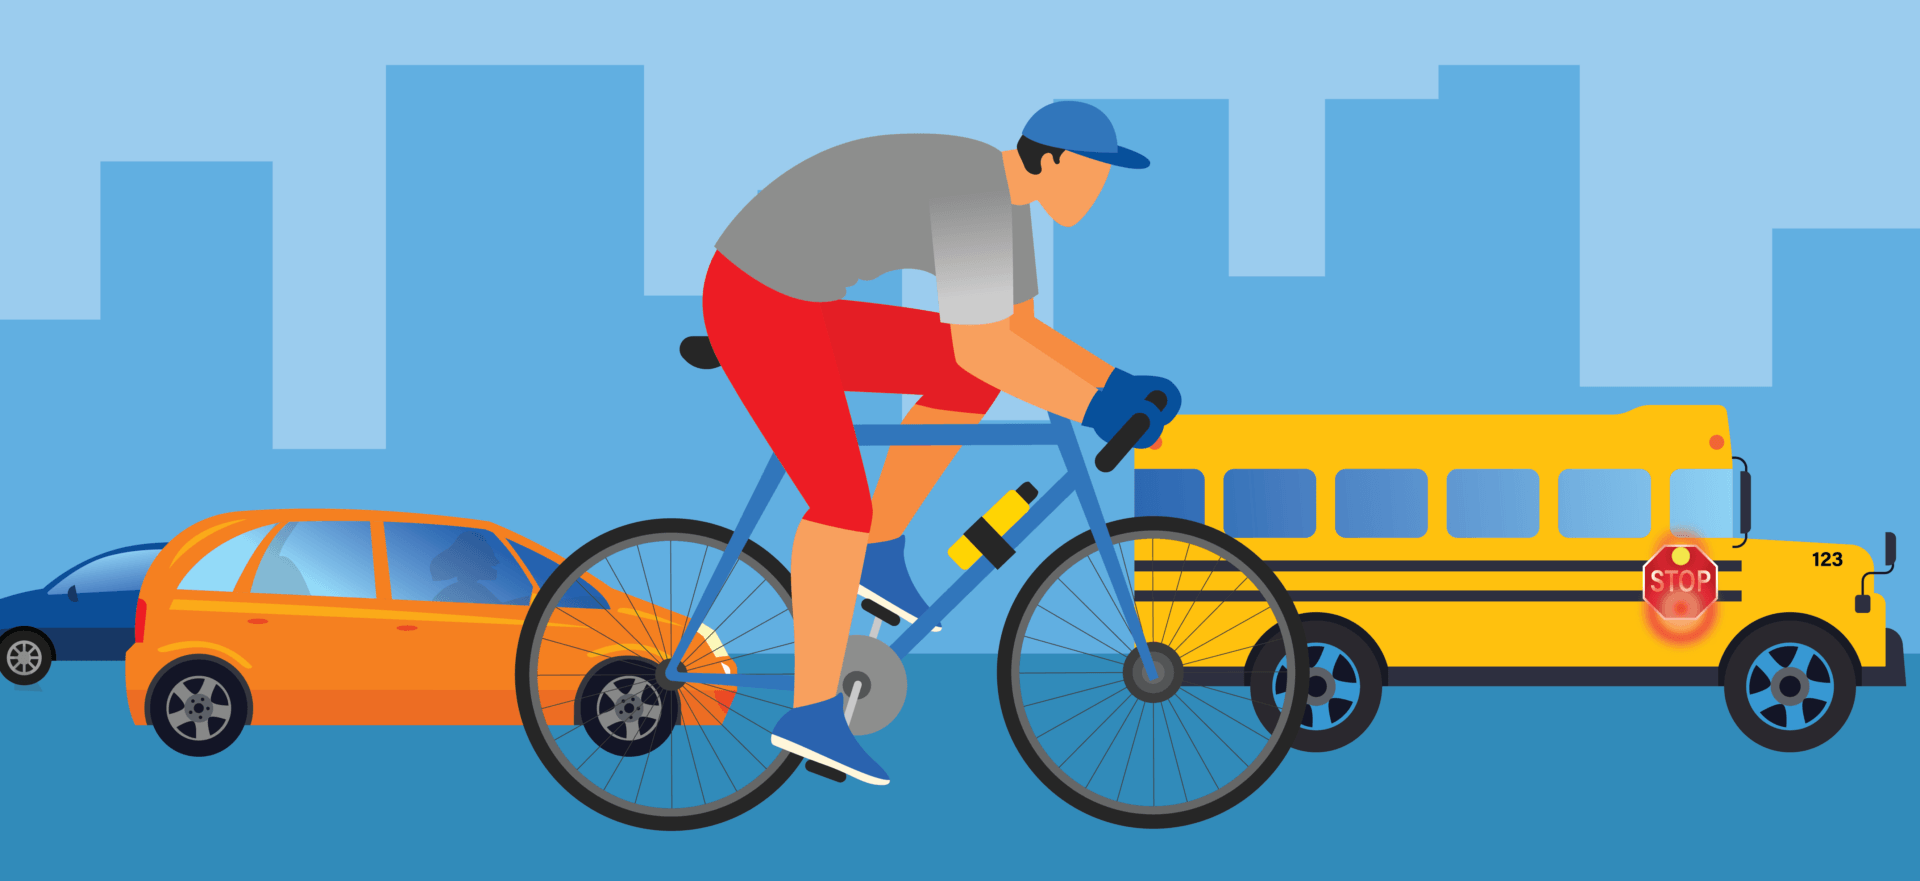
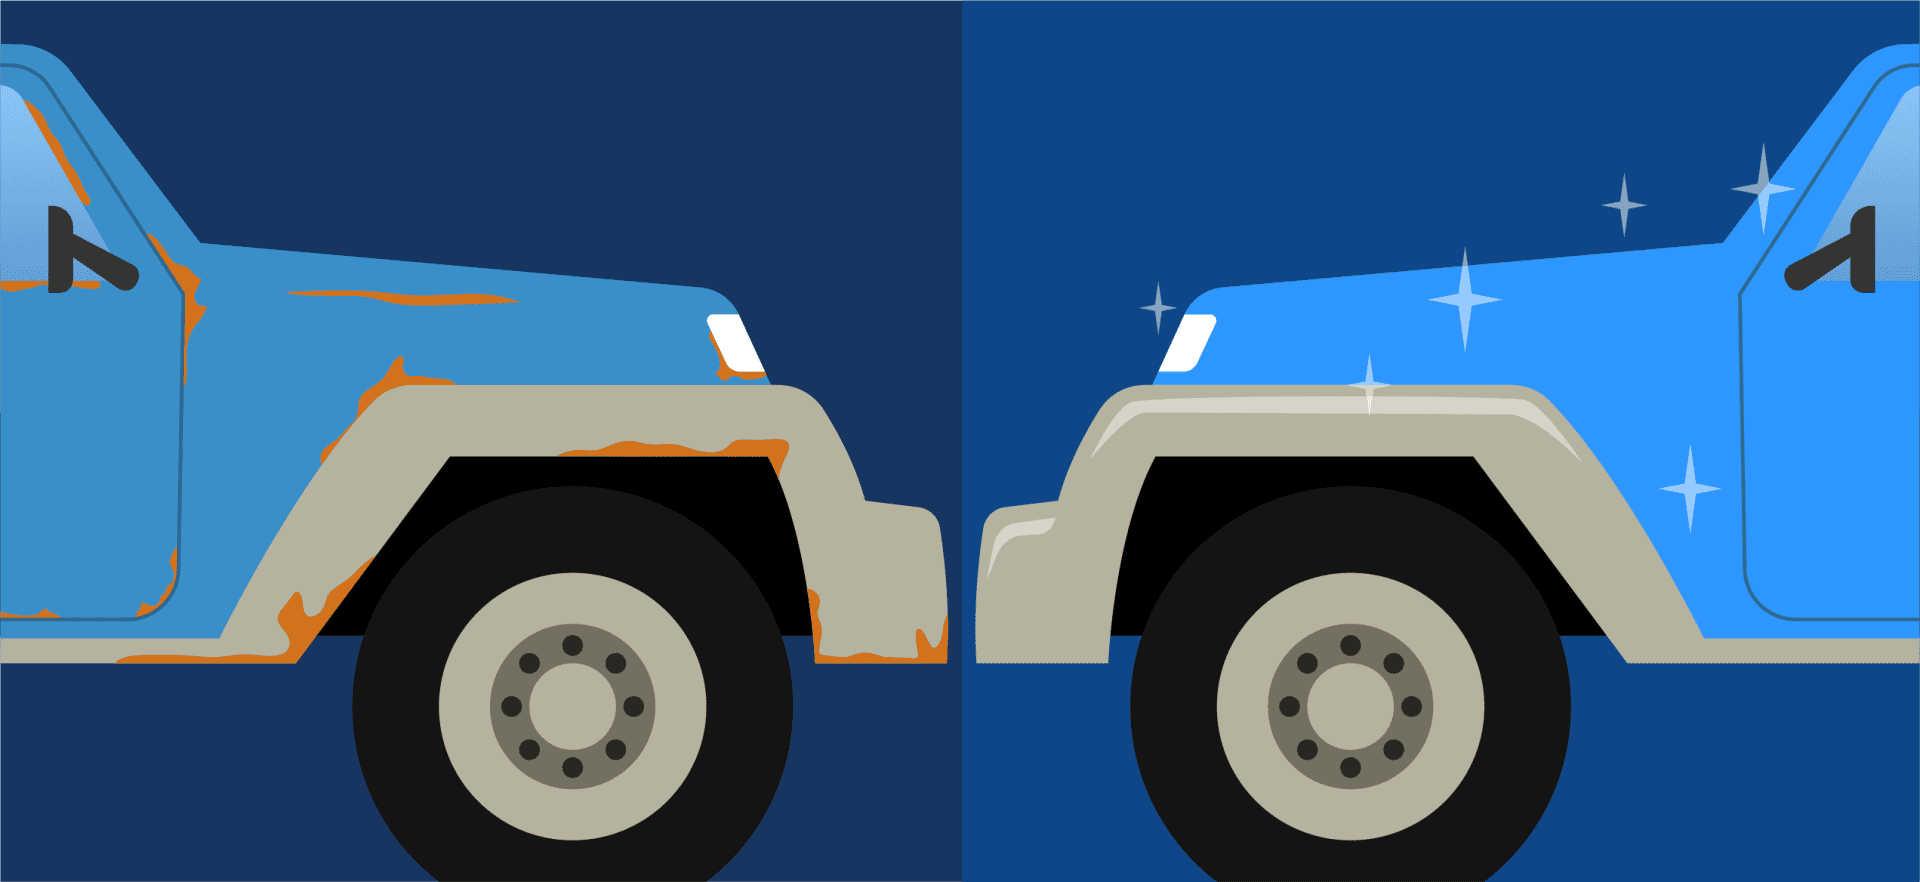
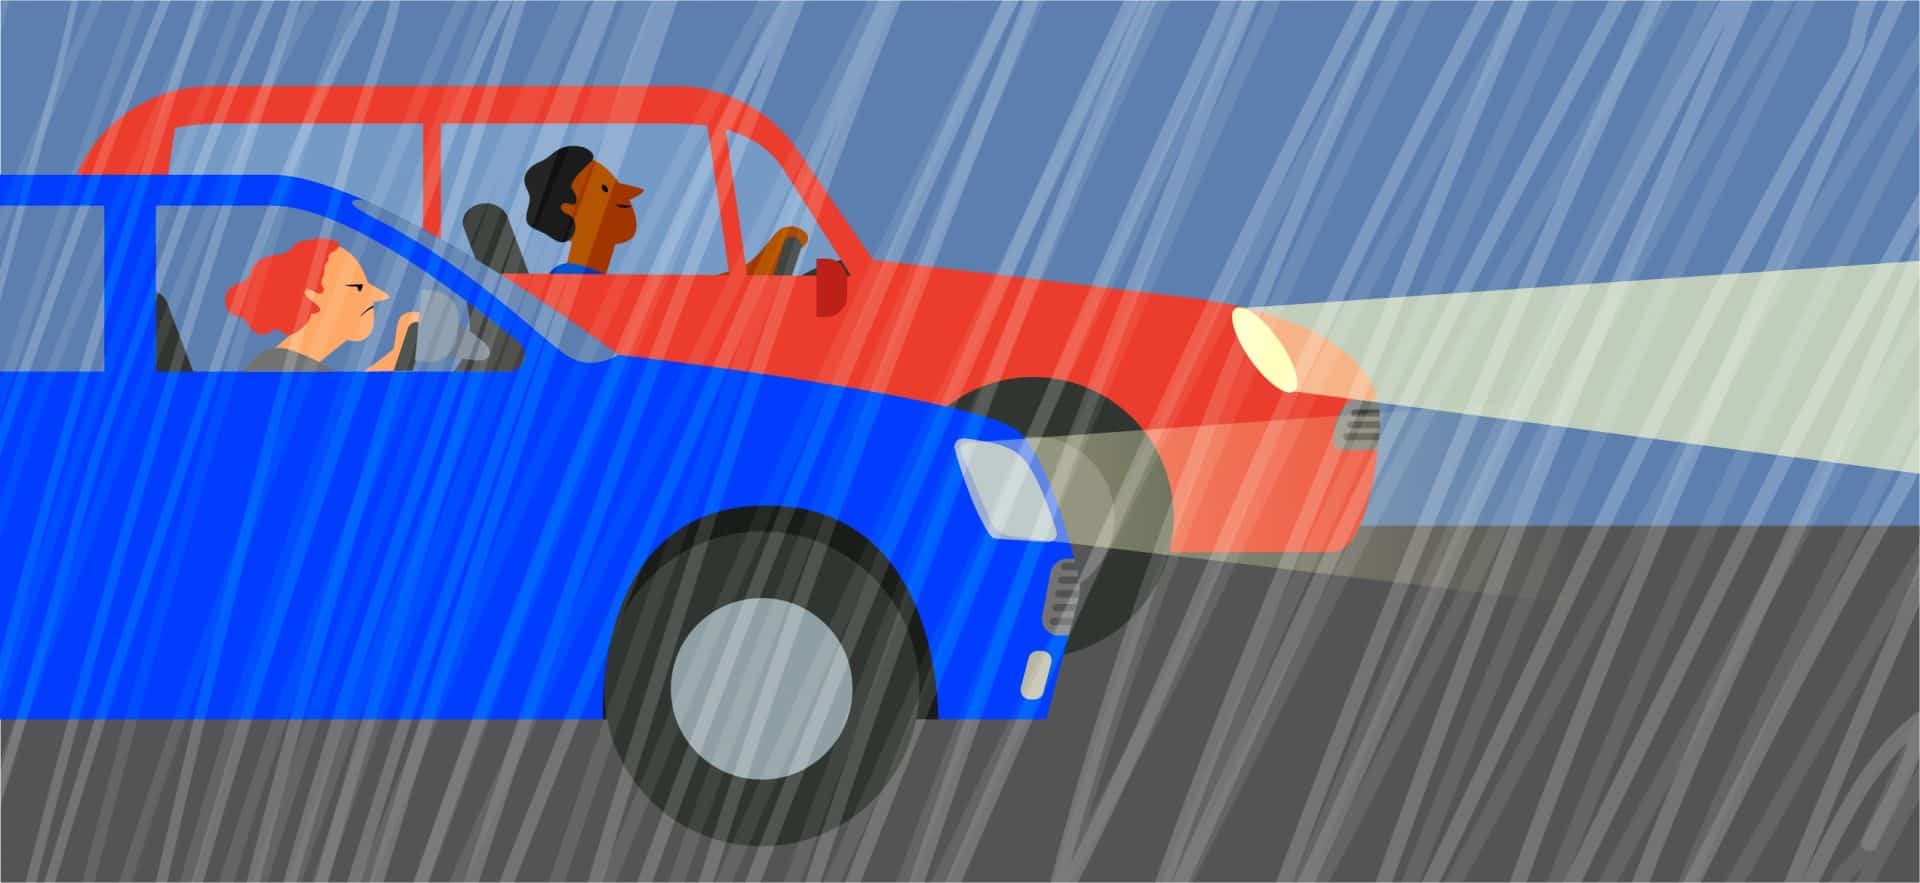
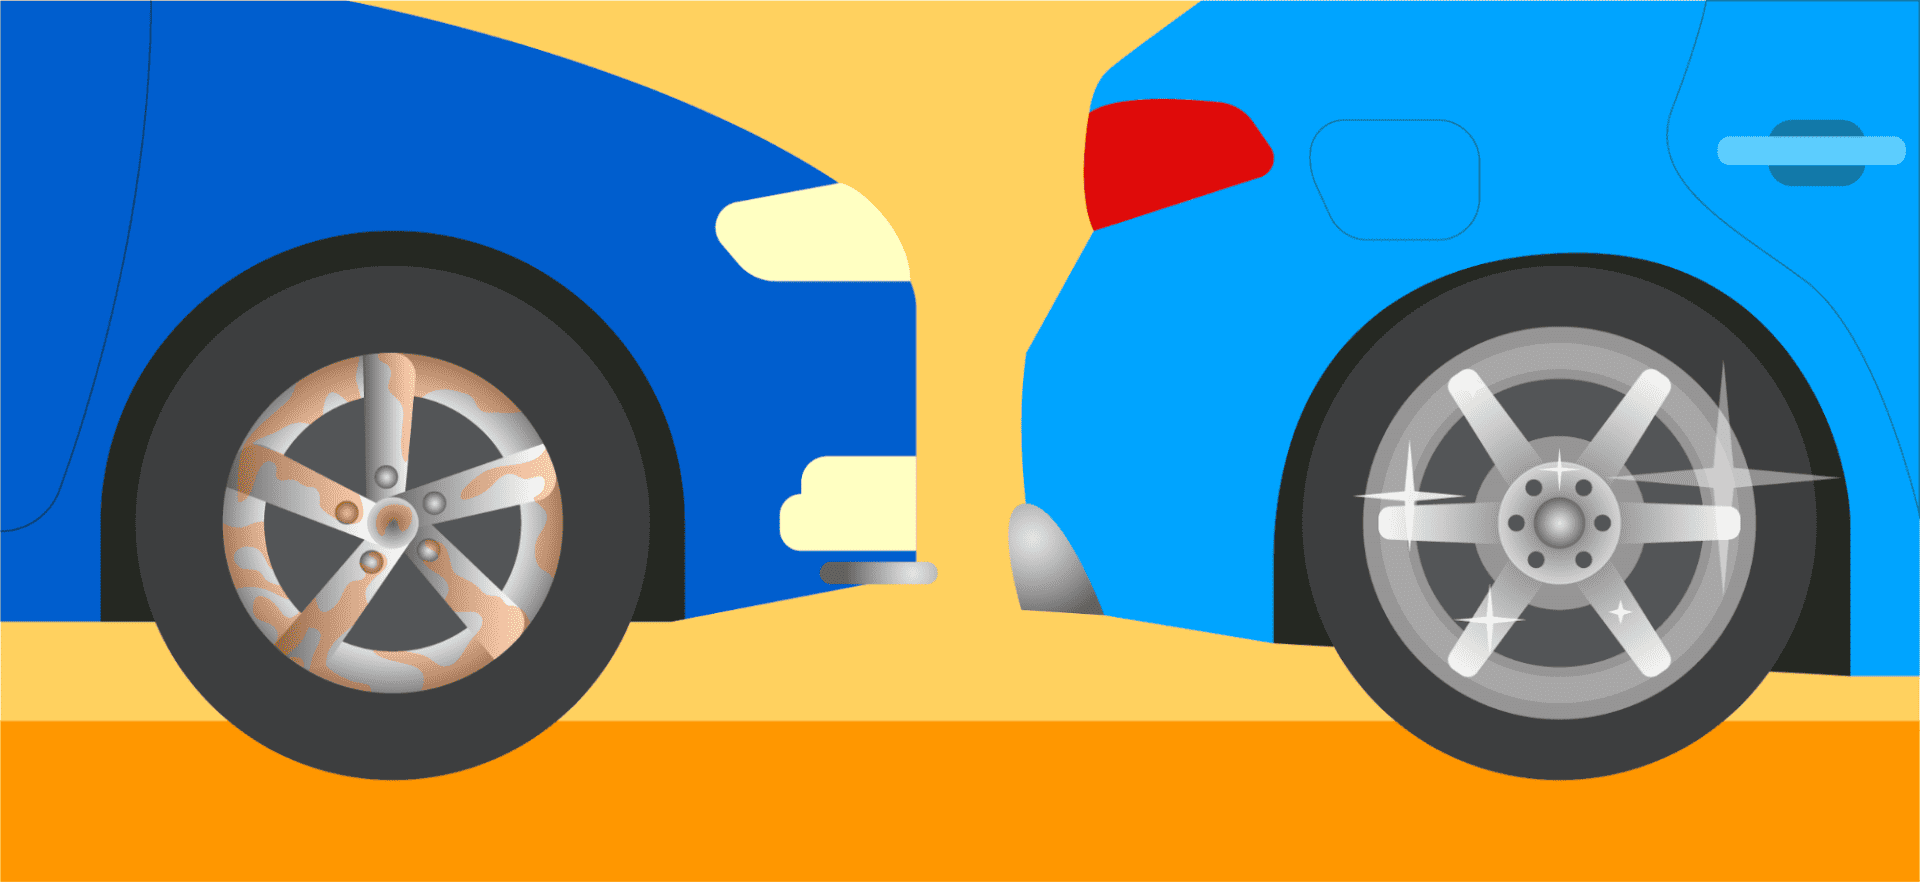
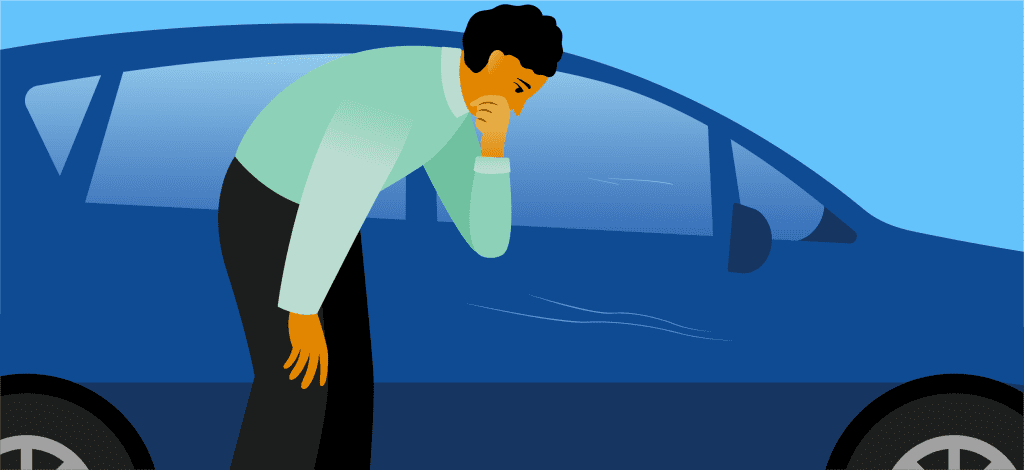
Most drivers will deal with scratches on their cars at some point. In one survey, nearly 60% of respondents said their vehicles had been damaged by other people while parked. About 44% experienced moderate damage, such as deep scratches or dents, and 27% had to pay out of pocket to have it fixed.
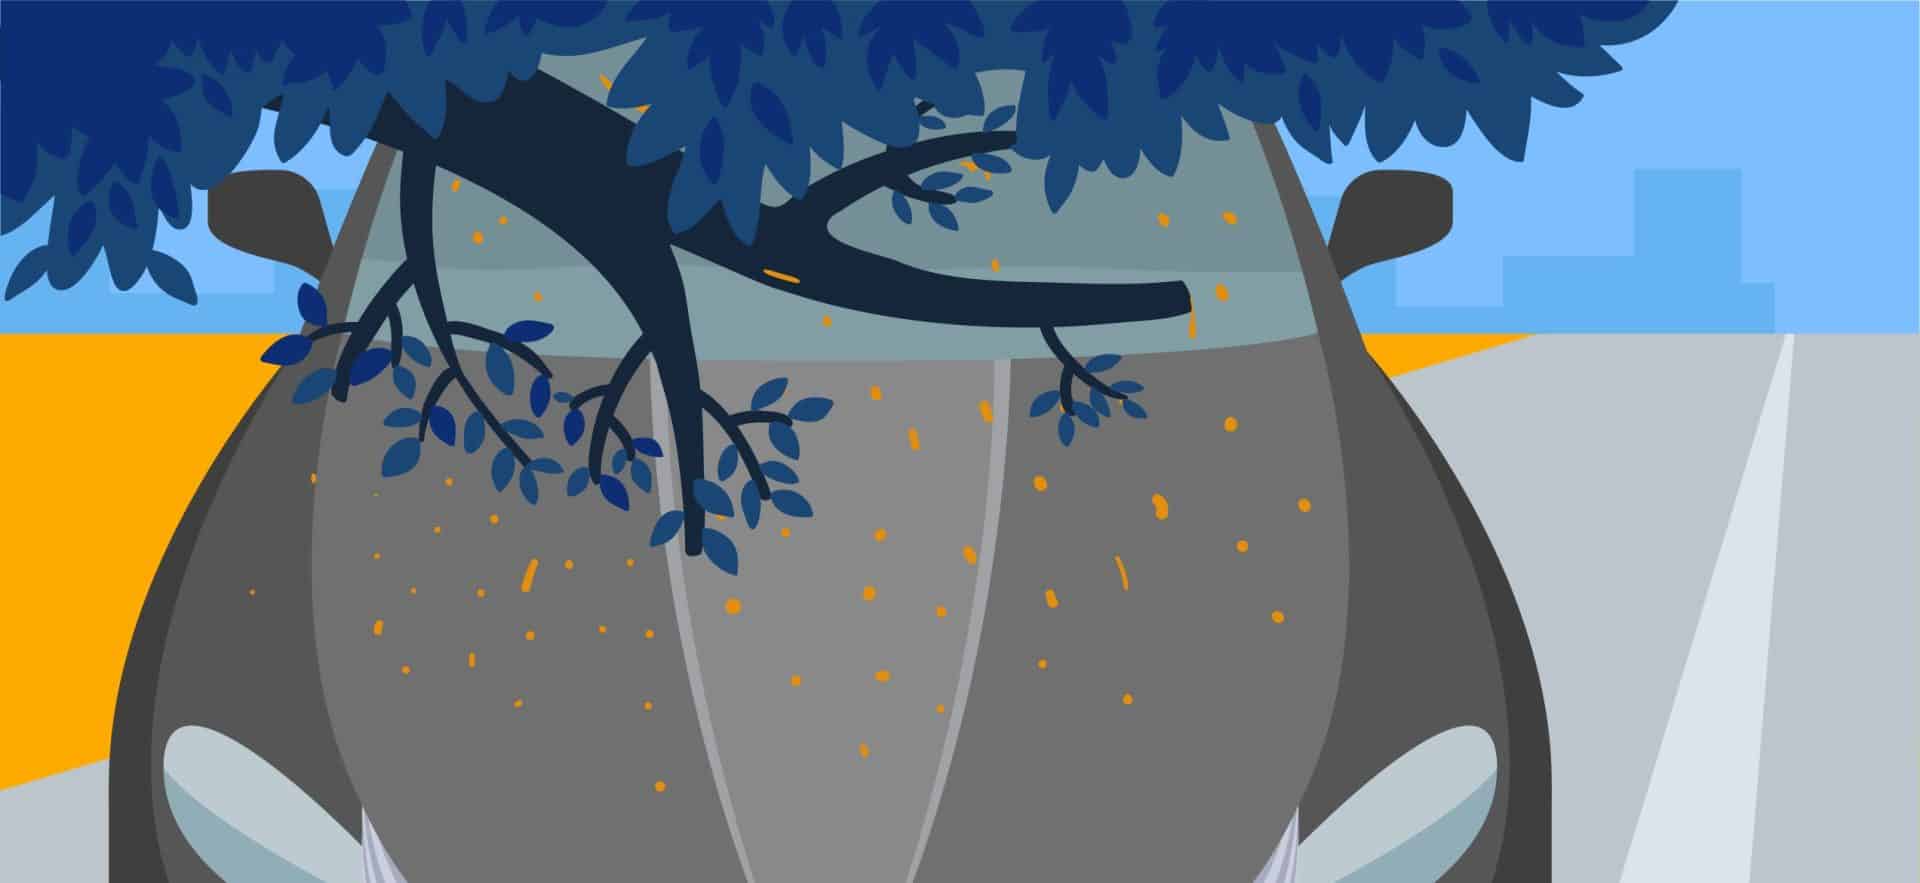
Improper washing, bird droppings, road gravel, bad weather, and other factors can cause scratches in the car’s paintwork, too. Luckily, these issues are largely cosmetic—and you should be able to remove them yourself. All you need are a few basic items, such as toothpaste or nail polish.
Deep scratches are harder and more expensive to remove. In such cases, it may be worth investing in paint correction and detailing products. Alternatively, you can take your car to a professional, but that can be costly. Expect to pay around $50 to $1,500 or more, depending on how bad the scratch is.
Generally, it’s best to take immediate action to prevent rust and further paint damage. But first, read about the different types of car scratches and what it takes to fix them yourself.
Types of Car Scratches
Car scratches are more or less severe, depending on their size, depth, and location. Some only affect the vehicle’s clear coat and can be removed with a microfiber towel. Others are deep enough to reach the metal underneath, which can lead to rust formation.
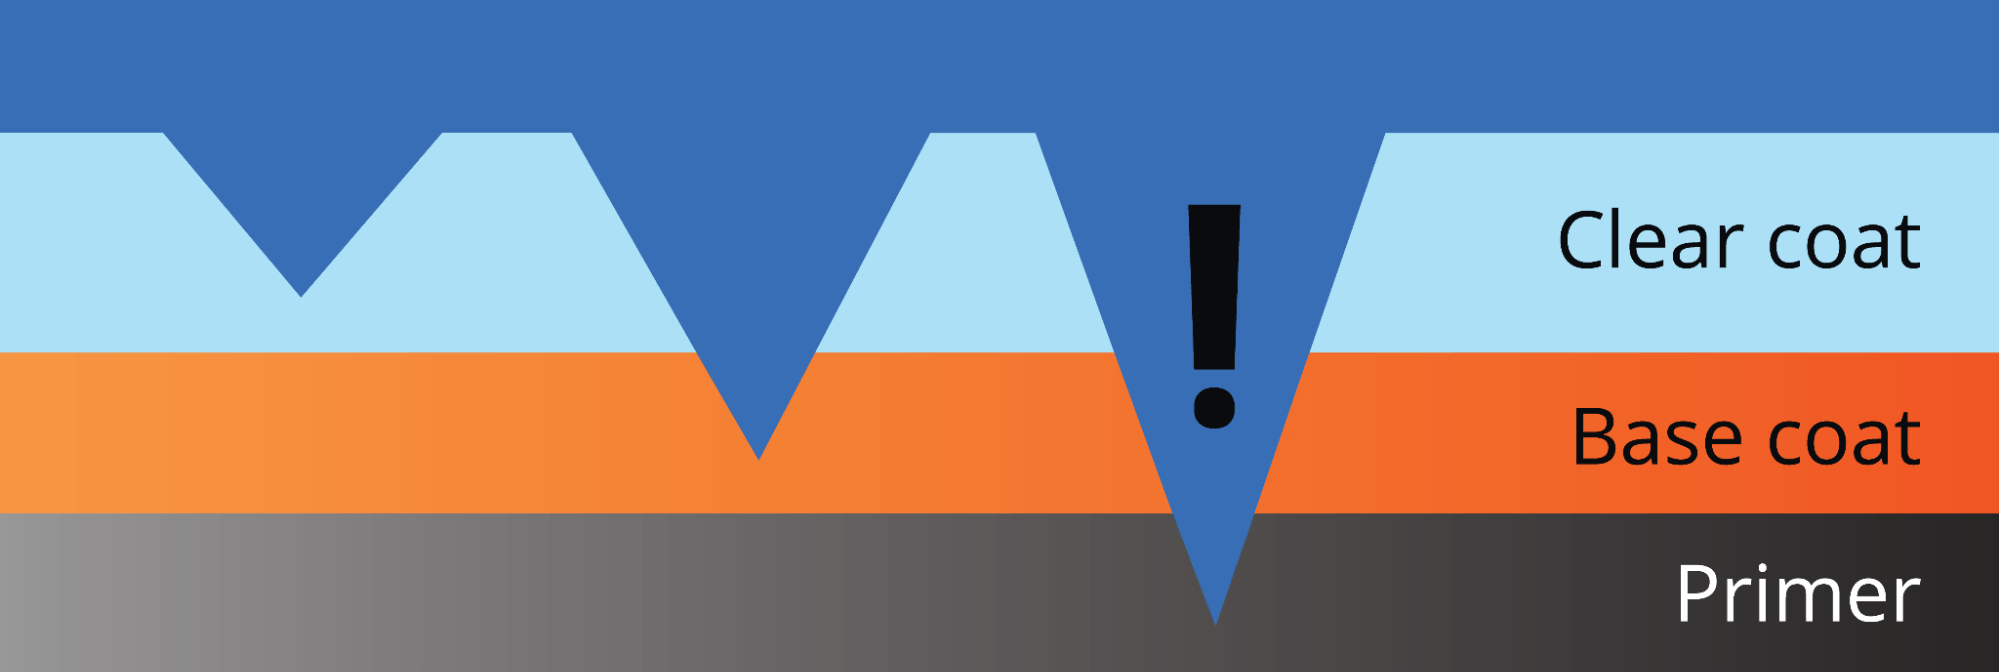
For reference, a vehicle’s paintwork consists of three to five layers. These usually include:
- The base layer, or primer
- The color layer, or base coat
- The top layer, or clear coat
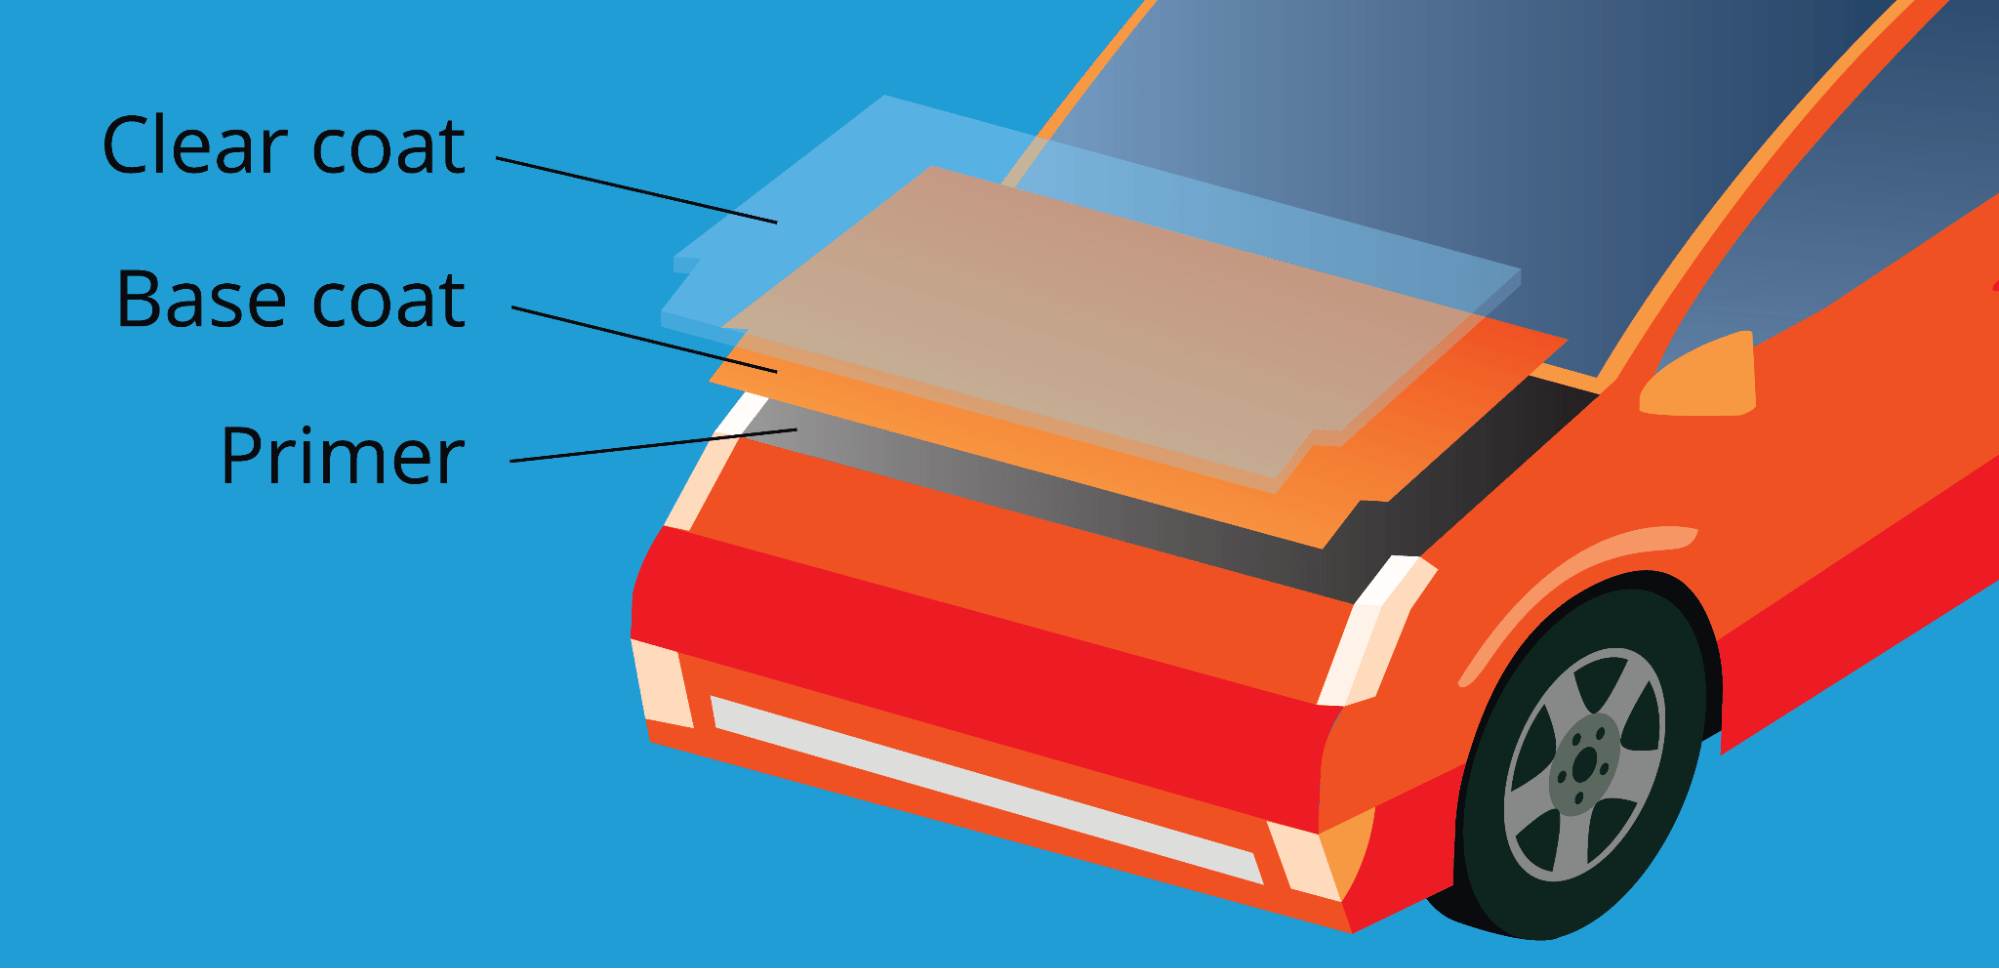
The clear coat is the thickest layer, serving as a barrier against UV radiation, bad weather, and other external factors. It protects the other layers and takes the most wear and tear.
The base coat gives your car its color, whereas the primer creates a smooth surface for the paint layers that follow. Some primers also contain chemicals that protect the metal panel against corrosion.
Scratches can affect any of these layers, causing varying degrees of damage. Based on this factor, they fall into several categories.
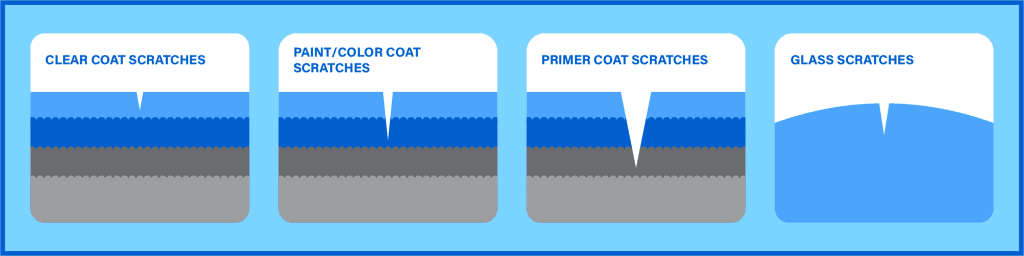
1. Clear-Coat Scratches
These are the least serious types of car scratches, as they only affect the paint’s top layer. They may result from everyday wear and tear, paint transfer, debris flying from the road, or other random events.
Clear-coat scratches are barely noticeable and may look like straight lines, concentric circles, or swirls. However, you’ll still want to deal with them as soon as possible because the clear coat protects your car’s paint job from fading or getting damaged.
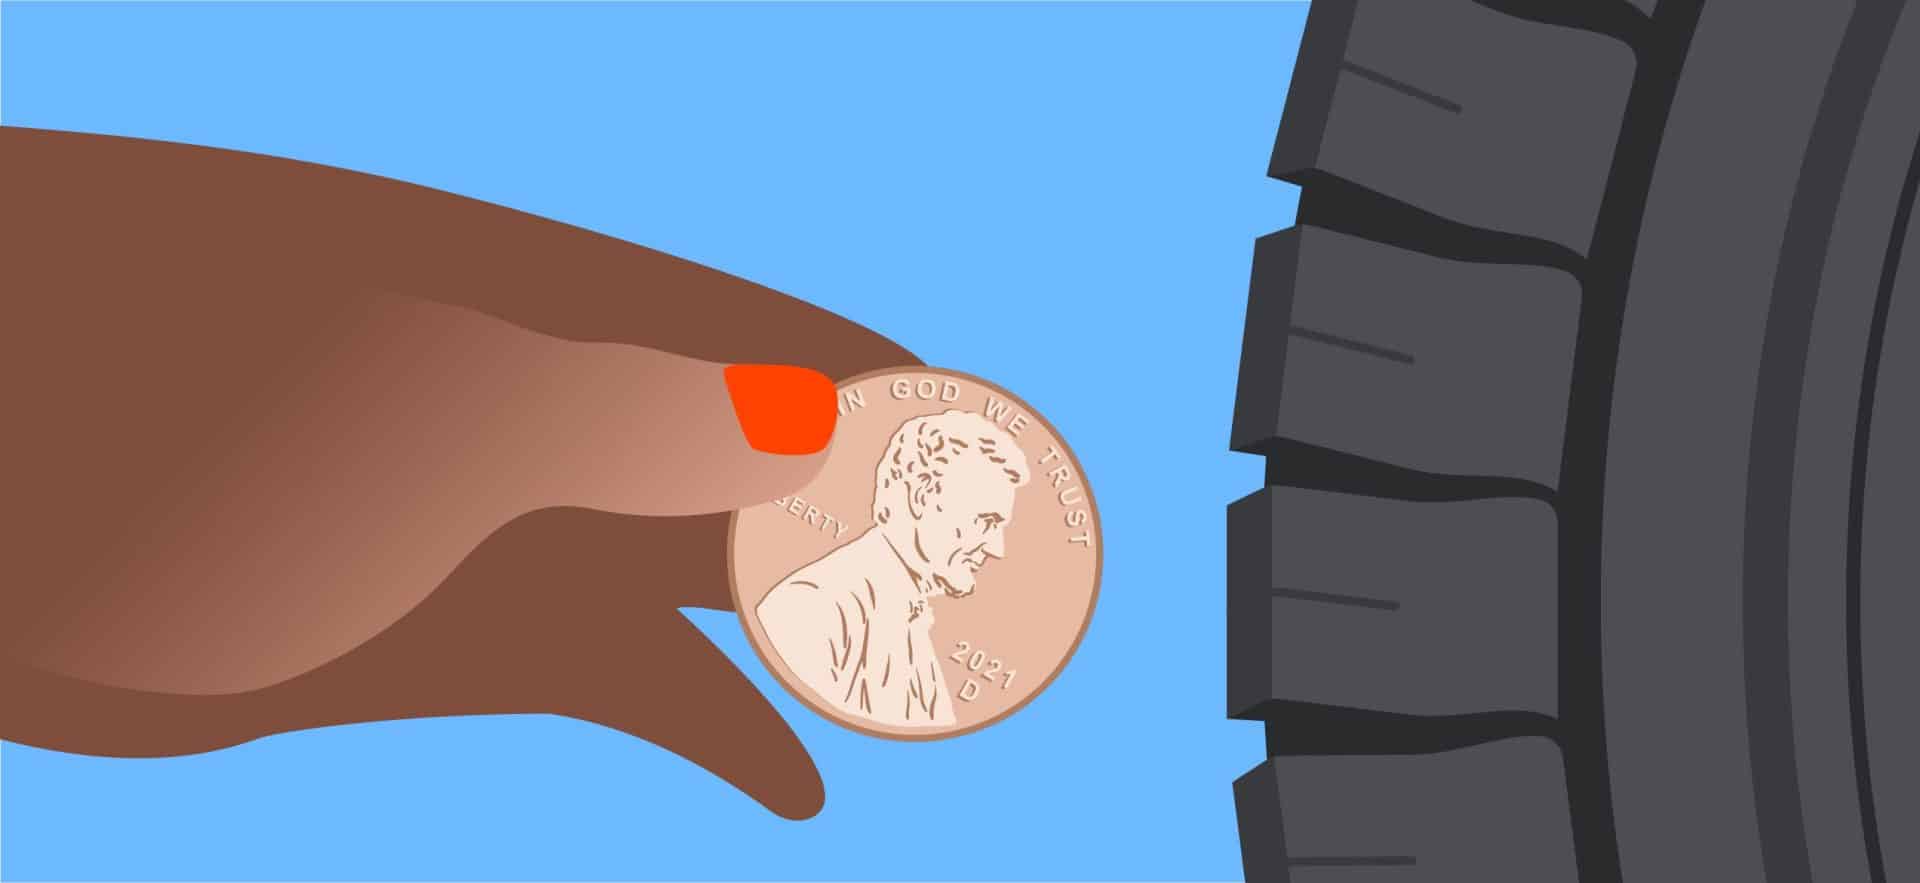
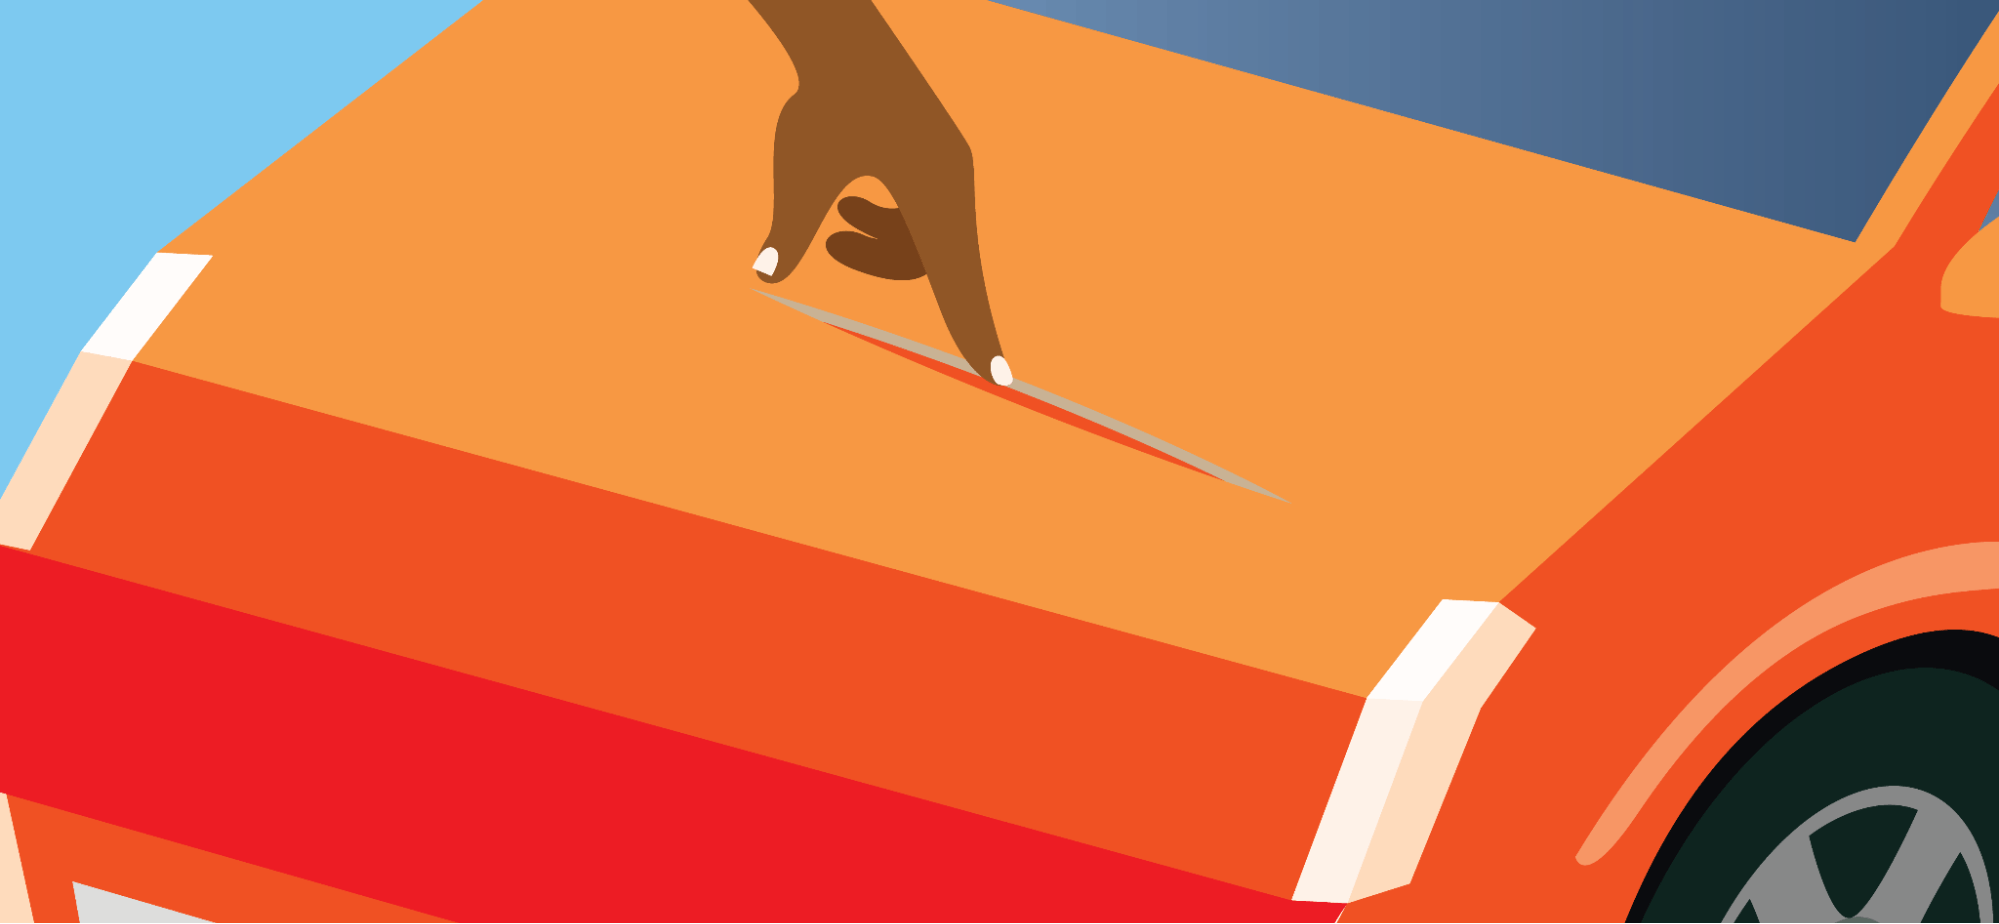
If you’re unsure whether you’re dealing with a clear coat scratch or something more serious, run your fingernail over the affected area. If your fingernail gets caught on the scratch, then it’s a deeper scratch. But if your nail slides smoothly across it without getting caught, it’s a minor clear-coat scratch.
2. Color-Coat Scratches
Any scratches in the color coat will affect your car’s finish. These are more noticeable than those on the clear coat and can lead to a worn-out appearance.
Color-coat scratches are usually due to friction, keying, vandalism, or improper washing. For example, scrubbing your car with a brush or using harsh chemicals can scratch the base coat.
3. Primer Scratches
This type of scratch penetrates through all three layers, exposing the metal panel. If left unaddressed, it can become an entry point for contaminants. In some cases, the exposed metal can start rusting within a few days.
Primer scratches may result from direct contact with rough materials like gravel or dirt. Other common causes include vandalism, car crashes, or accidental impact, such as scraping your car against a wall.
Our advice is to address these kinds of scratches immediately. The longer you wait, the higher the risk of further damage. Note that you may need to call a professional.
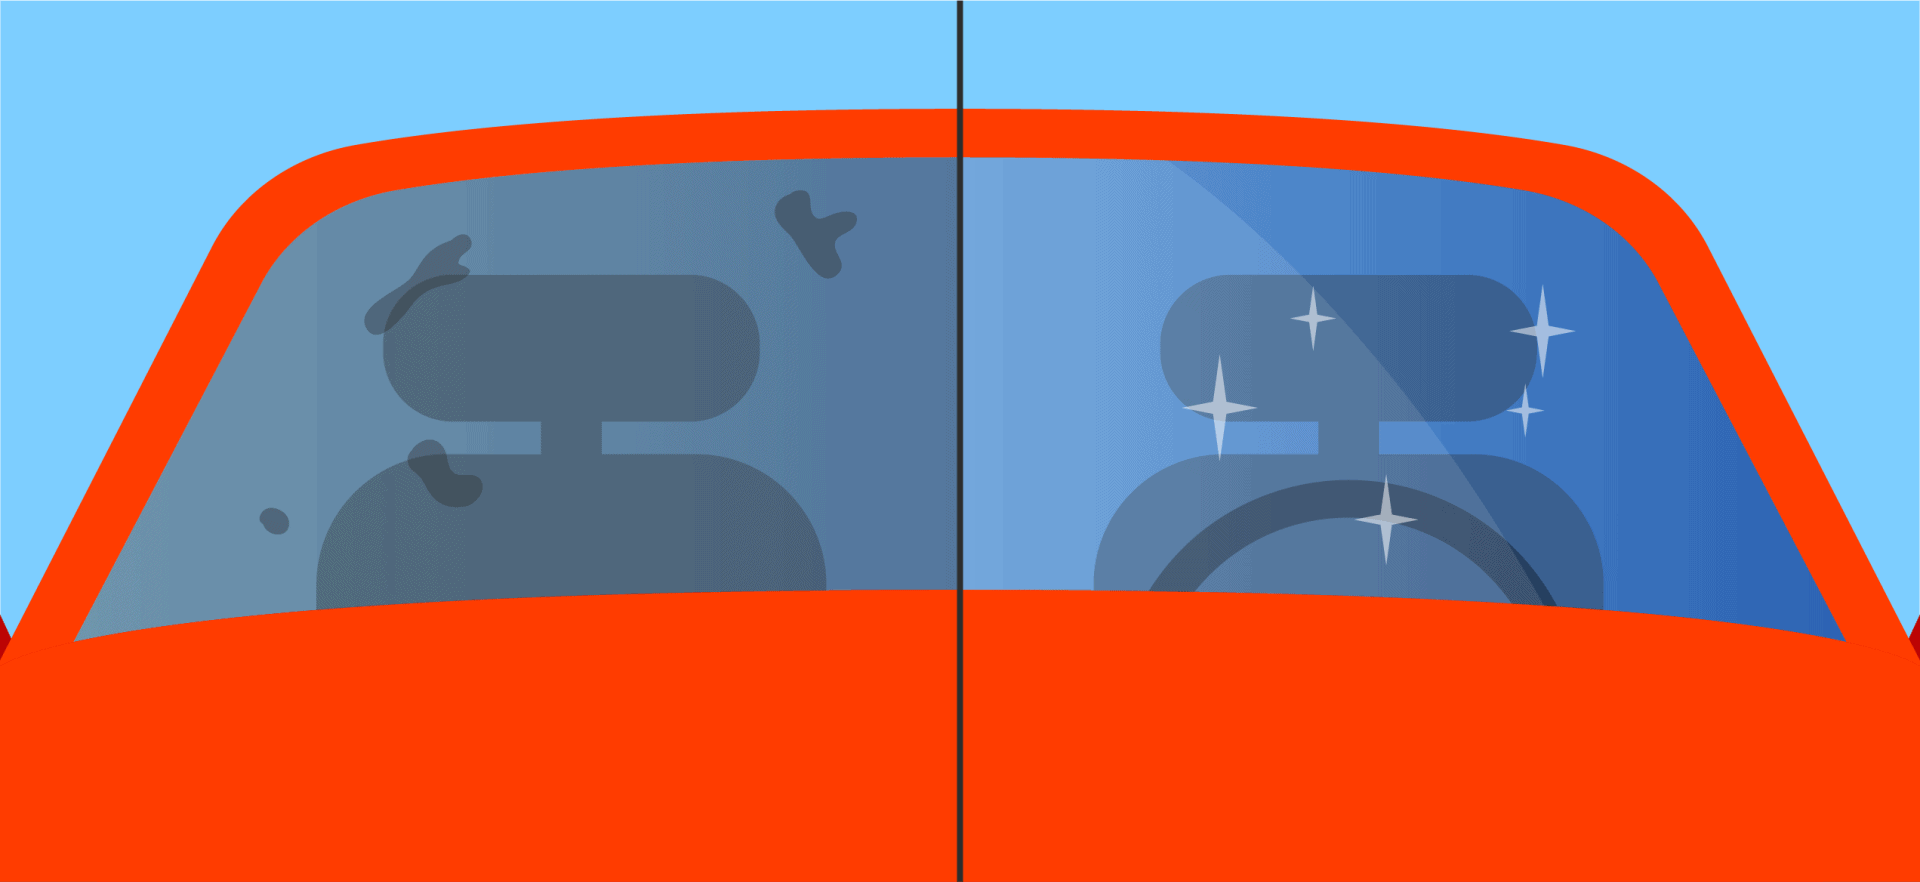
Check for Scratches on the Windows and Plastic Components
Your car’s windows, bumpers, door handles, and other components can get scratched, too. The same goes for the wheel covers, trim pieces, and exterior plastic grilles.
With that in mind, you’ll want to check for the following:
Glass Scratches
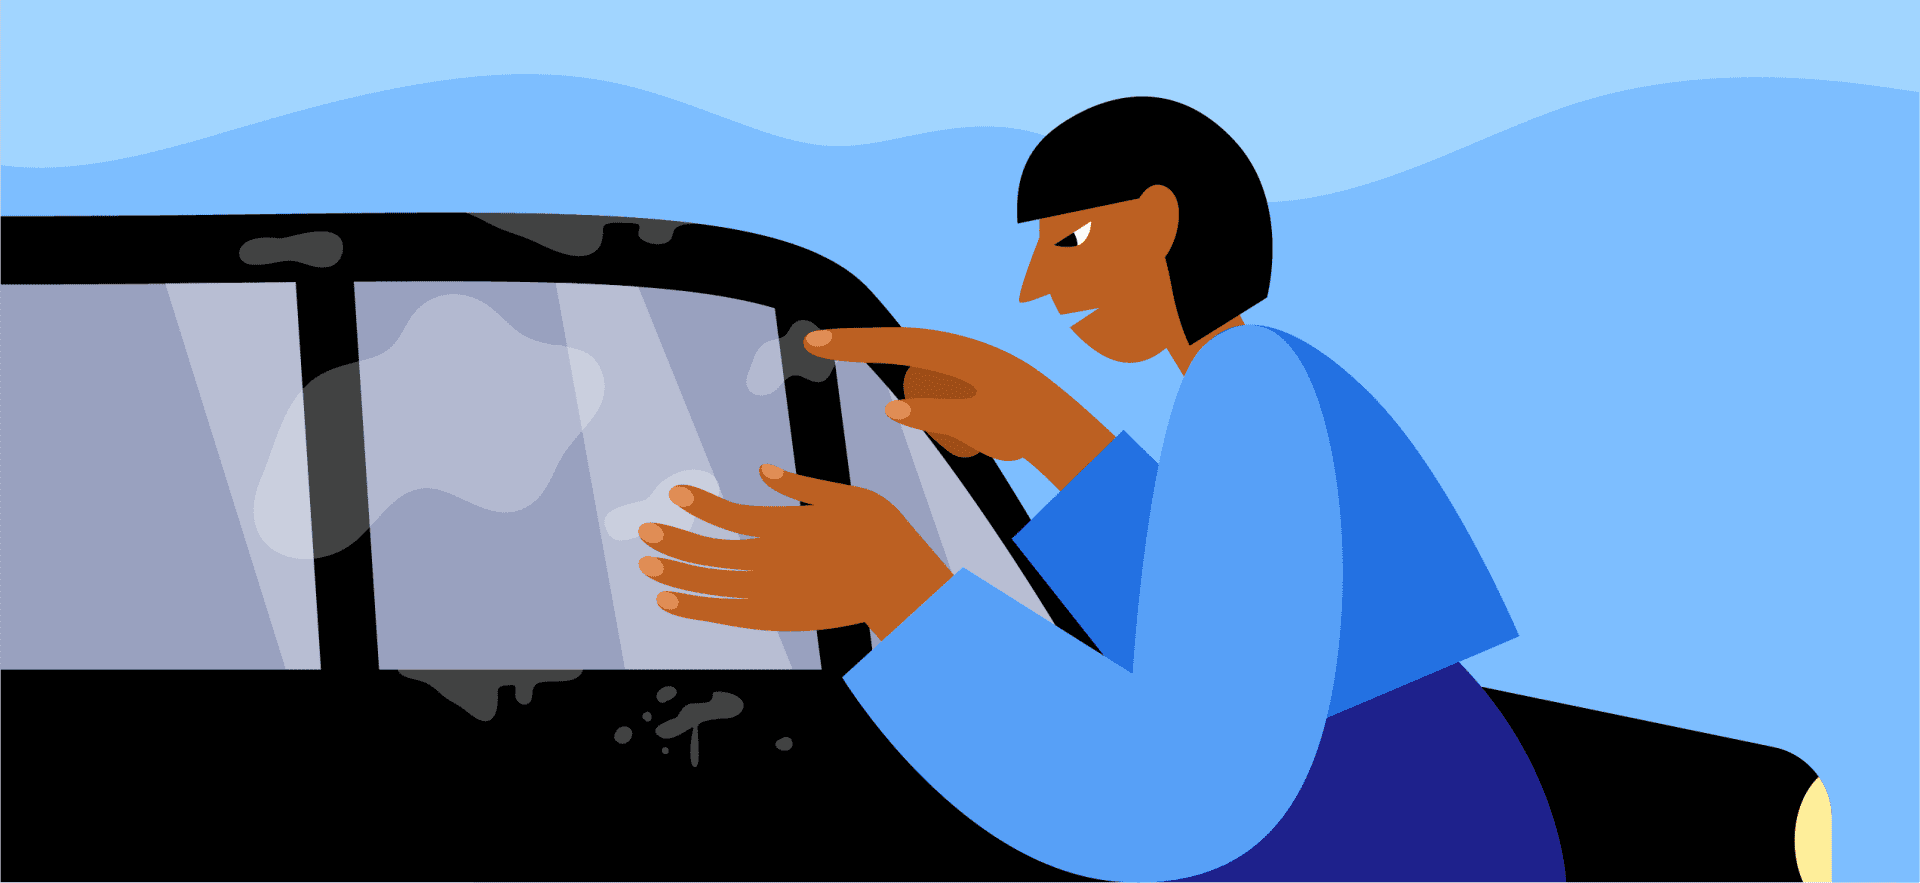
Using an abrasive cloth or sponge to clean your car may leave scratches on glass windows and windshields. These are fairly easy to remove and don’t usually require visiting an auto repair shop.
Just make sure you’re dealing with a scratch, not a crack. The latter is more severe and can become a safety hazard that weakens the entire windshield. Again, use the fingernail test.
Simply run your fingernail over the spot you’re checking. If your fingernail gets caught on it, it’s almost certainly a crack.
Plastic Scratches
These types of scratches are more or less difficult to remove, depending on their location. They’re fairly common and may result from improper cleaning, UV exposure, friction, accidental impact, or normal wear and tear.
Plastic scratches don’t cause functional damage but can impact your car’s appearance. And the longer you wait to fix them, the worse they get.
DIY Methods to Remove Scratches from Your Car
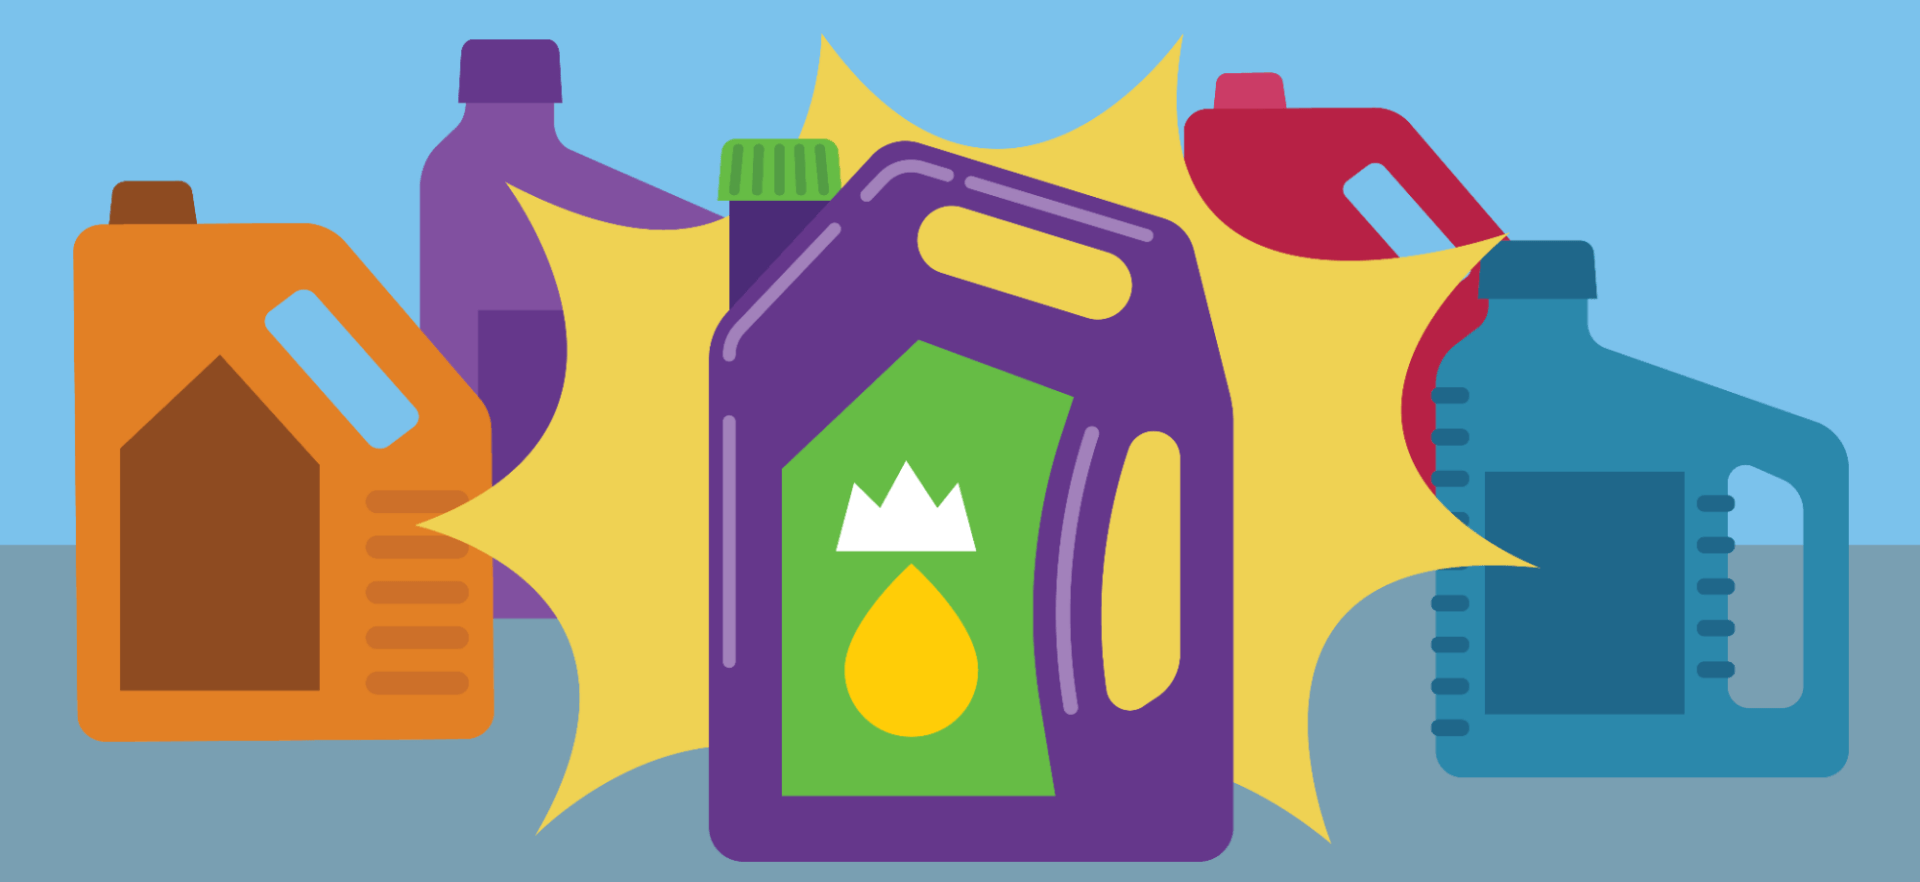
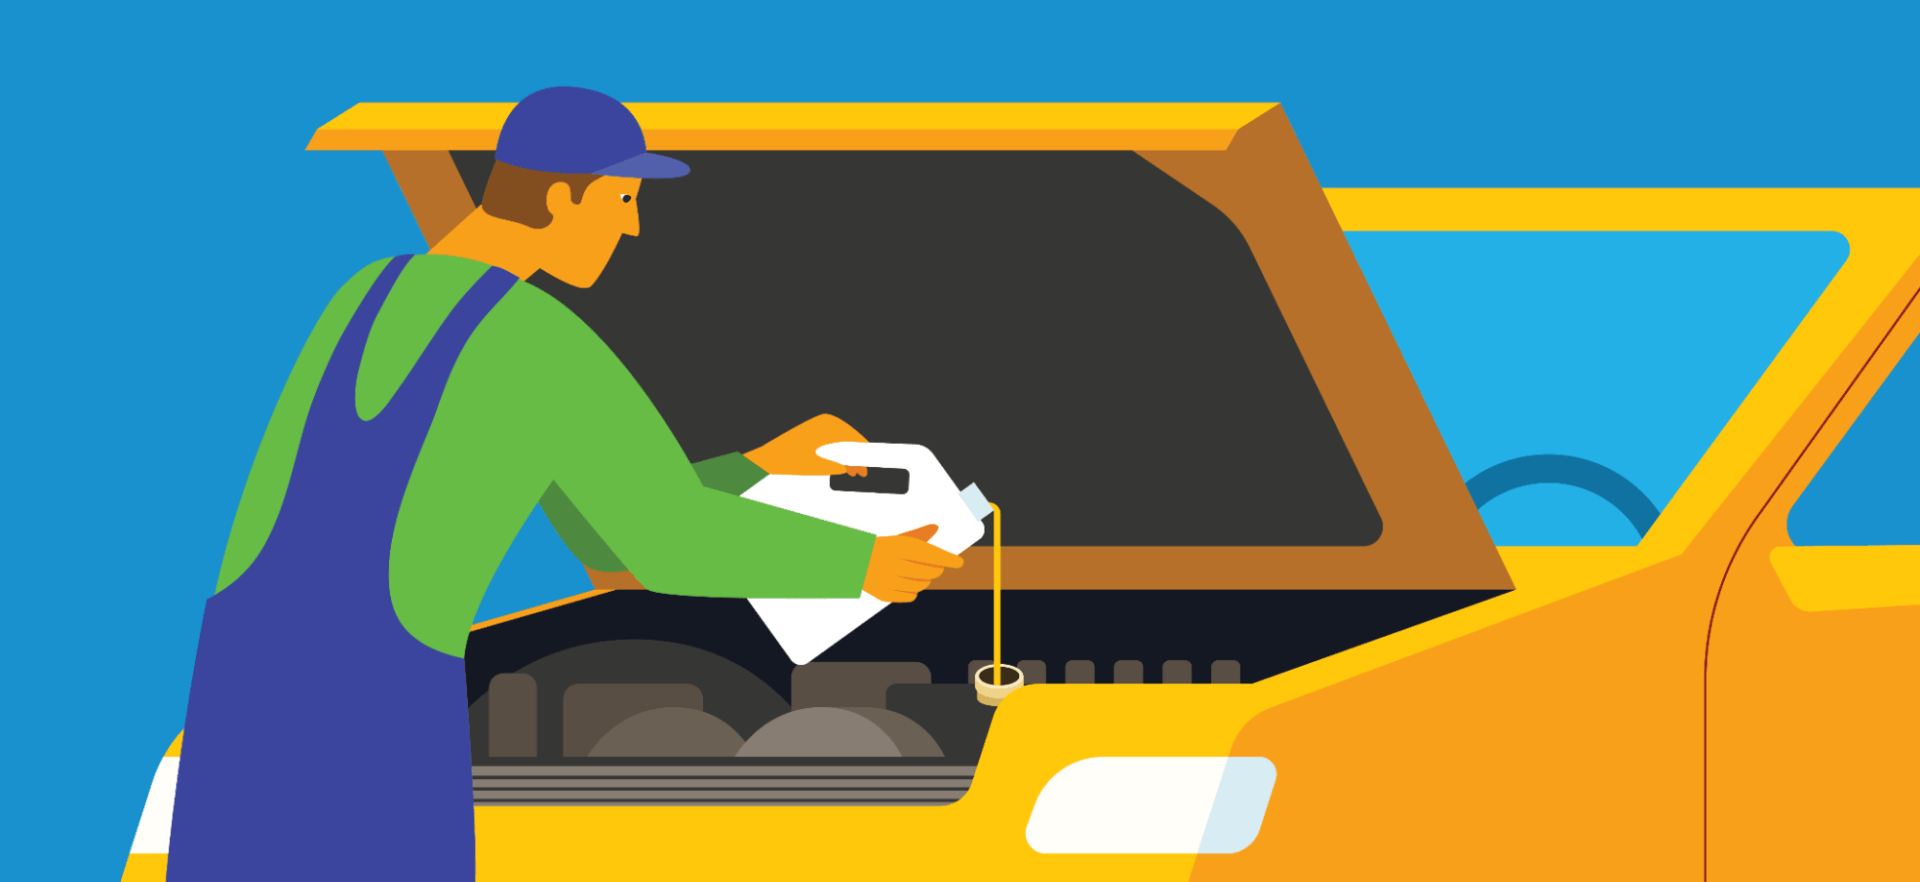
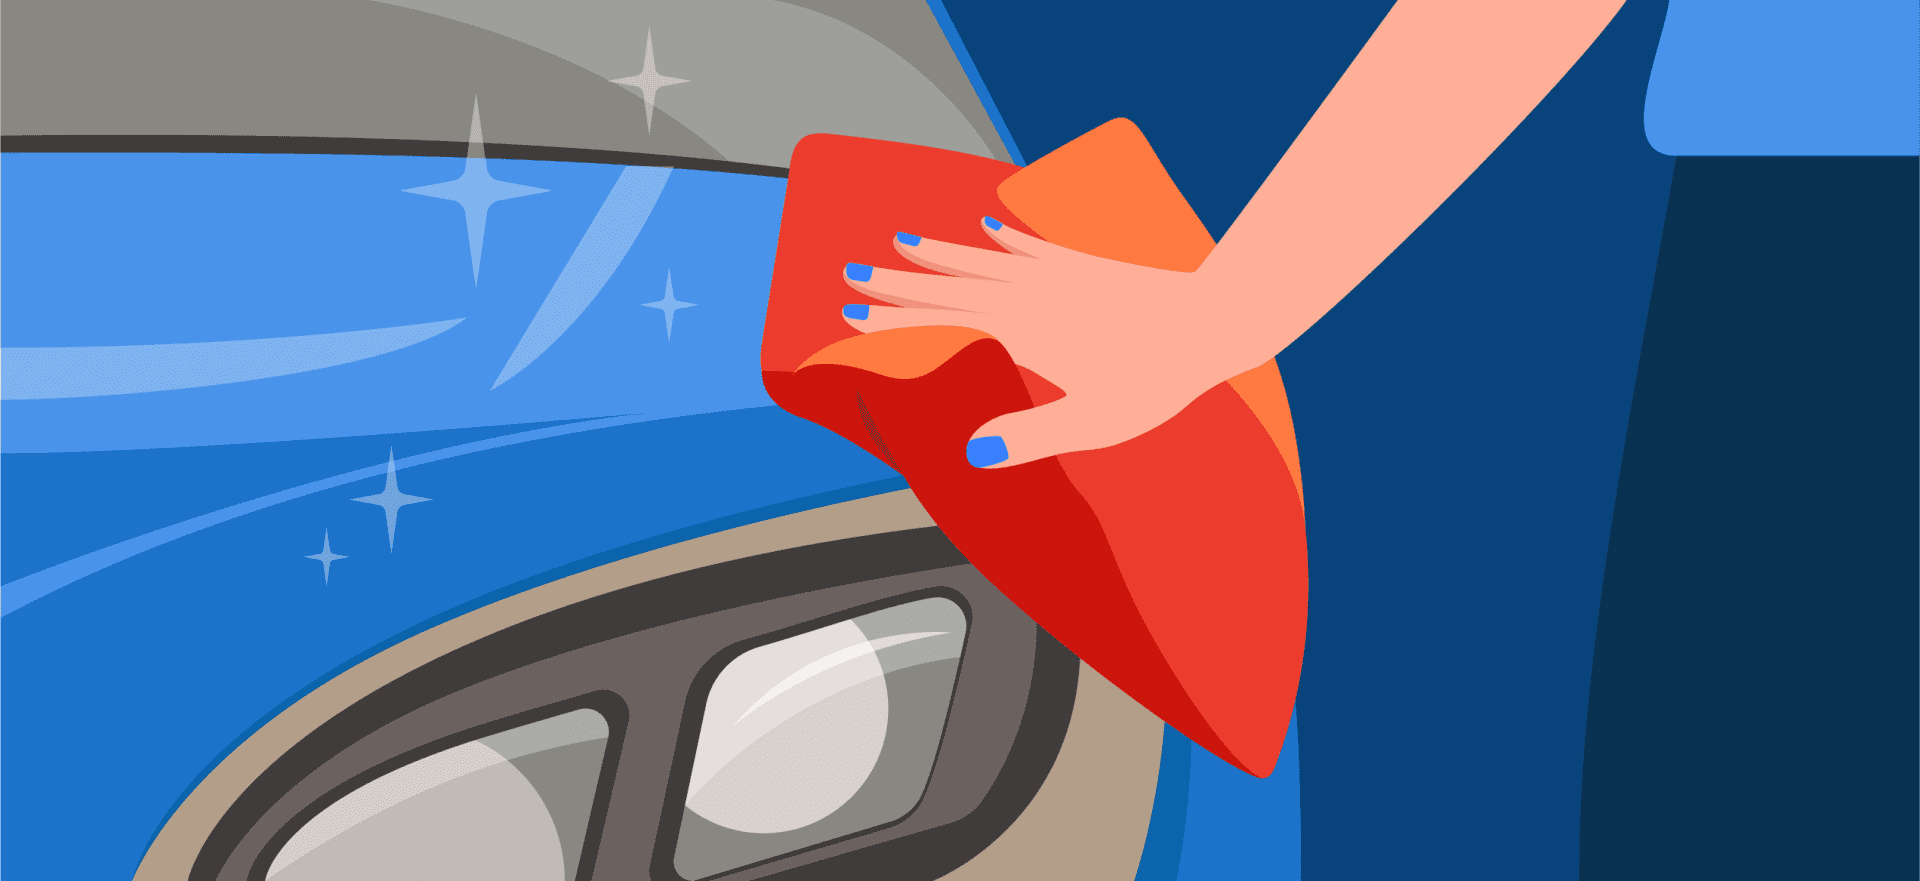
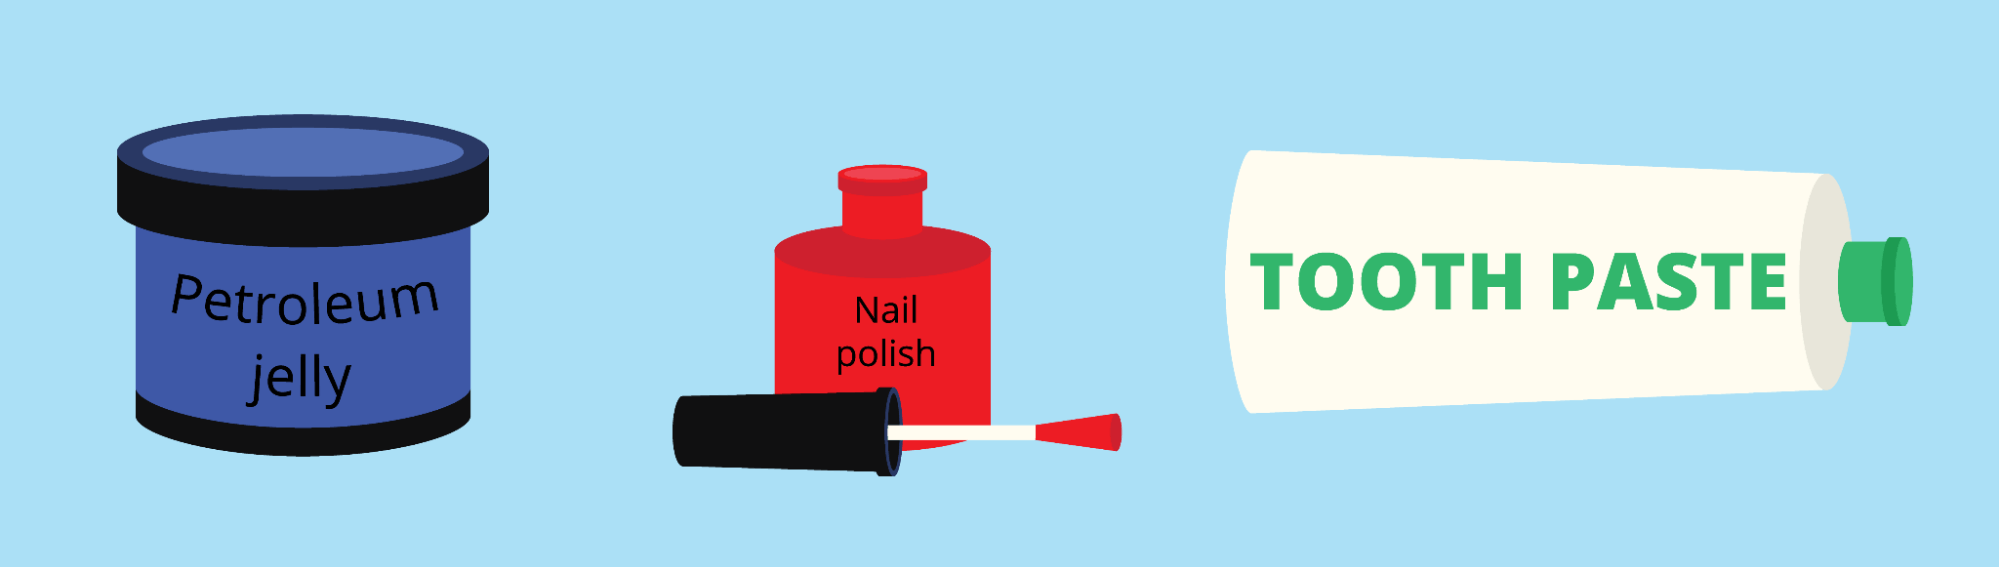
Most types of car scratches can be removed at home. You can either use a paint repair kit or everyday items like petroleum jelly, toothpaste, or nail polish.
First, wash the scratched area. Otherwise, you might end up grinding more debris into the car’s paintwork, which will cause further damage.
Pat the area dry with microfiber towels. If you drop it on the ground, use a new, clean one to get the job done.
Next, try these DIY scratch removal methods, depending on what you’re dealing with.
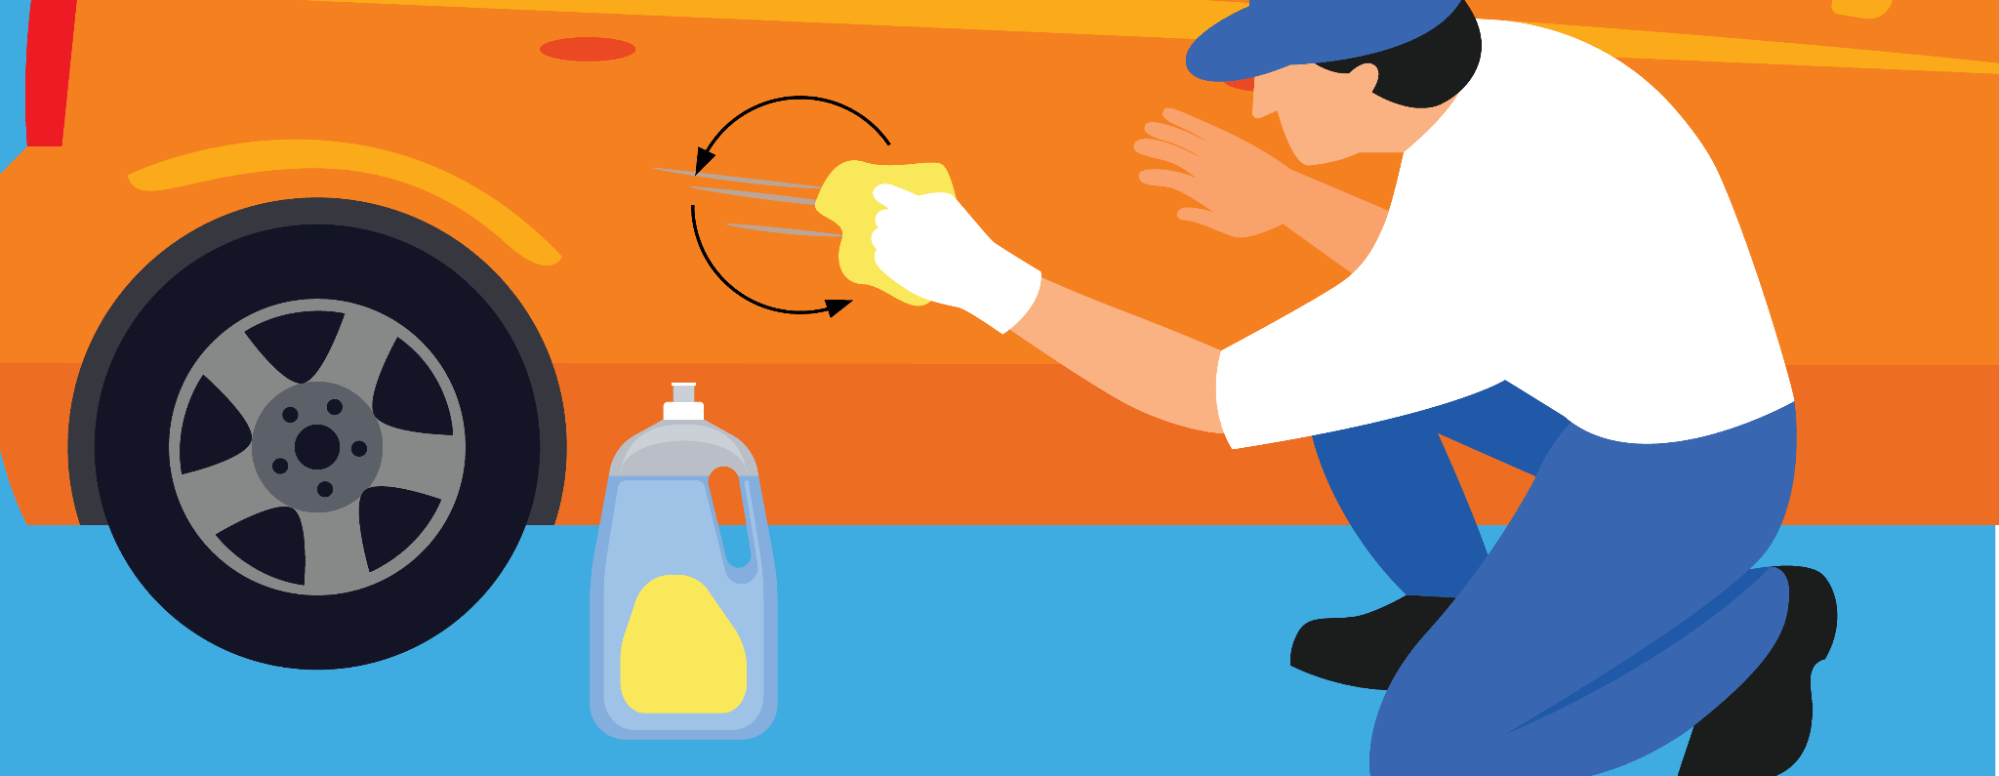
1. Remove Surface Scratches with Toothpaste
Generally, it’s best to start with the least invasive method.
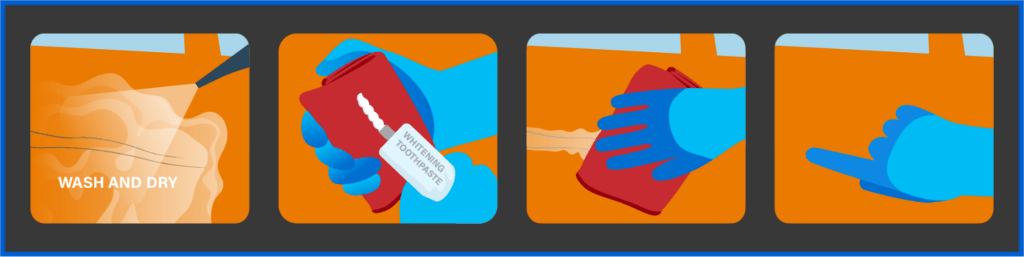
First, try to remove the scratch with toothpaste. Remember to wash and dry the area beforehand.
- Squeeze a quarter-sized amount of whitening toothpaste onto a clean, slightly damp microfiber towel.
- Apply toothpaste to the scratch. Rub the area in a circular motion while using light pressure.
- Wipe away the toothpaste with a clean part of a microfiber towel (or grab a new towel and dampen it slightly). Alternatively, rinse off the area.
- If the scratch is still there, repeat the process up to two more times. Any more than that could cause further damage to your car’s clear coat.
- Once the scratch has been removed, apply car wax or polish to protect the area and restore its shine. This step is optional but can make a world of difference.
Another option is to use a touch-up paint pen in the same color as your car’s paint. Alternatively, apply a small amount of car polish or WD-40. A mixture of baking soda and water should do the trick, too.
2. Fix Clear-Coat Scratches with a Scratch Remover
Scratch removers are mild abrasives used to smooth out the car’s surface. These products can diminish the appearance of scratches while restoring the glossy finish of your vehicle’s paintwork. Some also contain wax, polymers, or other protective compounds.
Below are some general guidelines for using a scratch remover. The exact steps may differ from brand to brand, so be sure to check the manufacturer’s instructions.
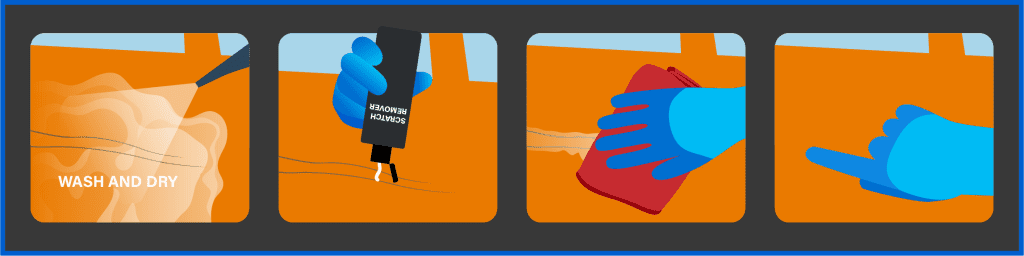
Start by washing and drying the area where the scratch is. When you’re done, apply a scratch remover as described below:
- Put a small amount of product (see the section at the end of this article for our recommendations) on a buffing pad or microfiber cloth. Spread it out over its surface. Some scratch removal kits include a foam waffle applicator, which makes things a bit easier.
- Use circular or back-and-forth motions (pick one or the other) with light pressure to buff the scratch out for several minutes.
- Wipe the area with a clean microfiber cloth.
- Check if the scratch is gone. If you can still see it, reapply the product up to two more times.
- Optionally, wax and polish the area to seal the paint and restore its shine.
Scratch removal products are most effective for small, shallow scratches, such as those affecting the clear coat. For deeper scratches, follow the steps below or contact a professional auto detailer.
3. Deep Scratches Require a More Aggressive Approach
Paint-coat and primer scratches can be tricky to remove, and you could cause more damage in the process. So, you’ll need to proceed with caution and do everything by the book.
Start by cleaning and drying the problem area. Make sure you have the following at hand:
- Matching car paint (check the vehicle’s owner’s manual to find your car’s paint code)
- 2,000-grit sandpaper
- Touch-up paint spray gun
- Automotive primer
- Polishing pad
- Microfiber towels
- Masking tape
- Paper
- Car wax
Next, follow these steps:
- Prep the area: Sand the affected area with 2,000-grit sandpaper to remove the clear coat, primer, and paint. Rub in the direction of the scratch until you reach the metal panel.
- Apply primer: Use masking tape and paper to delimit the problem area. Then spray two or three coats of primer onto it, waiting 5 to 10 minutes before applying a new coat. Let the primer dry.
- Paint your car: Apply several layers of paint with a touch-up paint spray gun. Wait 5 to 10 minutes in between each coat to allow them to dry.
- Wax the area: Apply a quarter-sized amount of car wax to a polishing pad. Rub it into the area you’ve just painted, using medium pressure and circular motions. You’ll know you’re done when the wax coats the area in an even layer.
If the scratch is new and, for some reason, you can’t fix it right away, apply clear nail polish to the problem area.
This will create a protective barrier against moisture, which may help prevent rust and corrosion. However, it’s just a temporary solution and can peel off pretty quickly.
4. Use Professional Products to Remove Scratches from Your Car’s Windshield
The scratches on your car’s windshield can affect your visibility and become a safety hazard. If they’re rather small, you can try to remove them yourself.
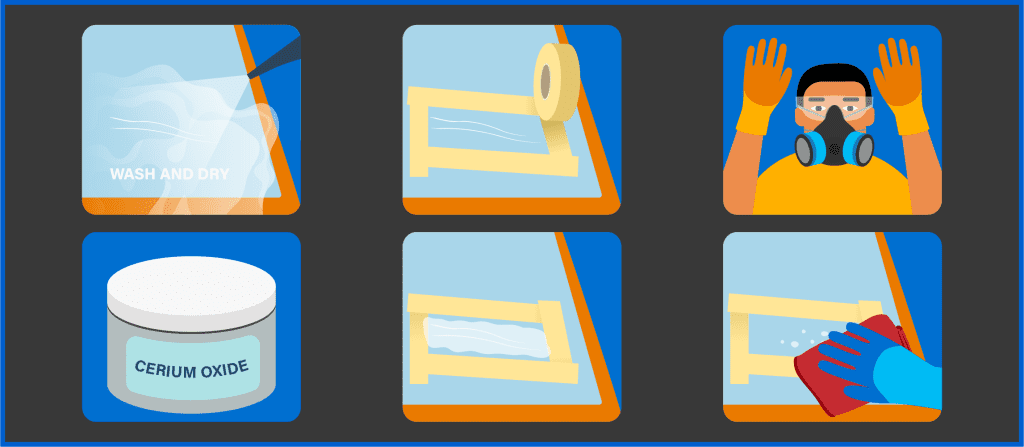
- Prep the Windshield
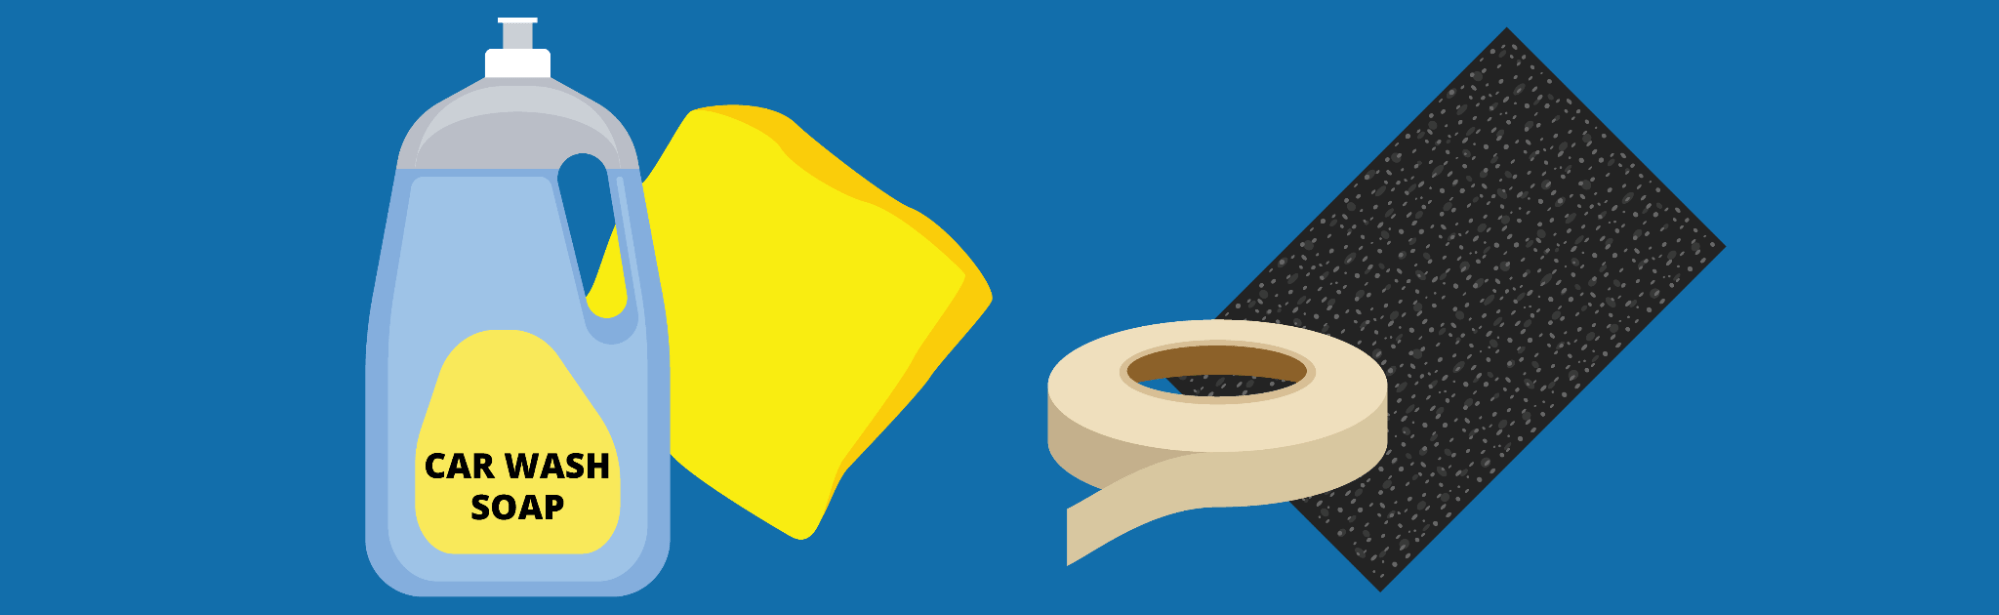
- Clean the glass with car wash soap and water. If necessary, clean the inside of your windshield, too. Pat it dry with a microfiber cloth.
- Apply Masking Tape
- Once you start polishing away the scratches, you don’t want the product to splatter into a spot where it will be difficult to clean up. So, use masking tape to protect the edges of the windshield.
- Buy a Glass Repair Kit
- These kits usually contain a cerium oxide polishing compound, an acrylic scratch remover, and buffing pads. Acrylic scratch removers work best for small scratches, but if the scratch is deep, you’ll get better results with cerium oxide.
- Get Properly Equipped
- Cerium oxide is highly toxic and can irritate your eyes and lungs. The same goes for other scratch removal products, which often contain harsh chemicals. With that in mind, put on a dust mask, rubber gloves, and goggles. It’s also a good idea to keep your car in a well-ventilated area as you try to remove the scratches.
- Prepare the Cerium Oxide Powder
- Pour two tablespoons of cerium oxide powder into a bowl, then add one tablespoon of warm water. Mix them into a paste.
- Apply the Cerium Oxide Paste
- Apply cerium oxide to a buffing pad. Hold the pad securely against the glass as you move it back and forth across the scratched area.
- Wipe Off the Leftover Paste
- Don’t allow the paste to dry on your windshield, or you’ll be dealing with a whole new mess. Wipe it away with a microfiber cloth, and your windshield should be free of scratches.

The above method is suitable for deep scratches. If your car’s windshield has minor scratches, try using an acrylic scratch remover or whitening toothpaste.
5. Remove Scratches from Plastic with Sandpaper
Plastic scratches should fade or go away if you use fine-grade sandpaper and polishing compounds. Here’s what you need to do:
- Use mild car wash soap and water to clean the affected area. Pat it dry with a microfiber towel.
- Apply masking tape to protect the surrounding areas.
- Gently scrape the problem area with 3000-grit sandpaper or whitening toothpaste. If you decide to use sandpaper, run it under cold water beforehand.
- When you’re done, wipe down the surface with a clean towel.
- Apply a plastic polishing compound, then remove the excess with a microfiber cloth.
For deeper scratches, it’s a good idea to apply heat to the plastic before rubbing it with sandpaper. This will soften up the plastic, making it easier to smooth it out.
Depending on where the scratch is located, you may also spray-paint the area or apply grain pads.
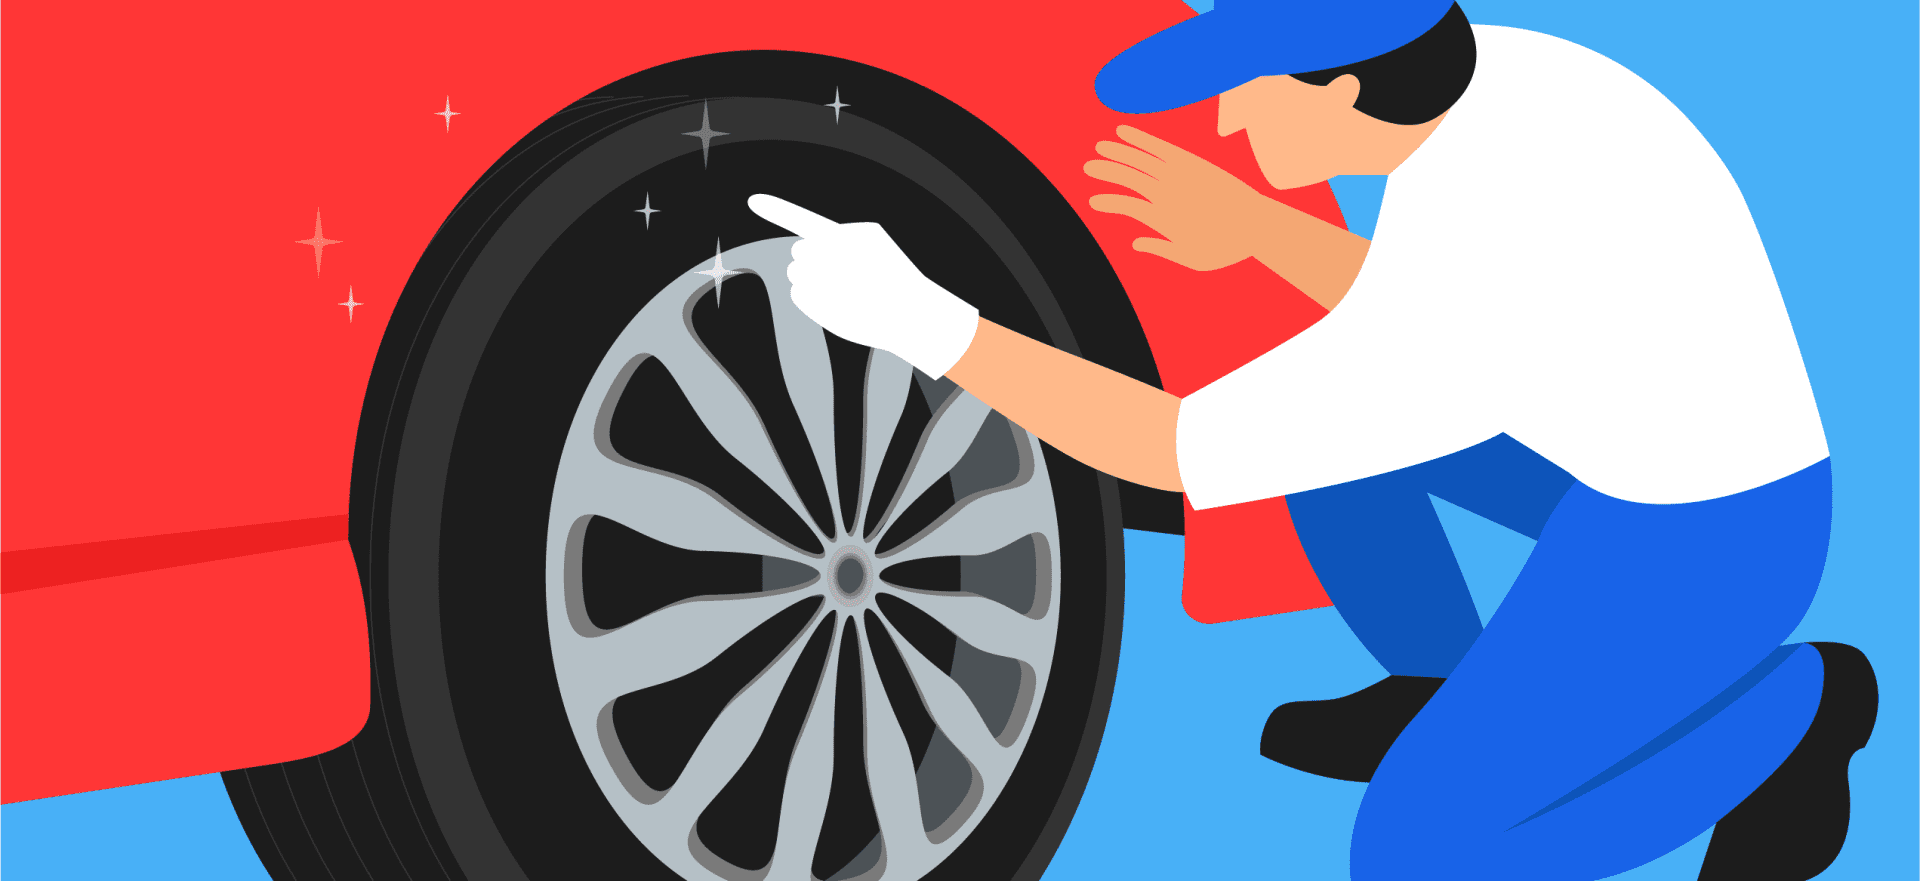
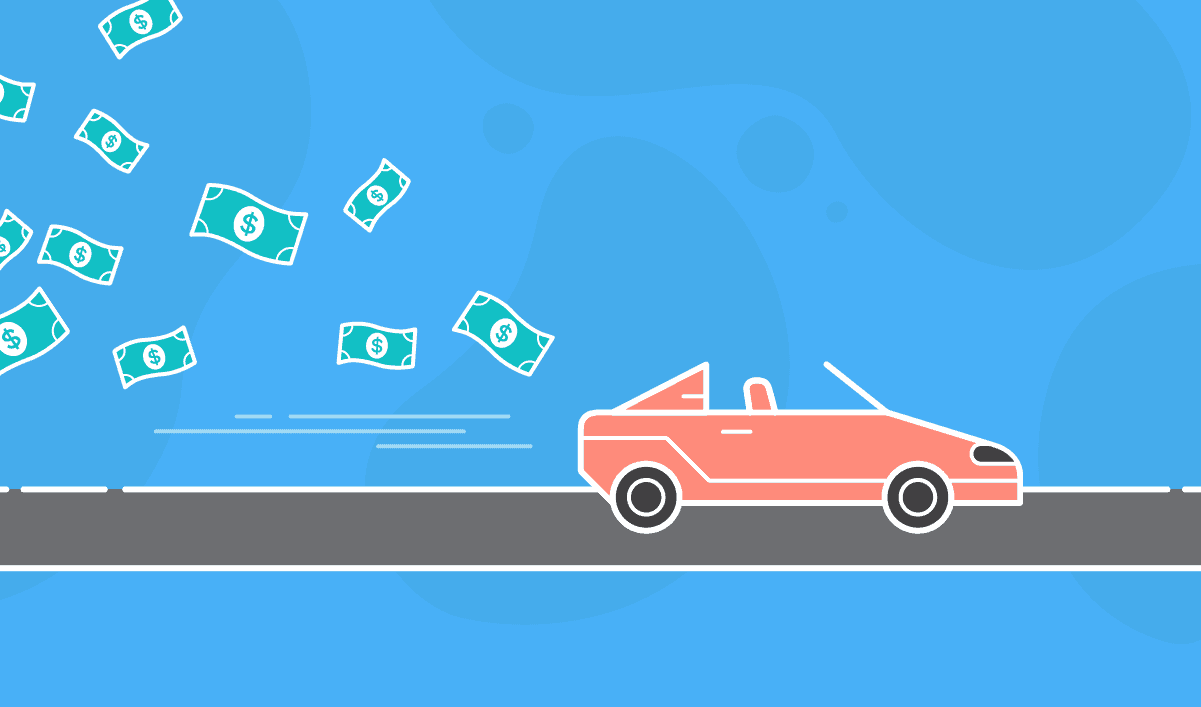
Cost Comparison: DIY vs. Professional Scratch Removal
The DIY route involves lower costs than professional scratch removal, but it’s not always the best option. For example, it may not work for large or very deep scratches and, in some cases, can cause more damage.
How much you’ll pay for scratch removal services depends on several factors, including:
- Your car’s make and model
- Type and severity of scratches
- The size of the scratched area
- Paint type and color
- Additional services, such as paint correction, waxing, or polishing
- Auto shop location, expertise, and labor costs
ScratchWizard, an auto repair shop based in Tigard, Oregon, surveyed 30 body shops to estimate the cost of removing a long scratch.
The cheapest rate was $300, whereas the highest was $1,161. The average price was around $630.
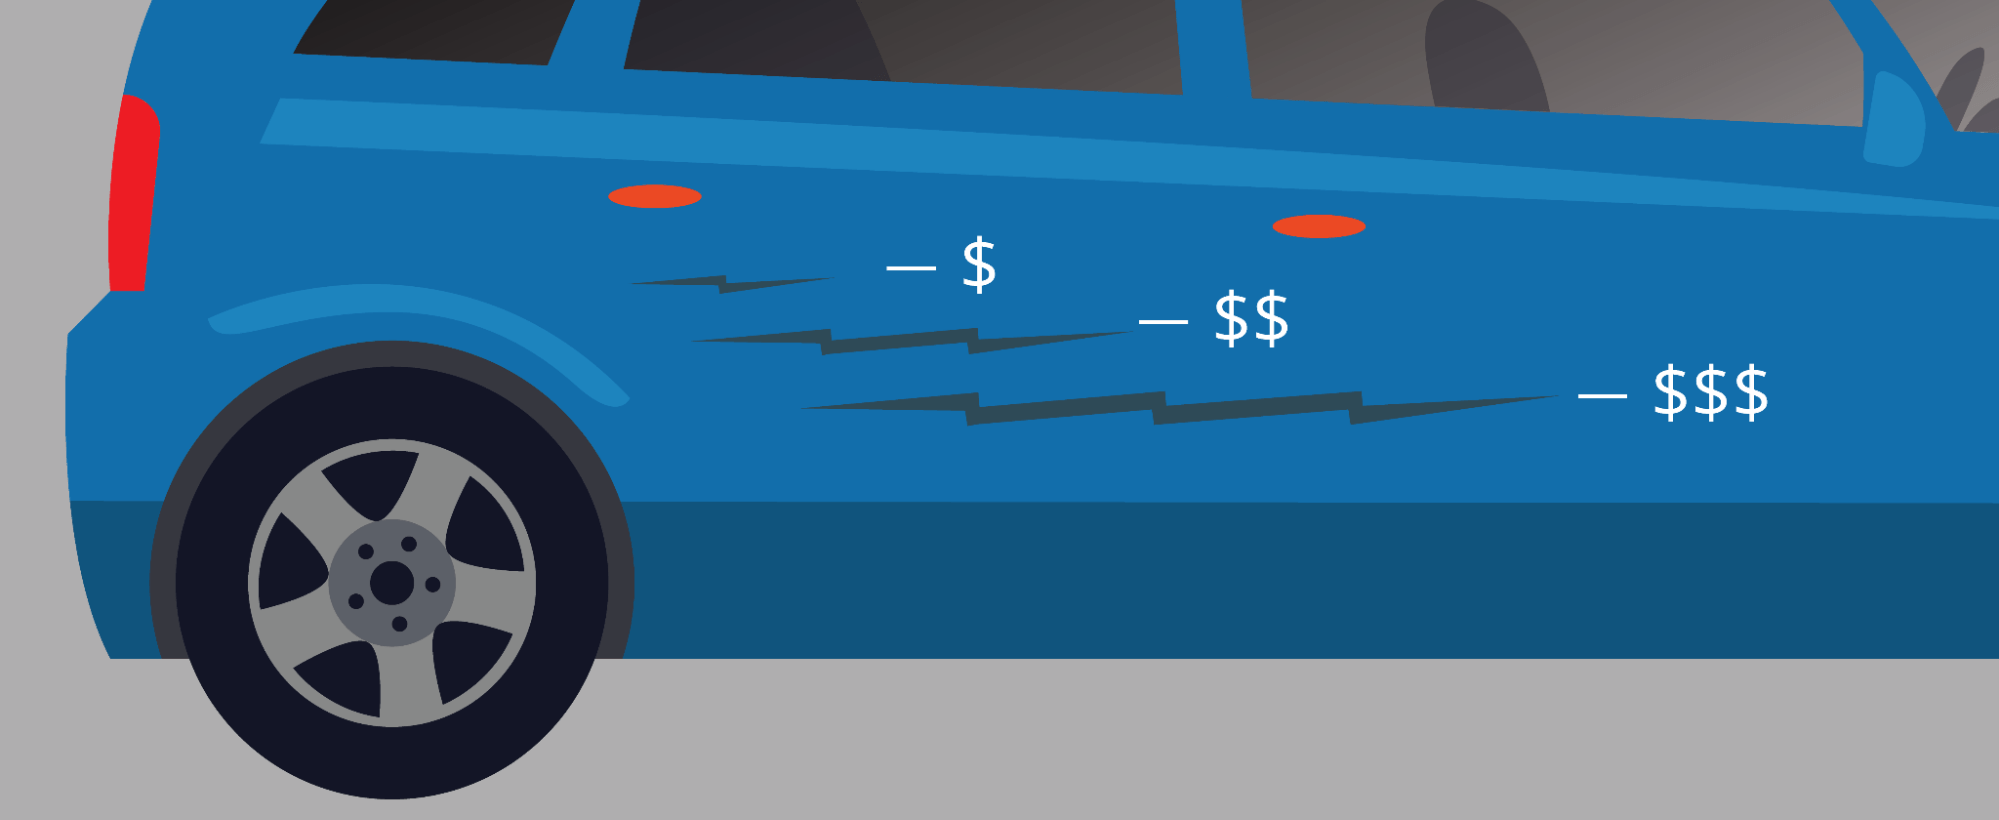
Scratch Wizard also broke the estimated cost down by scratch severity:
- Light/surface scratches: $50 to $70
- Clear-coat scratches: $150 to $300
- Paint scratches: $400 to $1000
- Primer scratches: $800 to $1500
However, it’s possible to pay a lot more than $1,500, especially when the scratch removal is part of a larger repair. The advantage is that you’ll get the job done faster and possibly better—though you may have to wait for an appointment and leave your car at the repair shop for a day or longer.
By comparison, scratch removal kits cost around $20-$25 or less, depending on the brand. Car wax has pretty much the same price, while polishing products cost anywhere between $10 and $50 or higher.
These products last a long time, and you’ll use them more than once. Plus, you can work on your car when the time allows for it.
If you’re new to DIY scratch removal, practice on a piece of scrap plastic or a spare component. This will allow you to try out different techniques without risking damage to your vehicle’s paintwork or plastic parts.
Best Car Scratch Removal Products
Our team has reviewed some of the best car scratch removal products on the market. We focused on their effectiveness, affordability, and ease of use.
Here are our favorite picks.
1.) Meguiars G190200EU Scratch Removal Kit

All in one kit: Kit includes everything you need to quickly and safely remove fine scratches and blemishes
Why we love it: This scratch removal kit includes everything you need to erase surface scratches, paint blemishes, or scuffs. You’ll get a buffing pad, a microfiber towel, and Meguiar’s Scratch X 2.0.
The product is easy to apply and can remove minor scratches in a pinch. You can also use it on paint-coat scratches to minimize their appearance. The effects will last for two or three washes.
2.) Turtle Wax T-234KT Premium-Grade Scratch Repair Kit
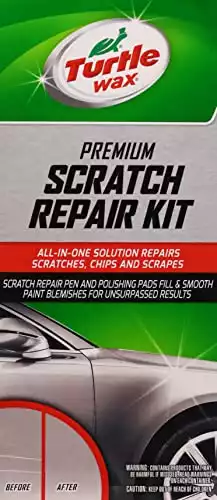
Kit includes: 3ea 2"x2" color coded restoration pads, 4oz. spray lubricant, 4oz. paint clarifying compound and a .3oz. clear coat finish pen
Why we love it: The Turtle Wax scratch repair kit can fix more extensive paint damage, including paint-coat scratches. It also includes a clear-coat pen for minor blemishes.
This is one of the few kits on the market that includes grit sanding pads. You’ll also get a paint-clarifying compound and a spray lubricant.
3.) Formula 1 Scratch Out Car Wax Polish Liquid
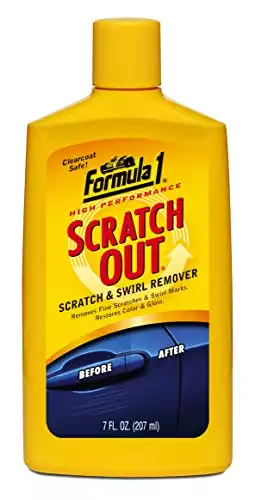
Scratch Out car compound contains micro polishers that remove fine scratches and swirl marks on your car's coat finish. With each stroke of our polisher for car detailing you'll see the small scratches disappearing.
Why we love it: Formula 1’s Scratch Out contains Carnauba wax and micropolishers for a scratch-free, glossy finish. It’s gentle, non-abrasive, and easy on the pocket. Not only does it remove light scratches, but it can also restore faded or yellowed headlights.
A potential drawback is its smell, but if you feel that’s a worthwhile tradeoff for convenience and affordability, this could be the right product for your car.
4.) Chemical Guys One-Step Scratch and Swirl Remover Compound Polish

Why we love it: The One-Step Scratch and Swirl Remover can erase light to moderate scratches from your car’s paintwork. It also provides a glossy finish, reviving your vehicle’s shine.
What we like most about this formula is its convenience. It requires minimal effort and gets the job done in less time than other polishing products. The downside is that it has a strong chemical smell, so you should use it in a well-ventilated area.
5.) Carfidant Scratch and Swirl Remover

Why we love it: This kit includes a professional-grade scratch remover and a buffer pad. Not only is it super easy to use, but it also works great against surface scratches and swirl marks.
The Carfidant Scratch and Swirl Remover won’t erase deep scratches. However, it can diminish their appearance and restore the luster of your car’s paint.
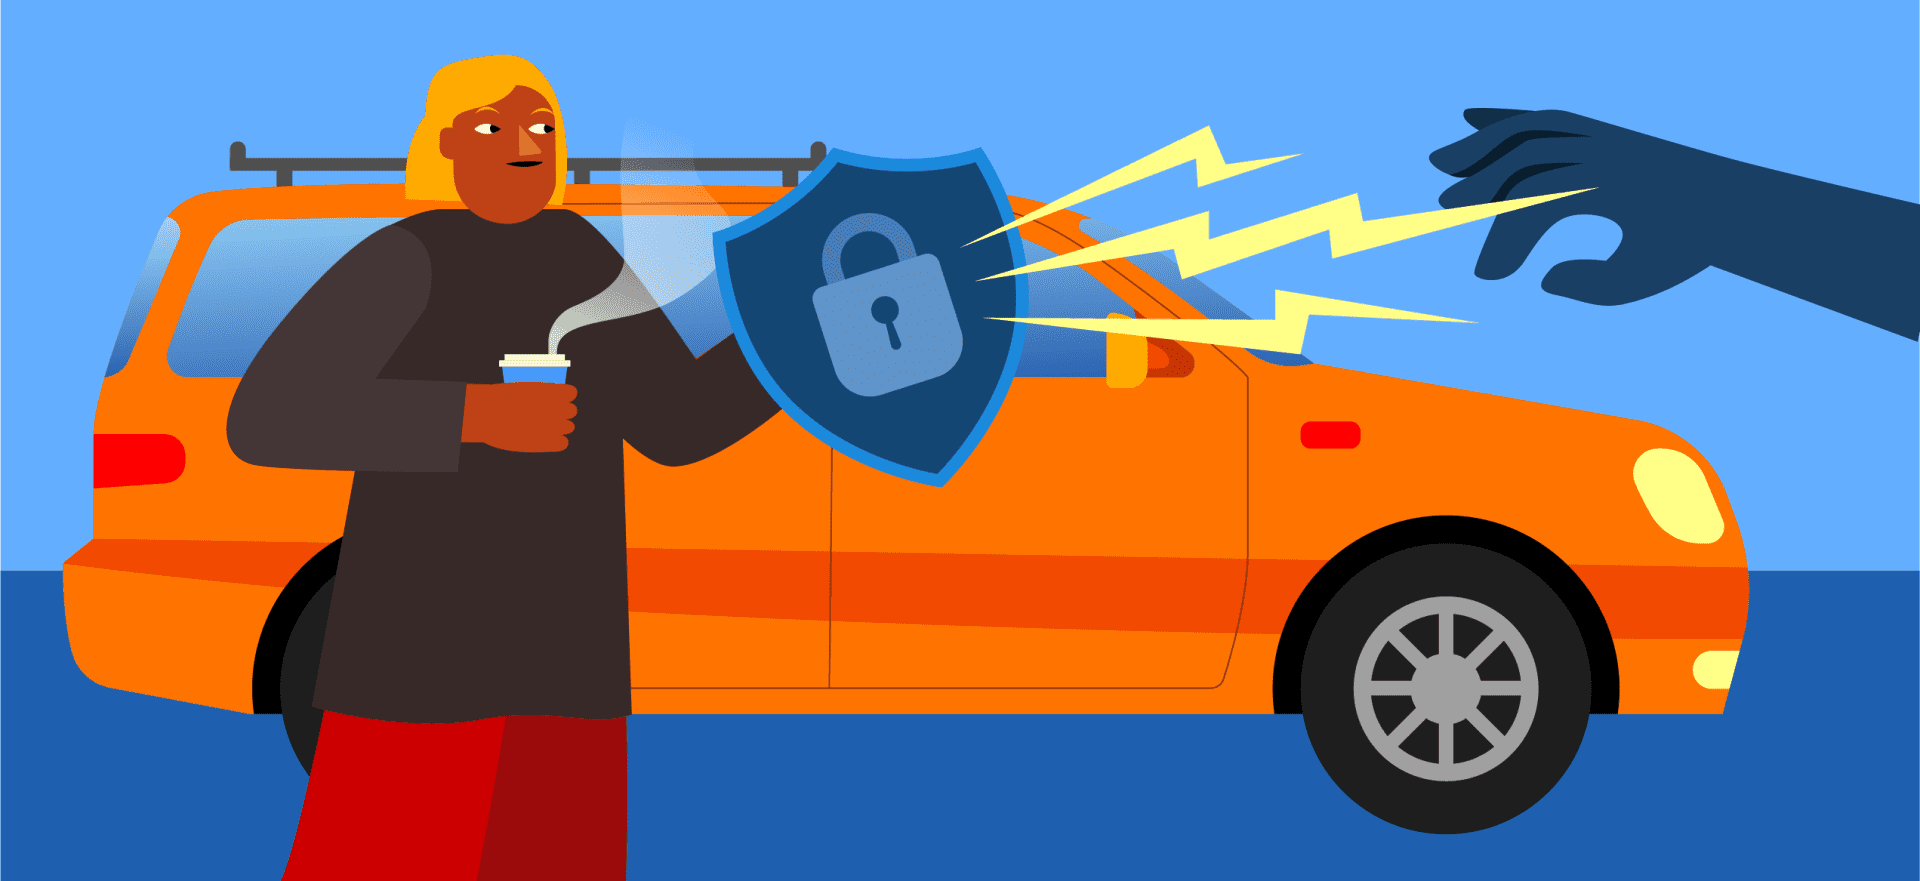
Protect Your Car from Scratches
While it’s not always possible to prevent car scratches, there are steps you can take to protect your vehicle’s paintwork.
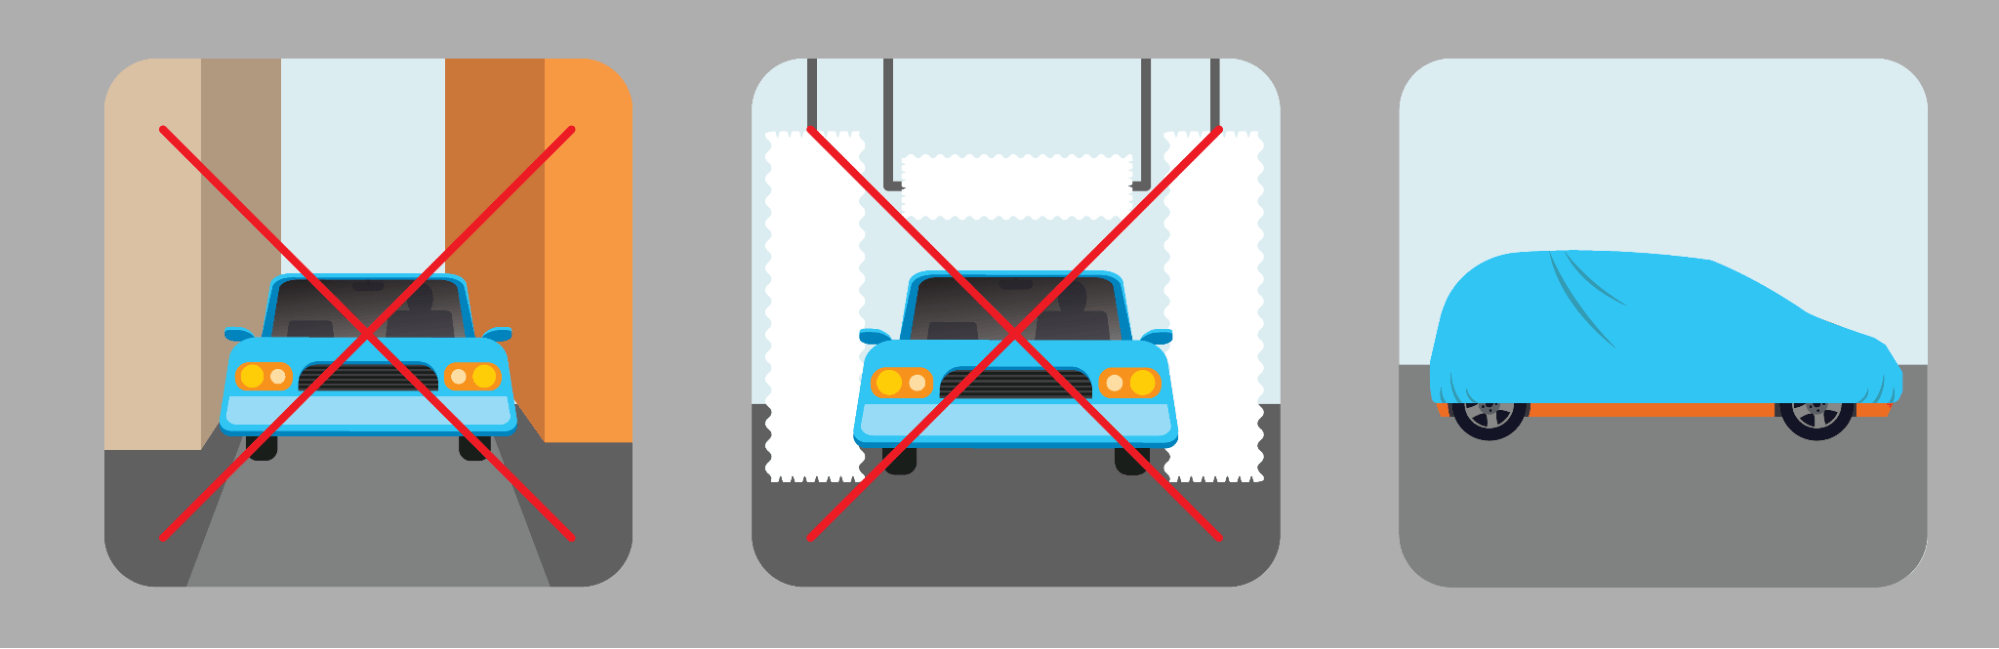
For starters, choose your parking spot wisely.
Avoid squeezing your car into tight spots where it could easily get scratched by other vehicles. Choose less crowded areas whenever possible—even if that means parking further away from the store (or other establishments).
On a similar note, avoid driving on narrow streets if you’re a novice driver. It takes just one wrong move to scrape your car against a pole or other objects.
Keep in mind the following tips, too:
- Avoid automatic car washes: Tunnel car washes feature abrasive brushes that can leave micro-scratches on your car’s paintwork. They also use harsh chemicals that can damage your vehicle’s finish in the long run.
- Keep your car clean: Dirt, debris, and other contaminants can cause unsightly scratches over time. Wash your car at regular intervals to prevent this issue. If you prefer to do it yourself, use soft-bristled brushes, microfiber towels, and plush or microfiber wash mitts.
- Apply ceramic coating: This treatment protects your car from UV radiation, debris, rust, and road grime, minimizing the risk of scratches. Basically, it adds an extra layer of protection.
- Use a car cover: Ideally, keep your car in the garage. If that’s not an option, protect it with a car cover when parked outdoors.
Install paint protection film (PPF): This thin yet durable polymer will shield your car against the elements, bird droppings, UV exposure, surface scratches, and more. It’s not cheap, but it could save you thousands of dollars in repairs. - Protect your car with a sealant: Apply a paint sealant every three to six months to protect your vehicle’s paintwork. This treatment creates a barrier against grime, UV rays, and contaminants that could cause scratches.
Note that you can apply paint sealants, ceramic coatings, glass coatings, and other protective treatments at home. These products can prevent clear-coat damage from tree sap, bird droppings, harsh weather, and some contaminants.
Last but not least, check your car’s paintwork regularly. Address any scratches as soon as possible to prevent them from getting worse. Also, remember that minor scratches are often easier and less expensive to fix than deeper scratches.