As the first barrier against external elements, your windshield should be in top condition at all times. We’re not talking just about keeping it clean, but fixing any chips or cracks, no matter how small. If left unaddressed, these issues can hinder your visibility and increase the chances of a car crash.
Not only does the windshield ensure an unobstructed view of the road, but it also protects your vehicle’s interior. Plus, it allows the front airbags to deploy properly in the event of a car accident and lends around 40% structural strength to the vehicle’s roof.
Given these aspects, timely windshield repair is crucial to your car’s aesthetics and safety. Even a small chip can turn into spider cracks over time or during a sudden stop. If that happens, you may need to replace the windshield—which is a lot more expensive than getting it fixed.
Luckily, there are a couple of things you can do yourself to repair minor windshield damage. All you need is some free time, a DIY windshield repair kit, and a bit of dexterity.
Types of Windshield Damage
The success of DIY windshield repairs depends on the type and extent of the damage.
For example, most chips and small cracks under three inches in length can be fixed at home. But if you’re dealing with star breaks or bull’s eye cracks, then you should contact an auto glass specialist.
That said, let’s take a closer look at the most common types of windshield damage.
1. Windshield Chips

Chips are less severe than a crack but can turn into one over time. They’re usually caused by sudden temperature changes, such as exposure to extreme heat or cold, or other factors, such as:
- Poor installation of the windshield
- Road debris (e.g., small rocks or gravel)
- Minor collisions
- Hailstones
- Falling tree branches
Any of these factors can cause small pieces of glass to flake off, leading to:
a. Star Cracks
These chips are shaped like a starburst, with fine cracks originating from a center point of breakage. They can be fixed at home or may require professional repair, depending on their size.
Generally, those larger than one inch call for windshield replacement.
b. Bull’s Eye Chips
Resembling a target, bull’s eye chips feature a central indentation surrounded by circular damage. These are typically the easiest to fix.
c. Half-Moon Chips
This type of chip is similar to a bull’s eye, but the circular shape isn’t complete, making it resemble a half-moon. Unless it’s rather large, you should be able to fix it yourself.
Windshield chips can also take the shape of a bee’s wing or clover leaf. Also, it’s possible to have two or more types of chips at once, such as after a hailstorm.
2. Windshield Cracks
This type of windshield damage is more or less severe, depending on the crack size, depth, shape, and location. If left unaddressed, it can compromise the structural integrity of the glass and become a safety hazard.
Road debris and other factors responsible for chipping can lead to cracks, too. Other causes of windshield cracks may include:
- Structural stress
- Pre-existing chips
- Car accidents
- Windshield wear and tear
For instance, a vehicle’s frame can twist or bend if you accidentally touch a wall or hit an object. This can put stress on the windshield, resulting in cracks.
Here are some common types of cracks you may see:
a. Stress Cracks
These can have different shapes and sizes and may result from sudden temperature changes or
normal wear and tear. For example, they may occur when someone uses hot water to melt the ice off the windshield.
If the stress crack is small and localized, it may be possible to fix it. However, extensive or long cracks may be beyond repair.

b. Floater Cracks
Originating at least two inches away from the edge, these cracks can become larger if exposed to further temperature variations. Since they spread faster than other cracks, you should address them as soon as possible.
c. Edge Cracks
As the name suggests, these cracks start at the windshield’s edge and move inward. Basically, they’re the opposite of floater cracks.
This type of damage is usually due to excessive heat. The crack is initially small but can grow quickly. If it’s less than 14 inches long, then you can most likely have it repaired.
d. Major Cracks
These extensive fractures span across the windshield, and there’s not much you can do about them. The only option is to get a new windshield.
Should You Repair or Replace Your Windshield?
Generally, you should be able to repair your windshield when dealing with a small chip or crack. What matters most is the size of the damaged area.
A windshield replacement is the best option if:
- The chip is larger than a dime
- The crack is over 14-15 inches long
- The damaged area is on the driver’s side or the edge of your windshield
- The damage goes beyond the outer layer of the glass
- The windshield has three or more chips or cracks
- The glass is tempered
For example, cracks that extend to the corner can affect the structural integrity of the windshield. In such cases, the glass could break or shatter at any time.
Deep cracks are problematic, too, as they can damage the inner layer of the glass. In the long run, they can cause discoloration and further impair your visibility.
If you suspect you’re dealing with one, run your fingernail across it from the inside of your car. Can you feel the crack? Then it’s time for a new windshield.
Also, note that tempered glass is more likely to break into pieces because of a crack, harming the driver and passengers. This type of glass is stronger than laminated glass, but the latter will bend or flex rather than shatter.

So, if you have a windshield made of tempered glass and you spot a crack, then it might be safer to replace it.
Windshield Repair vs. Replacement: What Can You Expect to Pay?
Repairing a crack or chip can cost anywhere between $60 and $130, depending on the size, type, and location of the damage.
Windshield replacement, on the other hand, costs anywhere between $100 and $400 for most cars but can go up to $1,000 or higher for luxury vehicles.
If you’re not sure what to do, reach out to an auto glass technician. They will inspect your windshield to determine whether you should repair or replace it.
Beware that you can get fined for driving with a damaged windshield, as it represents a safety hazard. According to Section 26719 of the California Vehicle Code, it’s legal to operate a motor vehicle on a highway if the windshield is damaged to the point where it obscures your view of the road.
How to Choose a Windshield Repair Kit
Repairing your windshield on your own is doable, but your success largely hinges on the kit you choose. A good kit can make the difference between a seamless repair and a frustrating experience.
Ideally, select one that’s easy to use, even for those with no prior experience. Make sure it comes with clear instructions, whether written or in video format.
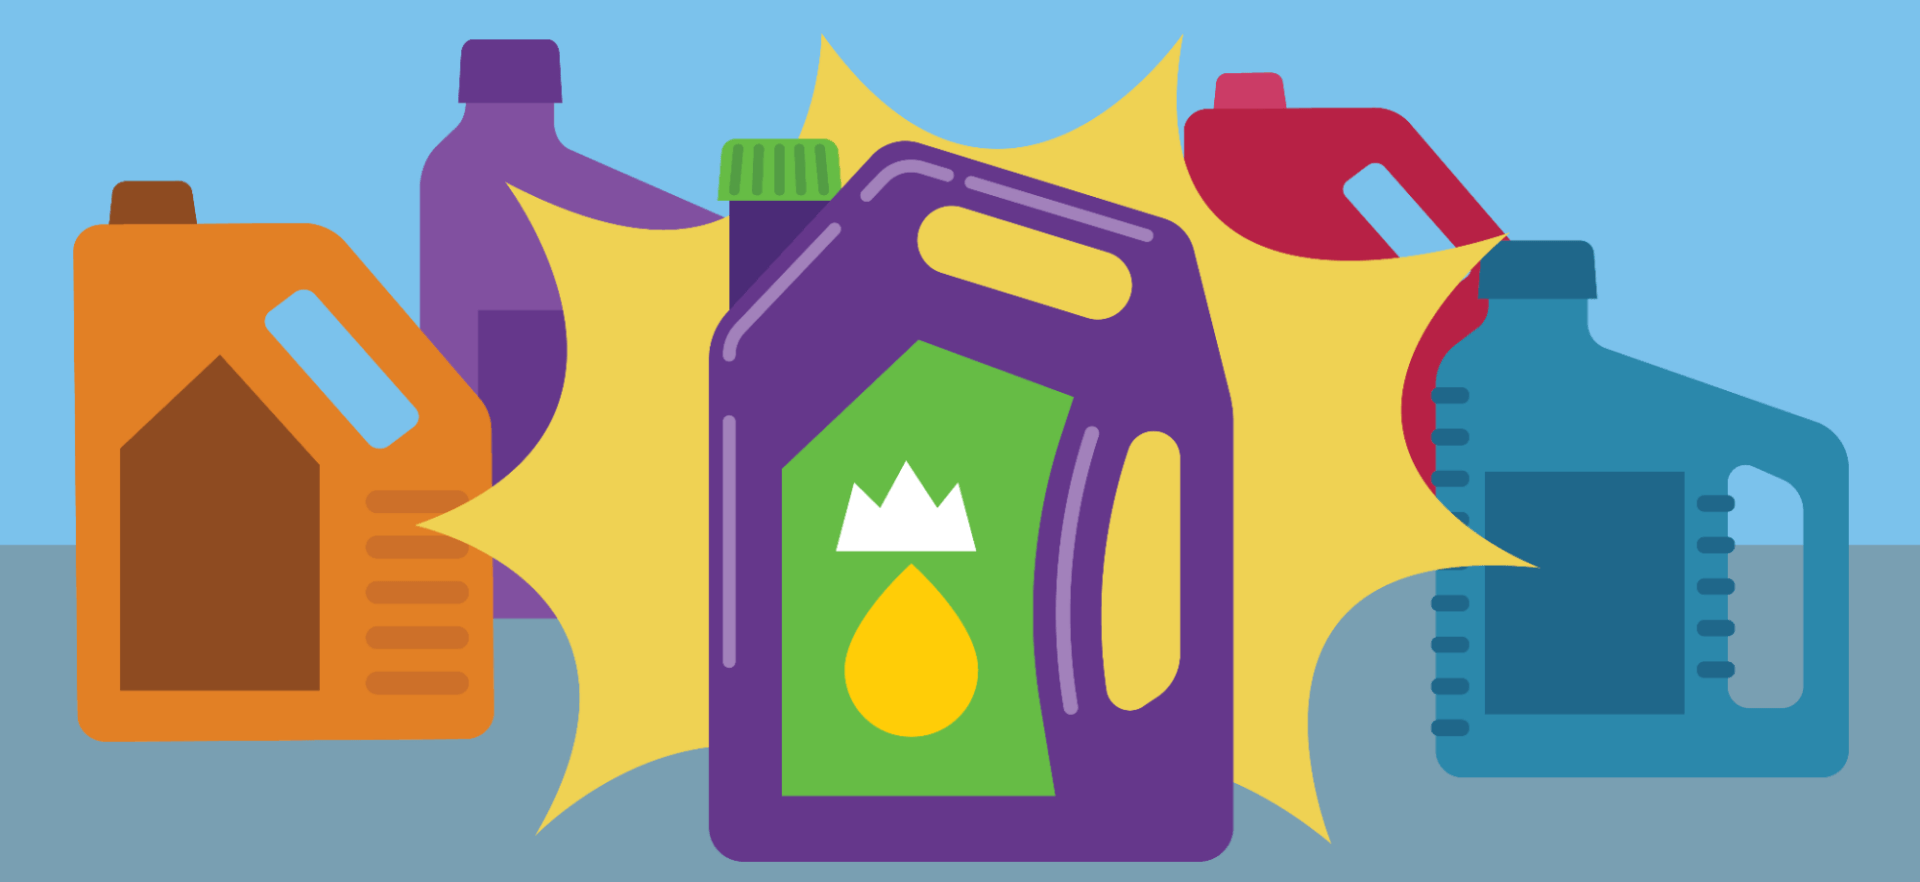
Our advice is to buy a kit that includes everything you need to get the job done. At the very least, it should contain the following:
- Professional-grade resin
- Curing strip or light
- Film and tape
- Resin applicator

The resin should have strong bonding properties and low viscosity so it can fill the smallest cracks or chips. This is the most important component of the kit, so take the time to research your options.
Also, note that some windshield repair kits are designed for single use. Others contain enough resin for three or more uses, but they also tend to cost more. If you prefer the latter option, be sure to check the expiration date.
The curing time may vary, too. For example, some types of resin will cure and dry in minutes, whereas others can take hours to harden.
As far as pricing goes, expect to pay around $10-$20 for a single-use kit. Some brands cost $100 or more, but they’re designed for multiple uses or complex repairs.
Best DIY Windshield Repair Kits
DIY windshield repair kits vary in quality from one brand to the next. Some are fairly basic and have just one or two components. Others include professional-grade resins and specialized accessories for fixing different types of chips and cracks.
With that in mind, we’ve handpicked five of the best DIY windshield repair kits on the market.
1. Rain-X Fix a Windshield Do-It-Yourself Windshield Repair Kit

Why We Love It: This DIY windshield repair kit from the Rain-X Store works best for chips up to one inch in diameter and cracks up to 12 inches long. It’s very easy to use and includes everything you need to fix a laminated windshield at home.
The package contains a bottle of resin, a razor blade, and curing strips. If you follow the instructions, it shouldn’t take you longer than 10 minutes to fill a chip. Plus, the curing time is fairly short.
Key Features
- Can fix different types of chips and cracks
- Designed for multiple uses
- Short curing time
- Good value for the money
2. Blue-Star Windshield Repair Kit

Why We Love It: Blue Star’s Windshield Repair Kit can reduce the appearance of chips and prevent them from spreading. It’s user-friendly and easy on the pocket, providing quick results.
Key Features
- Easy to use, even for someone repairing a windshield for the first time
- Prevents the damage from spreading further
- The vacuum syringe adheres effortlessly to the glass

3. Permatex 09103 Windshield Repair Kit
- Make permanent air-tight repairs of bullseye damage up to 1 1/4" on most laminated windshield glass
- Professional quality repairs with no mixing required
- Complete kit provides everything needed for the repair including easy-to-follow instructions with photographs; single use kit
Why We Love It: This nine-piece kit is suitable for fixing chips up to 2.75 inches and bull’s eye cracks up to 1.25 inches in diameter. What sets it apart is the innovative application system, which allows for hassle-free repairs.
The Permatex 09103 may not completely remove the chips from your windshield. However, it can significantly improve their appearance, making them barely noticeable.
Key Features
- Contains a comprehensive set of tools for small chips
- Fast-acting and easy to use
- Prevents chips from spreading
- Clear instructions
4. KMOOL Windshield Repair Kit

Why We Love It: The KMOOL Windshield Repair Kit works in as little as 20 to 30 minutes and can be used for multiple repairs. It’s a good choice for most chips and cracks up to 12 inches and round damage up to one inch in diameter.
Applying the resin is quick and easy thanks to the sucker cup bracket. The key is to fill the cracks and then let the raisin dry completely.
Key Features
- Intuitive and easy to use
- Can remove or diminish most chips and cracks
- Long-lasting results
5. UNIIOON Windshield Repair Kit

Why We Love It: Featuring four bottles of resin, this kit is ideal for fixing a windshield with multiple chips. It takes just 20 to 30 minutes to work and can remove most chips and cracks smaller than 12 inches.
The resin is strong enough to prevent the damage from spreading—just make sure you give it enough time to dry. If applied correctly, it can significantly improve the appearance of long cracks, star cracks, and bull’s eye chips.
Key Features
- Designed for multiple uses
- Takes less than 30 minutes to work
- Suitable for a wide range of chips and cracks
- Short curing time
DIY Windshield Repair Made Easy
Thinking about fixing your windshield yourself? First, gather the necessary supplies:
- Windshield repair kit: One recommended option is the Rain-X Fix a Windshield Do-It-Yourself Windshield Repair Kit. This comes packed with a bottle of resin, a repair device, curing strips, and a razor blade.
- Microfiber towel or cloth: To ensure your windshield is clean.
- Window/glass cleaner: For a streak-free shine.
- Work gloves: Safety first! Ensure you’re protected from potential shards.
- Compressed air (optional): Useful for blowing away small glass pieces.
- Pit polish (optional): For a nice finishing touch.
Note that most repair kits work in a similar fashion. However, you should still check the instructions to make sure you do everything right.
Fix a Chipped or Cracked Windshield in 7 Steps
Repairing a windshield is quite straightforward if you have the right tools. Simply follow these steps:
1. Clean and Dry the Area
First, put on some work gloves to protect your hands from broken glass. Consider wearing safety goggles, too.

Next, use a glass cleaner and a microfiber cloth to remove dust from the windshield. Let it dry, then blow compressed air around the problem area to remove glass shards and other small debris.
2. Prepare the Repair Kit
Each kit contains some sort of applicator, such as a syringe, barrel, or sucker cup bracket. Follow the manufacturer’s instructions to set up the applicator.
For example, some kits require pulling back on a syringe. Others include a plunger you need to screw down.
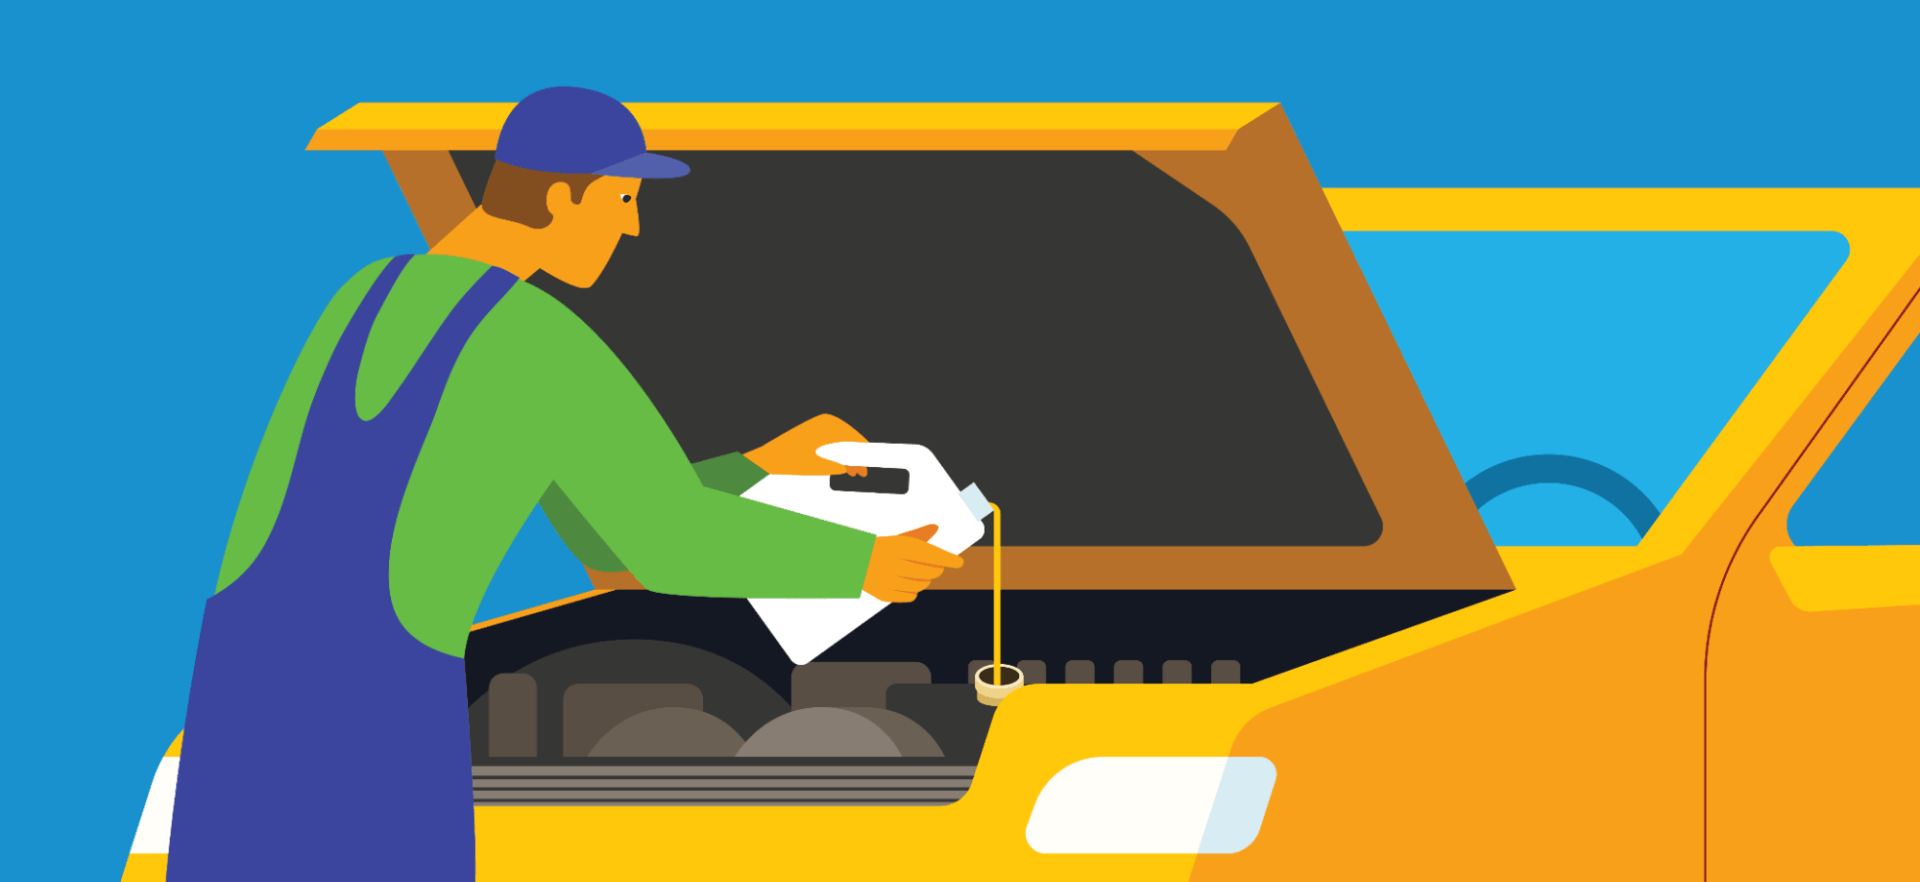
3. Apply Resin
For best results, apply the resin as soon as you notice a chip or crack in the windshield. The longer you wait, the harder it gets to fix it.
Position the resin injector over the chip, introduce the resin, and then extract the air.
Note that some resins come pre-mixed, while others must be combined with a hardener or other additives. Again, read the instructions before getting started.
4. Cure the Resin
Remove the syringe, suction cups, and other accessories when you no longer see air bubbles. Next, cover the resin with curing strips to keep it in place.
Leave it in direct sunlight or use a UV lamp (which is usually included in the kit) until it’s cured. This process takes anywhere between 10 minutes and 24 hours or longer, depending on the type of resin.
To play it safe, avoid getting your car wet for a couple of days post-repair. So, skip that car wash and be cautious of rainy forecasts.
5. Top Up If Needed
Add leftover resin if any parts of the chip or crack are still visible. Alternatively, use windshield pit filler to level out the area.
6. Remove Excess Resin
Scrape off the excess resin and curing tape with a razor blade. Use a razor blade holder to prevent cuts.
Slide the blade over the area until it’s smooth, with no indentations.
7. Add a Finishing Touch
Apply pit polish to a paper towel, and then rub it over the problem area for a nice finish.
When you’re done, your windshield should look like new. Plus, you won’t have to worry about the chip or crack turning into a bigger issue.
Are Professional Windshield Repair Services Worth It?
As mentioned earlier, some chips and cracks require professional intervention. DIY windshield repair kits simply won’t cut it. Even if they are good enough, you may lack the expertise or dexterity needed to fix the damage.

That said, here are some reasons to consider professional windshield repair:
- Expertise: Professionals have the skills and experience to assess the type and extent of the damage, providing the most effective solution.
- Tools and materials: They also have access to premium materials and specialized tools that may not be available in mainstream stores. For example, professionals often use resins that are more effective and durable than those found in DIY repair kits.
- Comprehensive service: Auto glass technicians can detect and fix additional issues that might not be obvious to an untrained eye.
- Safety: A properly repaired or replaced windshield contributes to the structural integrity of the vehicle, especially during collisions.
- Time-efficient: With their expertise, professionals can complete repairs or replacements quickly (usually in a day or so).
- Guarantee: Auto glass technicians typically offer guarantees on their work, giving you peace of mind.
- Cost savings: Comprehensive or collision insurance usually covers windshield repair and replacement. In many cases, you won’t even have to pay a deductible. So, you could get your windshield fixed by a professional without spending extra.
How to Choose a Reputable Auto Glass Repair Service
As a general rule, look for professionals certified by the Auto Glass Safety Council (AGSC) or other regulatory bodies. This ensures they have the training and expertise to handle complex windshield repairs.
You’ll also want to check their reputation on Yelp, Google My Business, Angi, and other business directories. These websites feature unbiased reviews from previous and current customers.
The Better Business Bureau (BBB) is a good source of information, too. Ideally, look for auto glass repair shops with an A or A+ rating.
Apart from that, make sure they provide a warranty. This serves as a quality indicator, showing they have confidence in their craftsmanship.
It’s also worth mentioning that some professionals have partnerships with insurance companies, which can simplify the claim process. Ask about it on the phone or by email.
For your peace of mind, make a list of technicians who offer mobile or emergency services. These professionals can travel to your home or wherever you need them to get the job done.
Keep Your Windshield in Top Shape
A well-maintained windshield will last for eight to 10 years or longer, with the average being around five years. Sadly, chips and cracks can shorten its lifespan, resulting in structural damage, discoloration, and poor visibility.
With that in mind, here’s what you can do to keep your windshield in tip-top shape:
- Clean it regularly: Dirt and debris can act as abrasives, causing scratches and weakening the glass over time. To prevent these issues, wipe the windshield down with a microfiber cloth and rubbing alcohol or glass cleaner every few days. Steer clear of ammonia-based glass cleaners and other harsh chemicals.
- Avoid direct sunlight: Whenever possible, park in the shade or use a sunshade. Extended exposure to direct sunlight can weaken the windshield and reduce its lifespan.
- Replace the wipers every six months: Wiper blades are designed to last six to 12 months. If they’re worn out, they’ll leave streaks, smears, or scratches on the windshield. To extend their lifespan, keep them free of dust, sand, and other debris.
- Beware of sudden temperature changes: Don’t use boiling water to defrost your windshield when driving in the winter. The sudden temperature change can cause the glass to crack. Similarly, don’t blast the AC or heat directly onto the windshield. Gradually adjust the temperature inside your car, especially during extreme weather conditions.
- Apply nano-coating: This type of protective coating creates a barrier between your windshield and bugs, tree sap, debris, and UV radiation. It also repels water, improving your visibility in the rain. For best results, apply nano-coating every 12 months or so.
As a final word, check your windshield for minor chips and cracks regularly. Address them early on to prevent further damage and increase your safety on the road.