Like most car parts, your vehicle’s headlights can wear out over time. That’s why it’s important to keep them in proper working condition and replace them at regular intervals.
According to the Insurance Institute for Highway Safety (IIHS), these basic accessories could save your life one day.
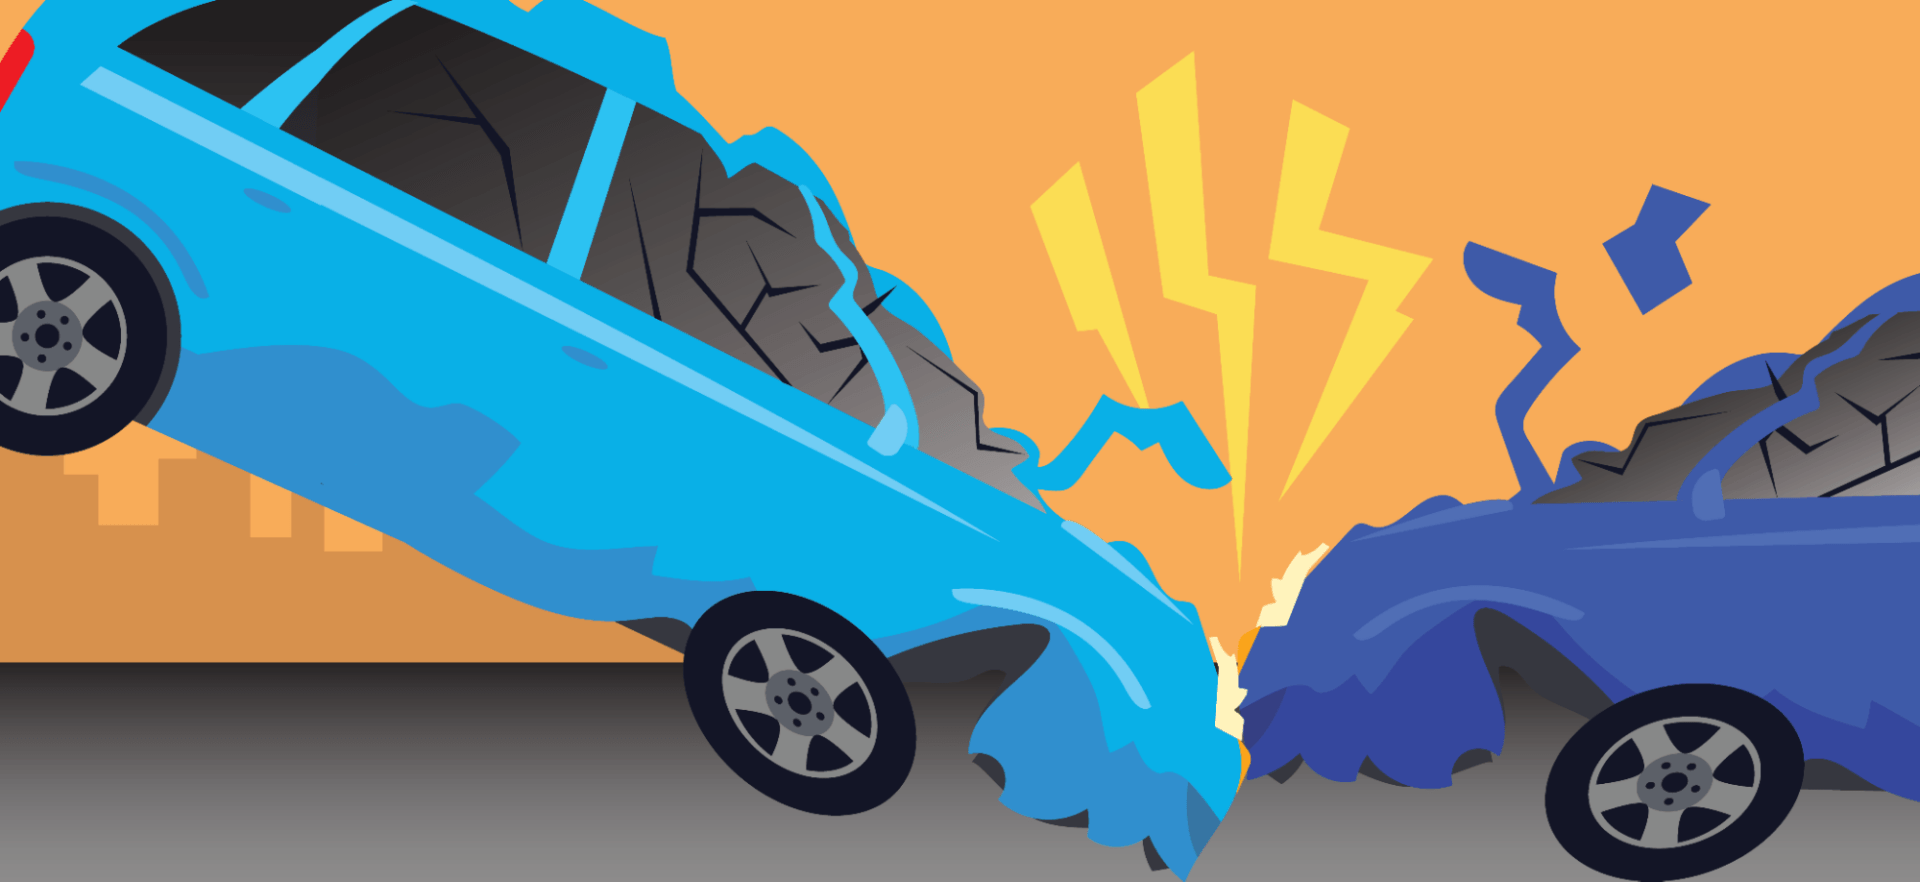
Vehicles with headlights that earn a good rating in the IIHS tests have 20% lower nighttime crash rates per mile than those with poorly rated headlights. What’s more, good-rated headlights may reduce the risk of a crash in which the driver is injured by up to 29%.
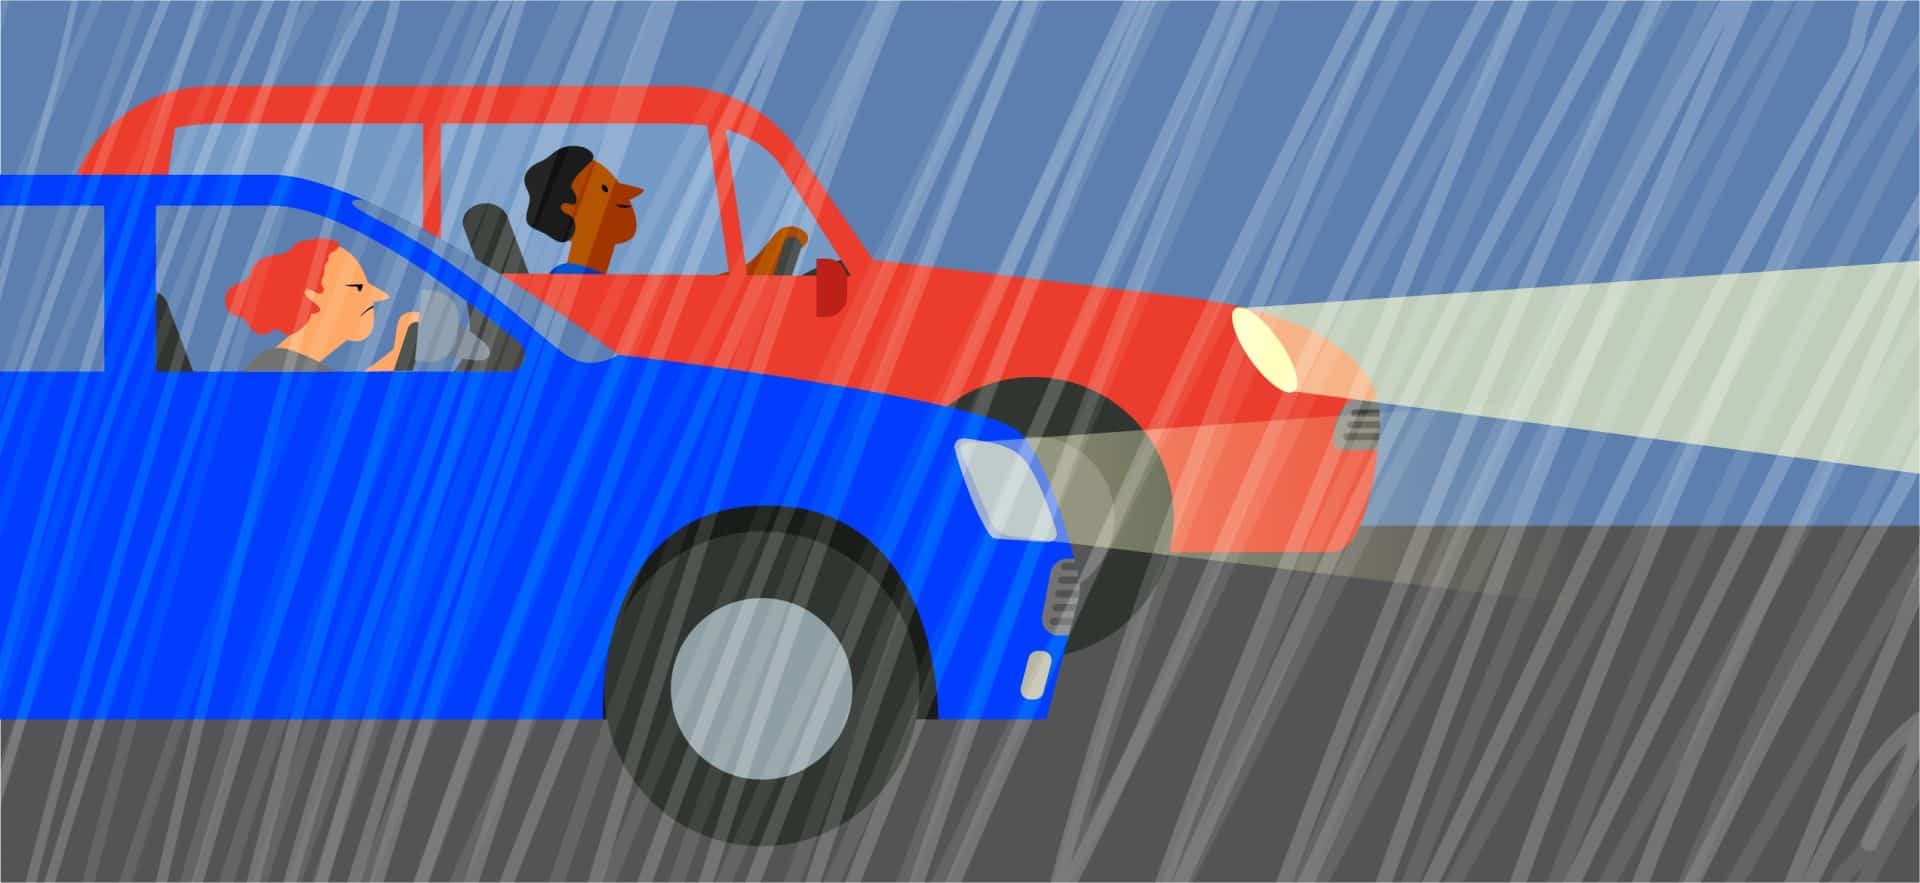
Properly functioning headlights allow you to see the road at night and in bad weather. The problem is that they can lose their brightness over the years. If you don’t replace them on time, you might end up with a burned-out bulb.
In this guide, we’ll show you how to replace a headlight bulb to keep your vehicle safe on the road. All you need are some basic tools and a few minutes of your time.
Why Good Headlights Are Essential for Safe Driving
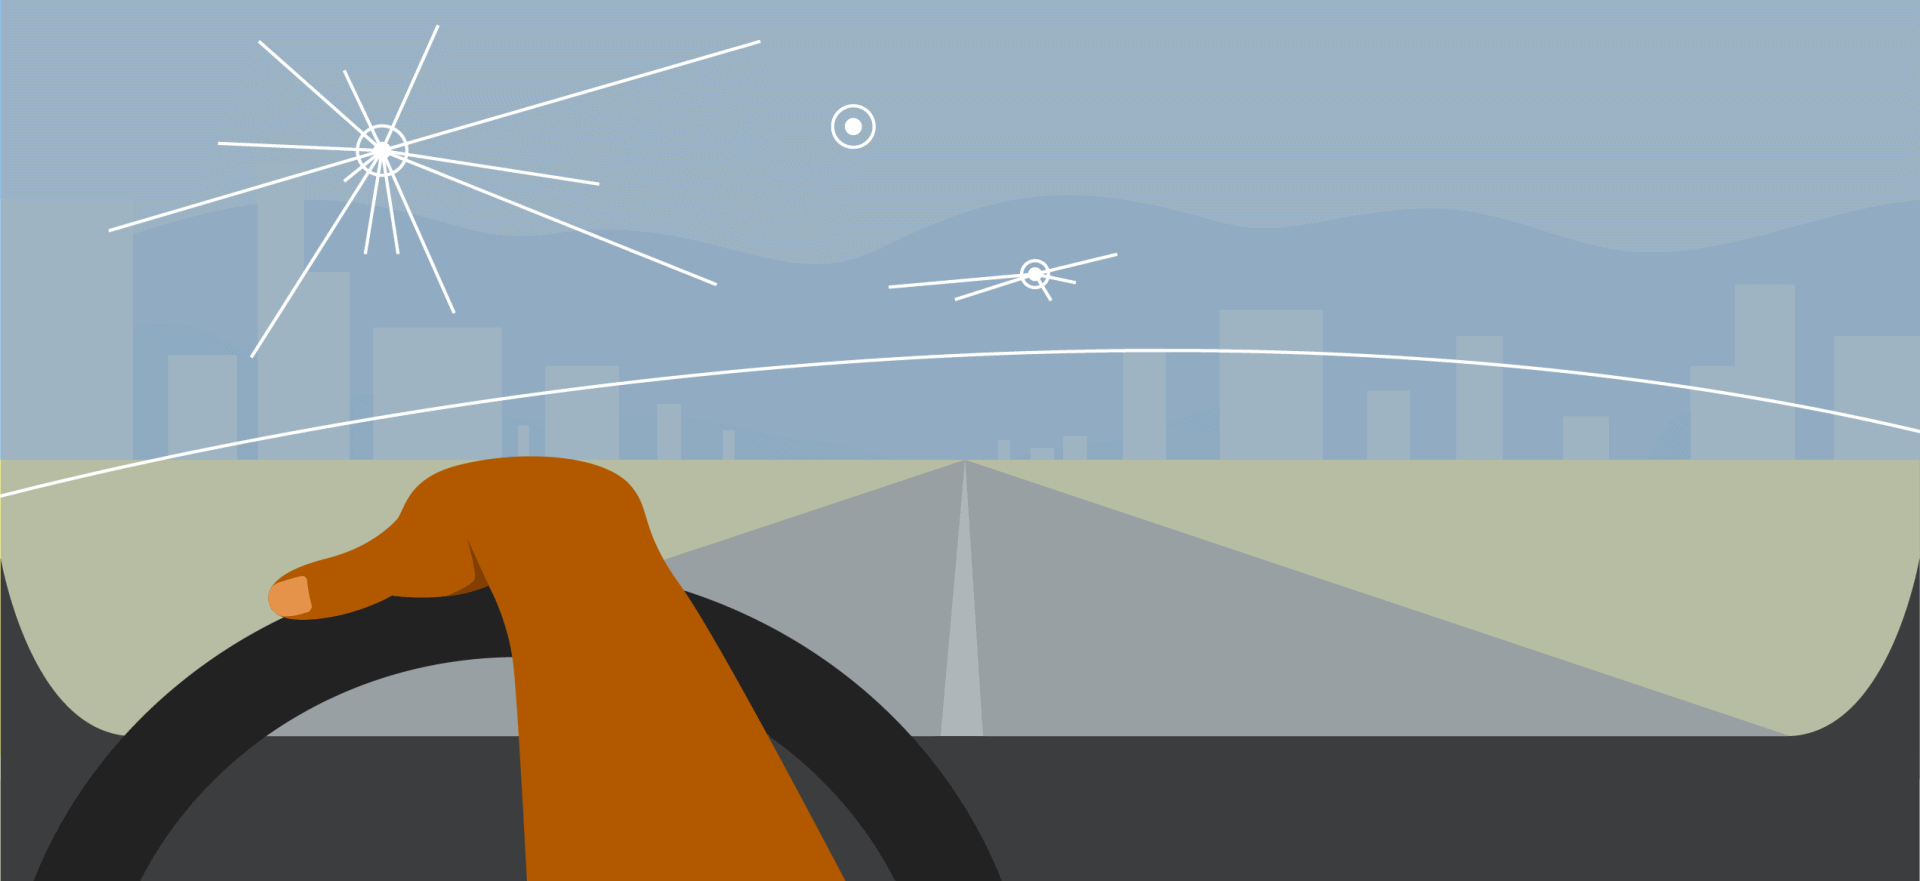
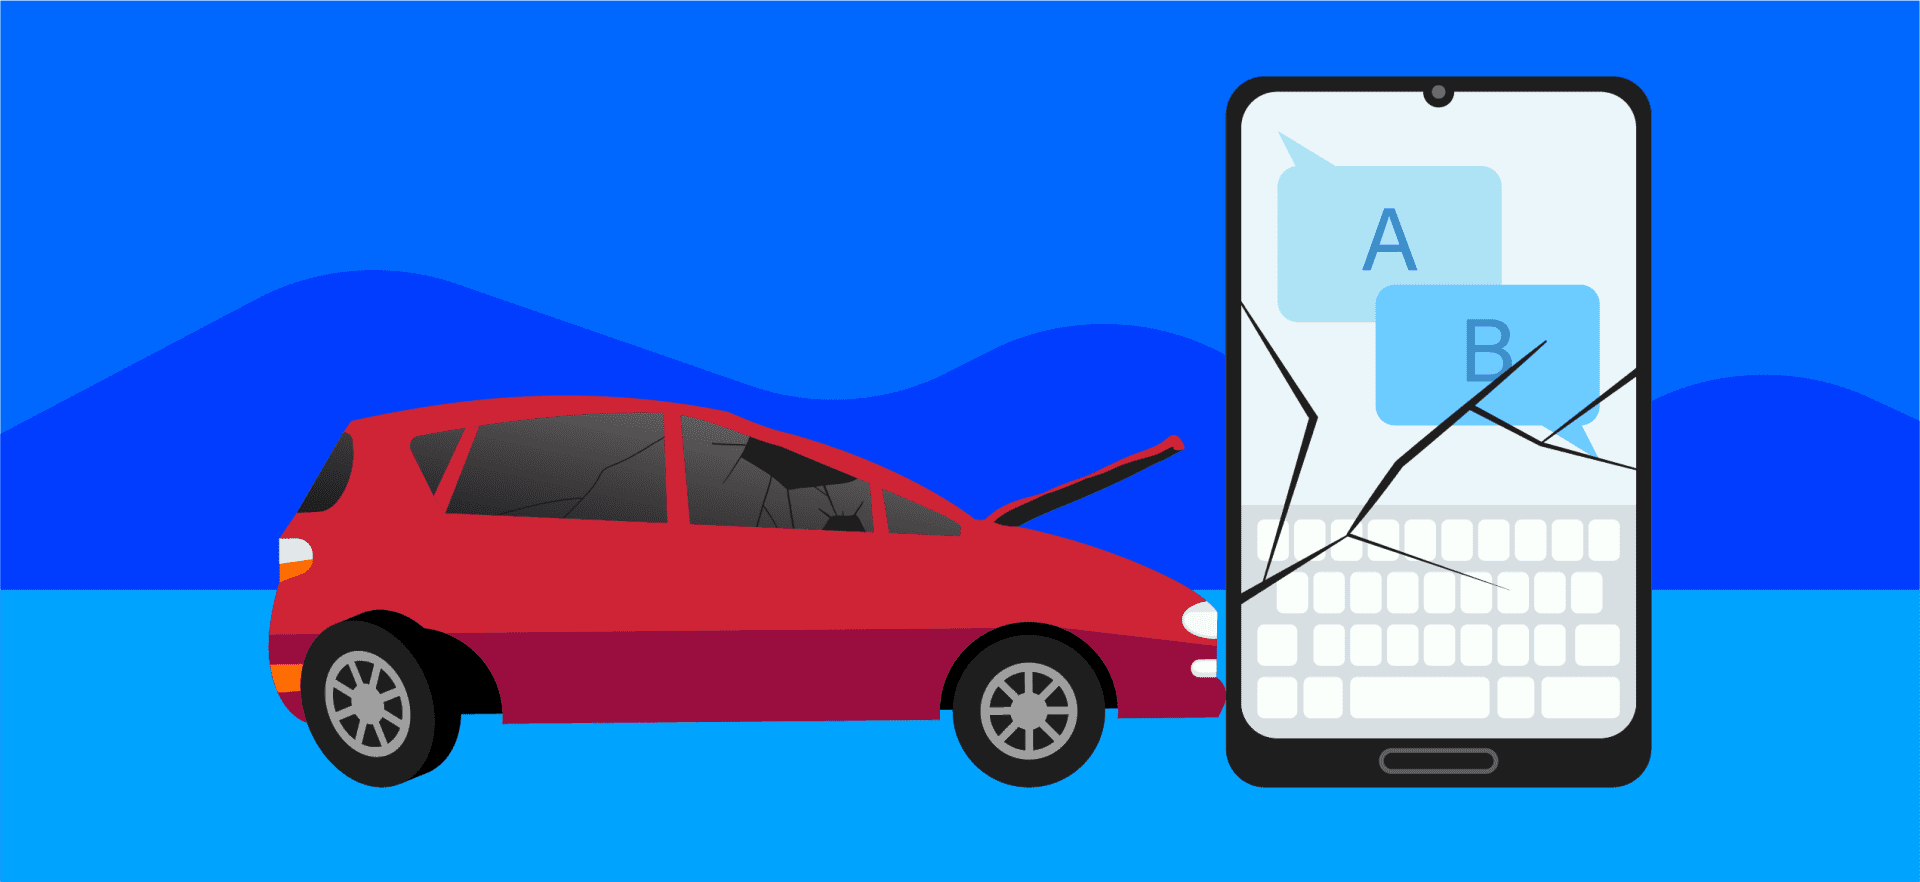
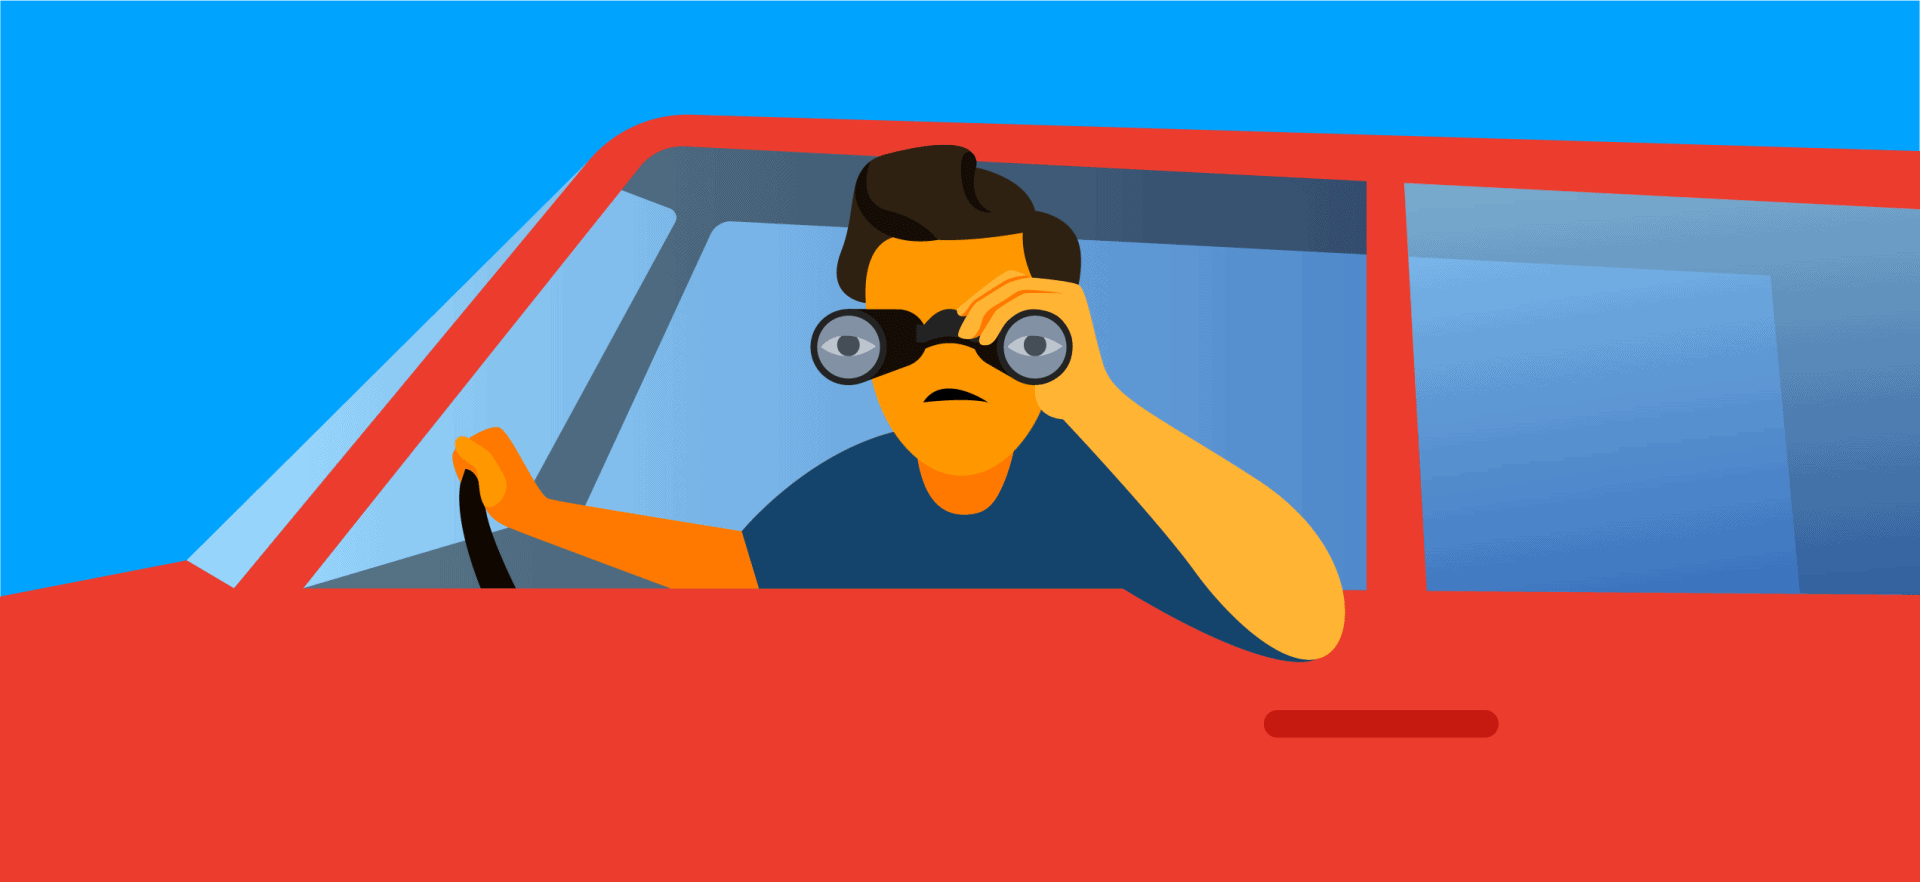
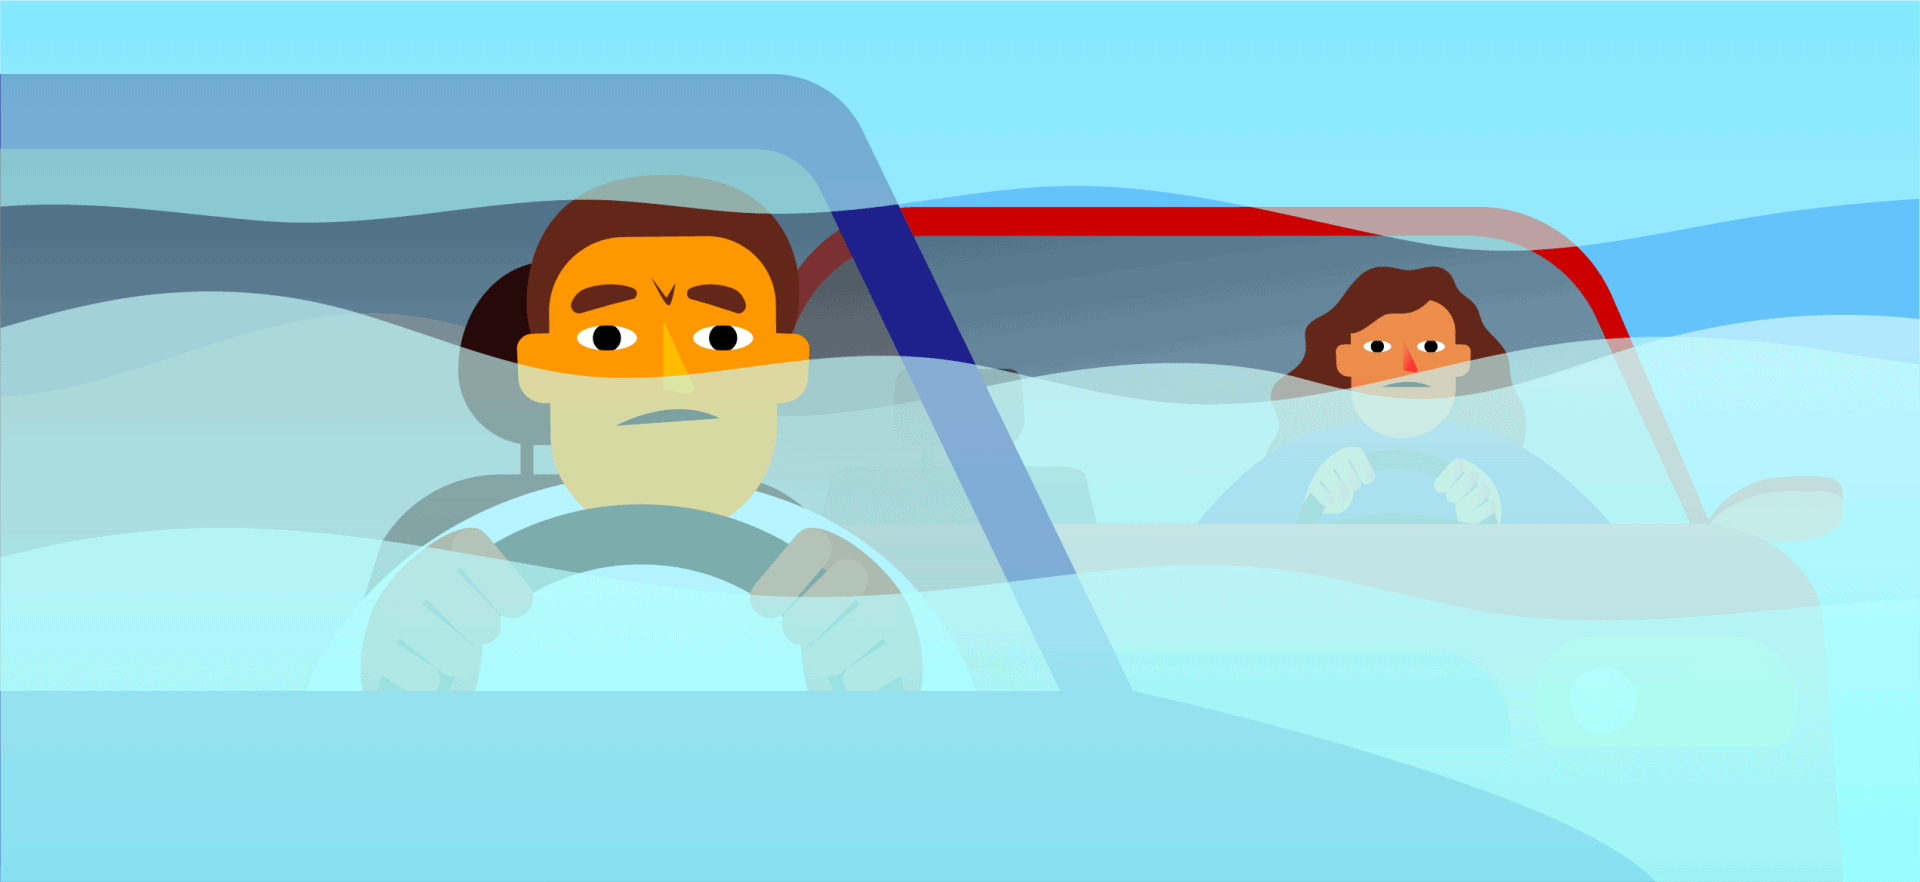
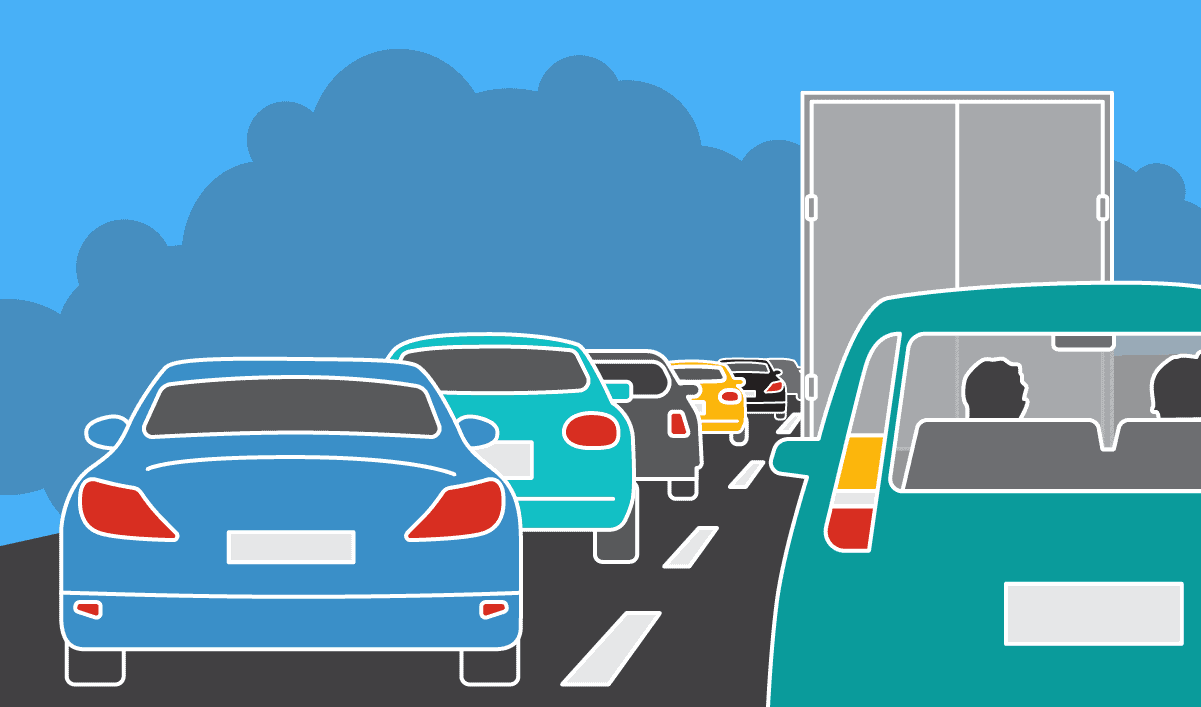
About 50% of fatal car crashes take place at night when visibility is limited. Bright, clear headlights can improve your visibility on the road, ensuring you can see and be seen by other drivers.
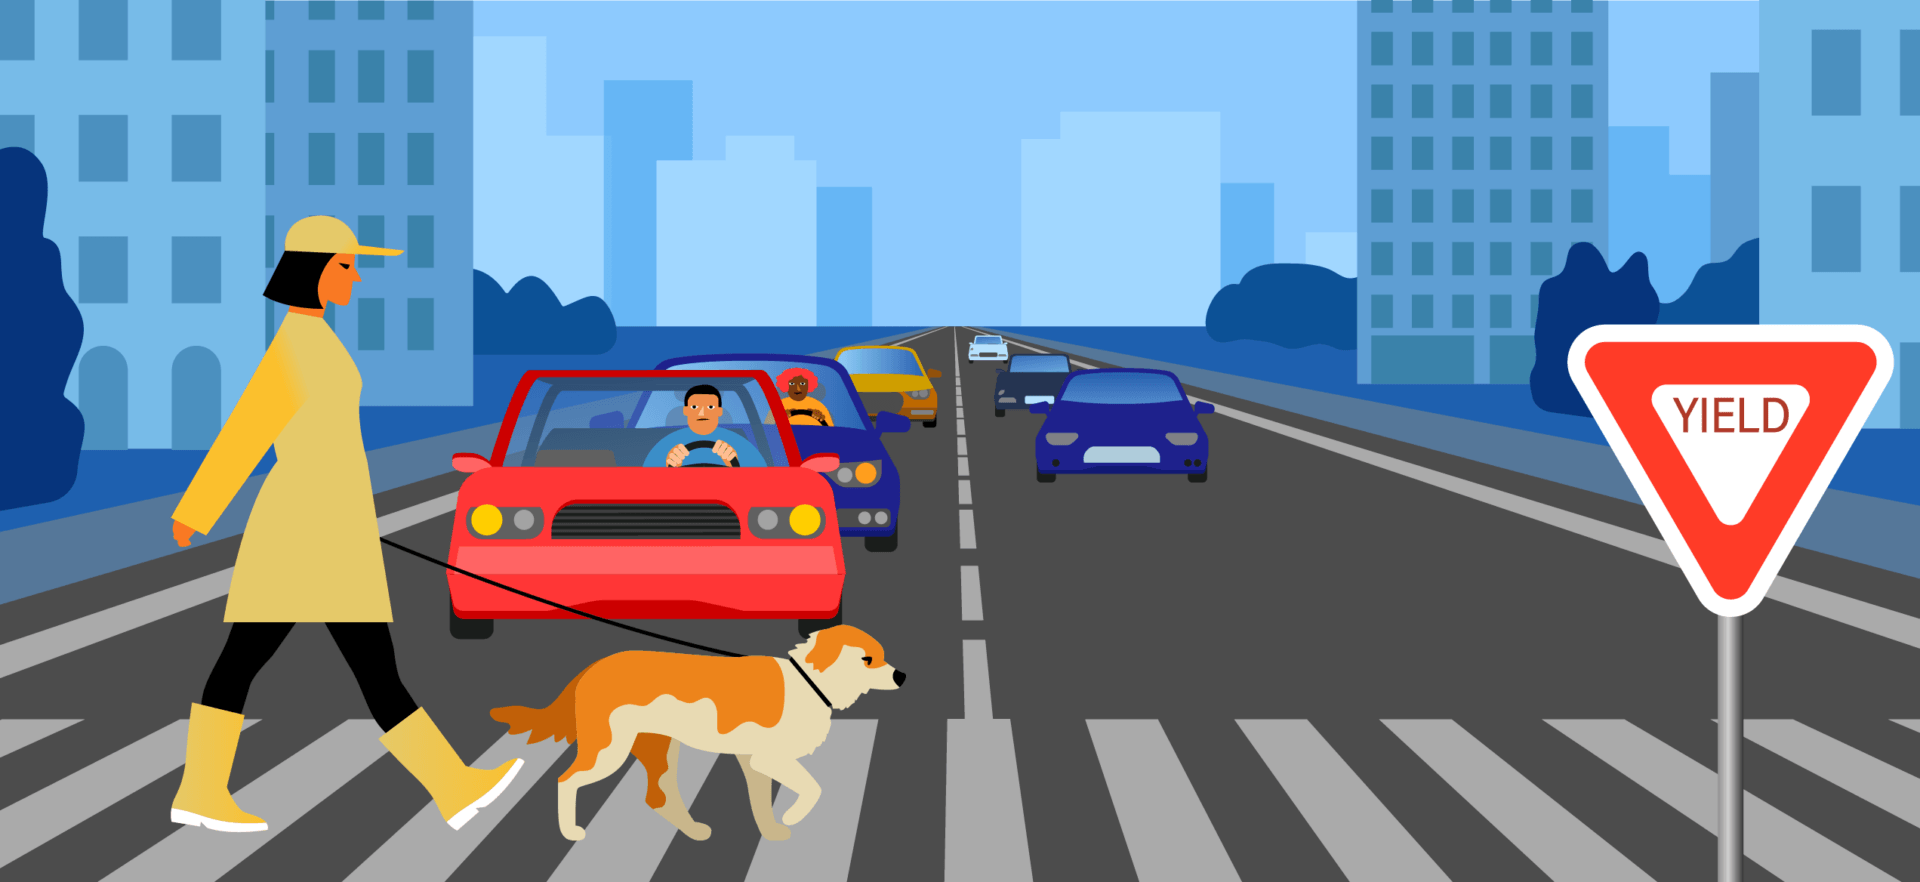
These accessories are particularly useful at night, as well as in low-light conditions, such as dusk and down. They can also help you drive safely in fog while making it easier to spot potholes, debris, and other road hazards. Without proper illumination, you might not notice these obstacles in time to avoid them.
“Headlights dim over time, so if you can’t remember the last time they were changed, now is probably a good time to consider a replacement. This in turn will help drivers feel safer and more confident when driving at night,” said Brian Noble, the former Head of Marketing at SILVANA, in an interview with Business Wire.
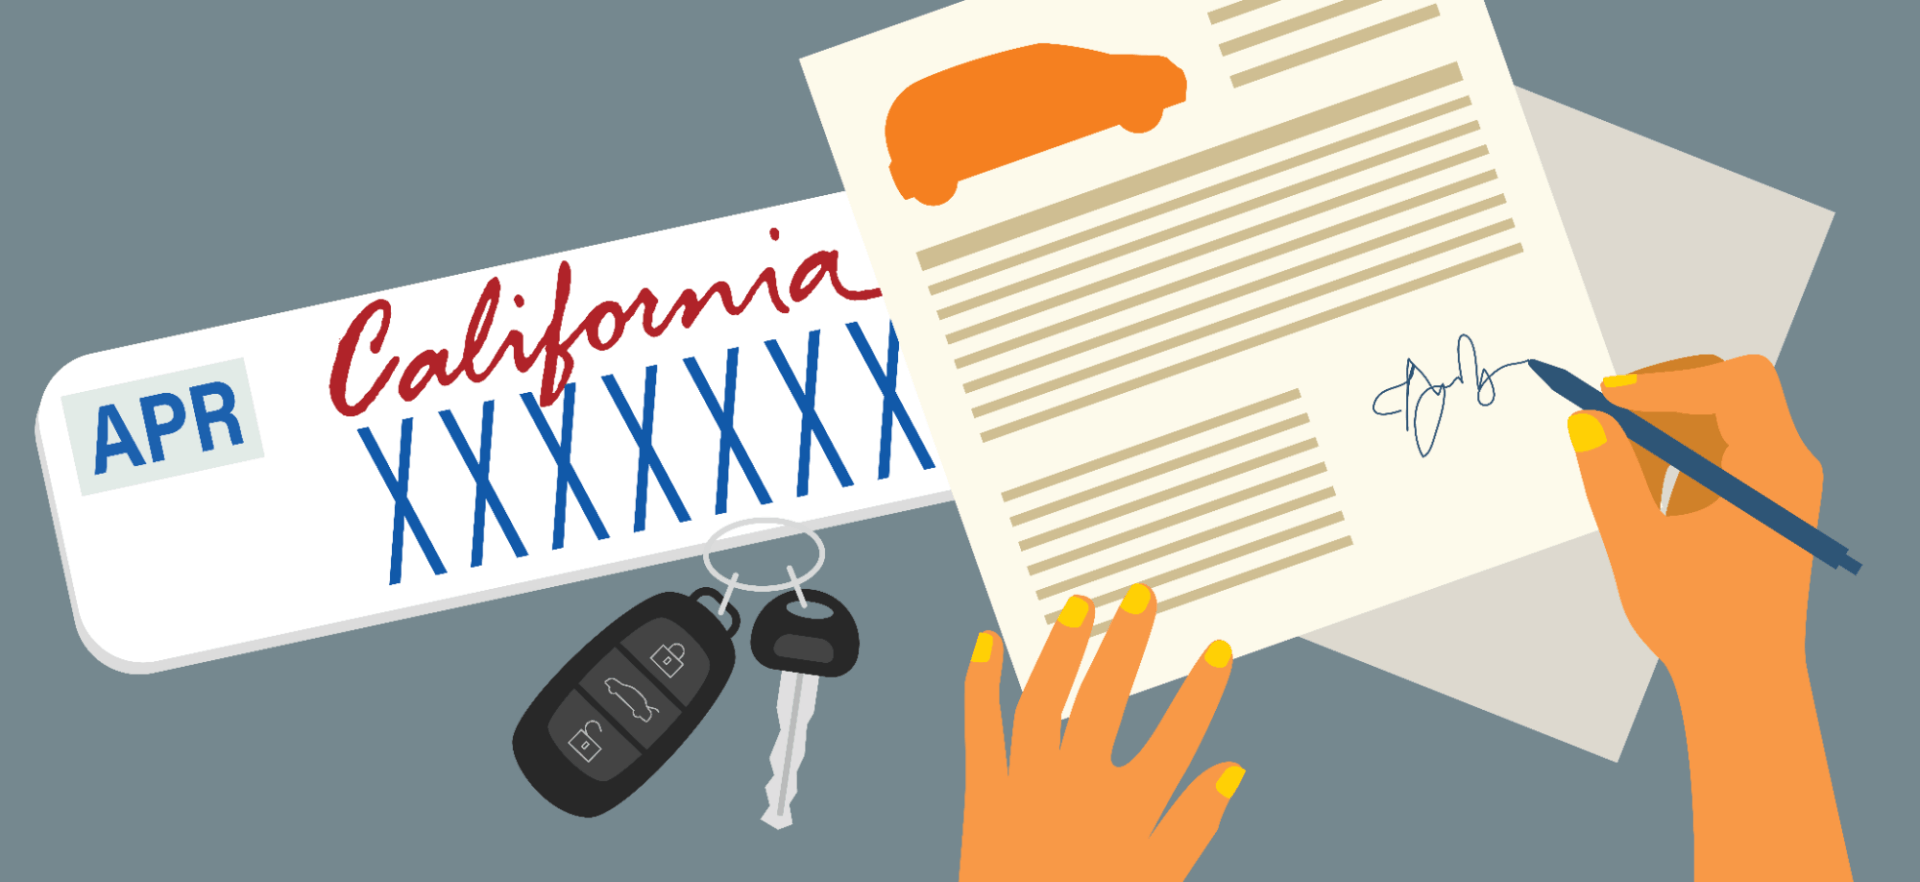
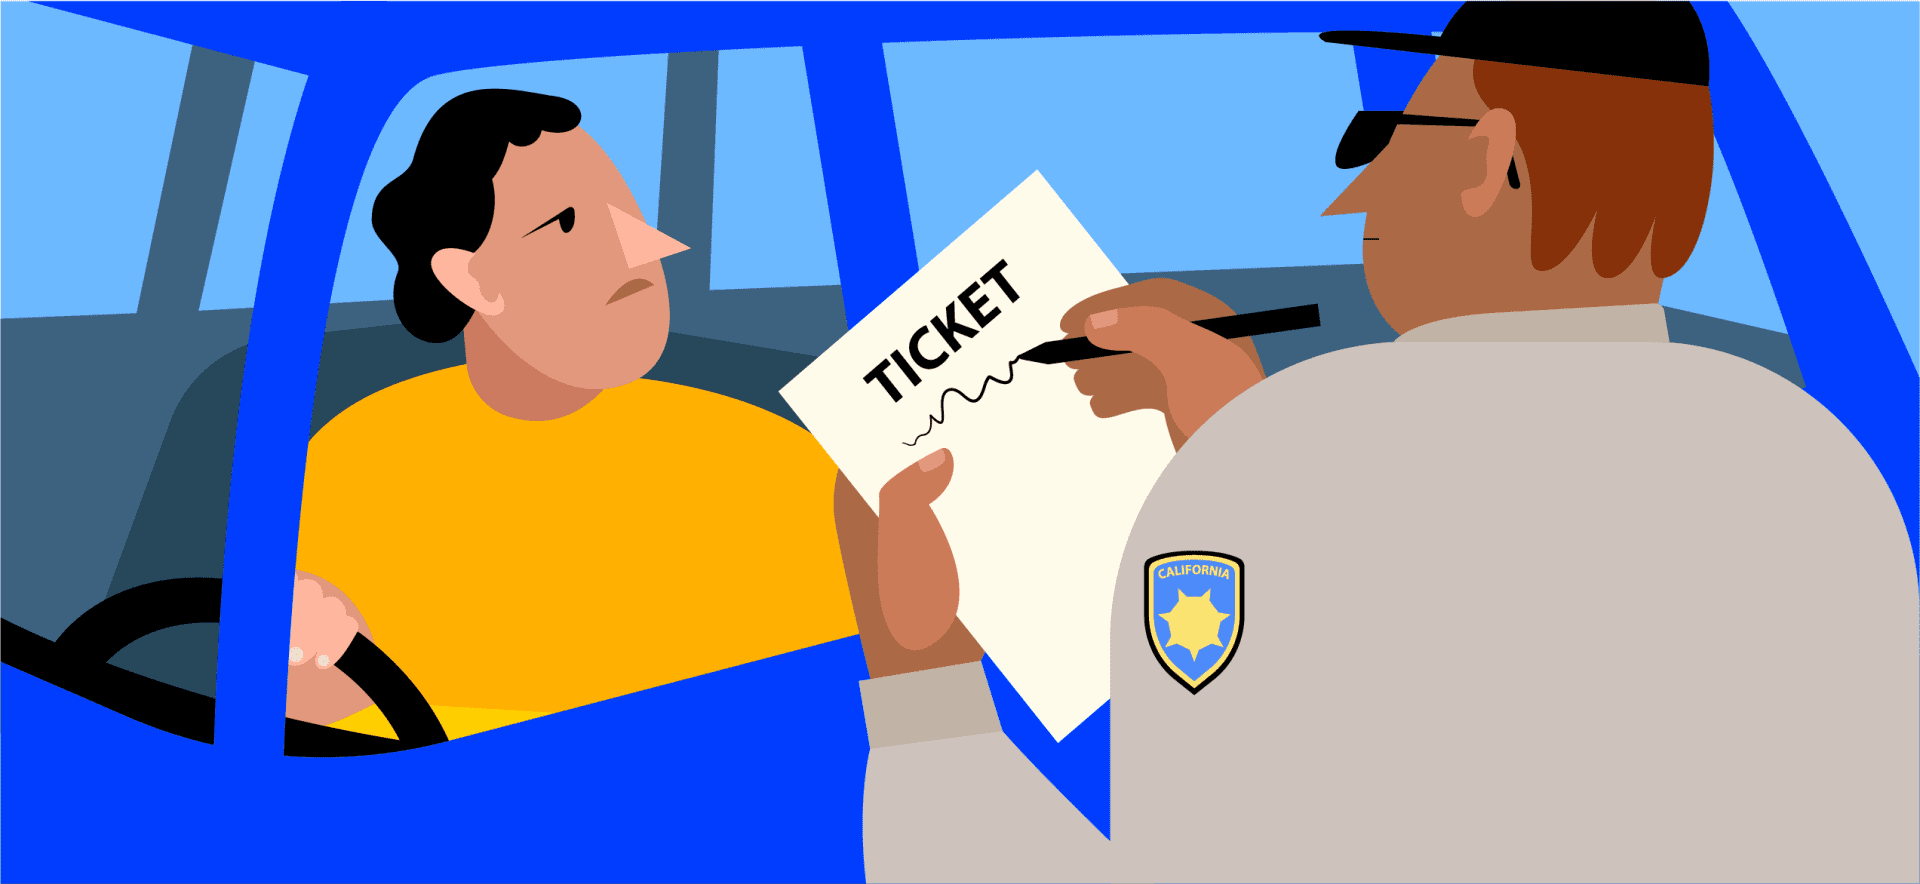
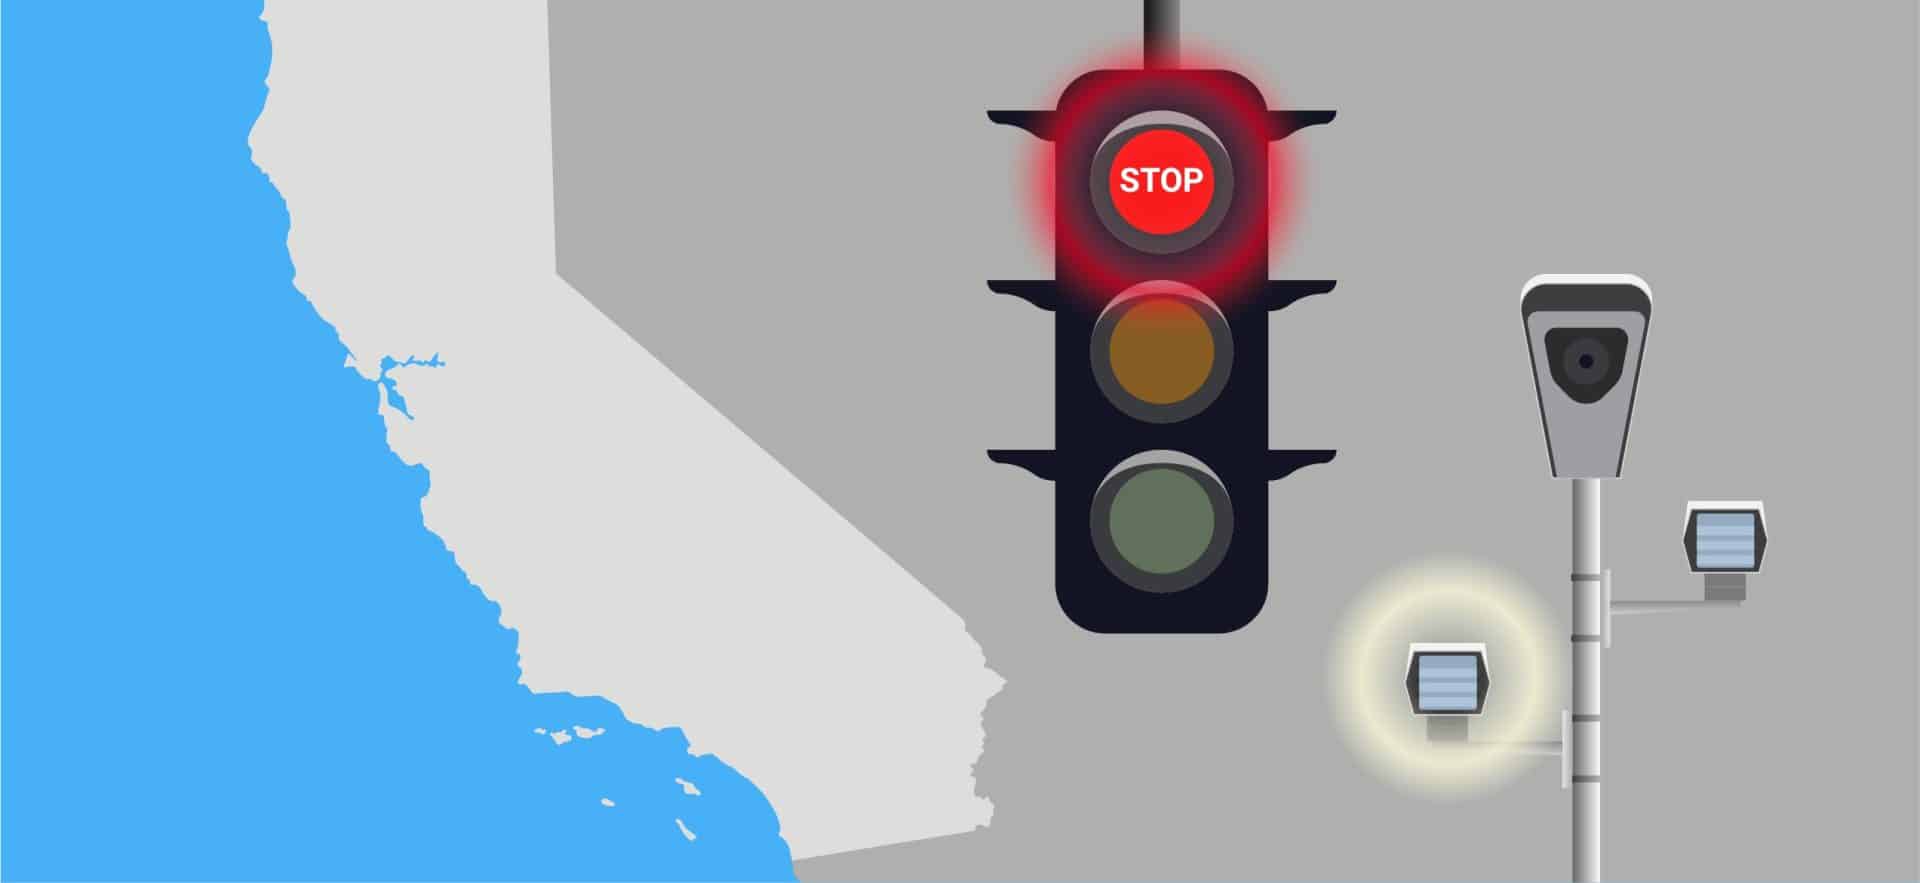
Having properly functioning headlights is also a legal requirement. According to Section 24400 of the California Vehicle Code, all motor vehicles, except for motorcycles, must be equipped with at least two headlamps mounted 22 to 54 inches from the ground.
Drivers must turn on their headlamps in low-light conditions and when the weather requires using windshield wipers. Additionally, a vehicle’s headlights must be functional at all times.

Violating California’s headlight law can result in a fine of at least $238 and one penalty point on your license. You’ll also have to pay administrative and court fees.
Headlight Bulbs Have a Limited Lifespan
A vehicle’s headlamps are subject to wear and tear and will stop functioning sooner or later. Their lifespan depends on several factors, such as the type of headlight bulb, as shown below:
- LED bulbs: 42 months (though some models can last up to 50,000 hours, or around 70 months)
- High-intensity discharge (HID) bulbs: 23 months
- Halogen bulbs: 14 months
However, even the best headlight bulbs may lose their brightness and start to dim over time, even if they’re just a few years old.
Their performance depends on how you care for them, the type of weather you drive in, and other aspects.
For example, the filament in traditional halogen bulbs can weaken and eventually fail due to normal wear or sudden shocks, such as hitting a pothole. In some cases, dust and moisture can enter the headlight housing (especially if it’s cracked), leading to corrosion. This may cause the bulb to fail prematurely.
Electrical wiring issues may come into play, too. If there are any problems with the wiring harness and fuse, your headlight bulbs may dim, misfire, or burn out.
Generally, it’s best to replace the bulbs sooner rather than later. Don’t wait until they start to dim. Instead, replace them at regular intervals, such as every three to three and a half years for LED bulbs and once a year for halogen bulbs.
Choose the Right Headlight Bulbs
Most auto mechanics recommend replacing the bulbs in pairs. If one of them stops working, the other usually follows suit shortly after.
Headlight bulbs vary in size and shape, and what works for one car might not work for another. That’s why you need to consider your vehicle’s make, model, and year of manufacturing.
First, check your car owner’s manual, which should provide information on the size of the bulb you can use.
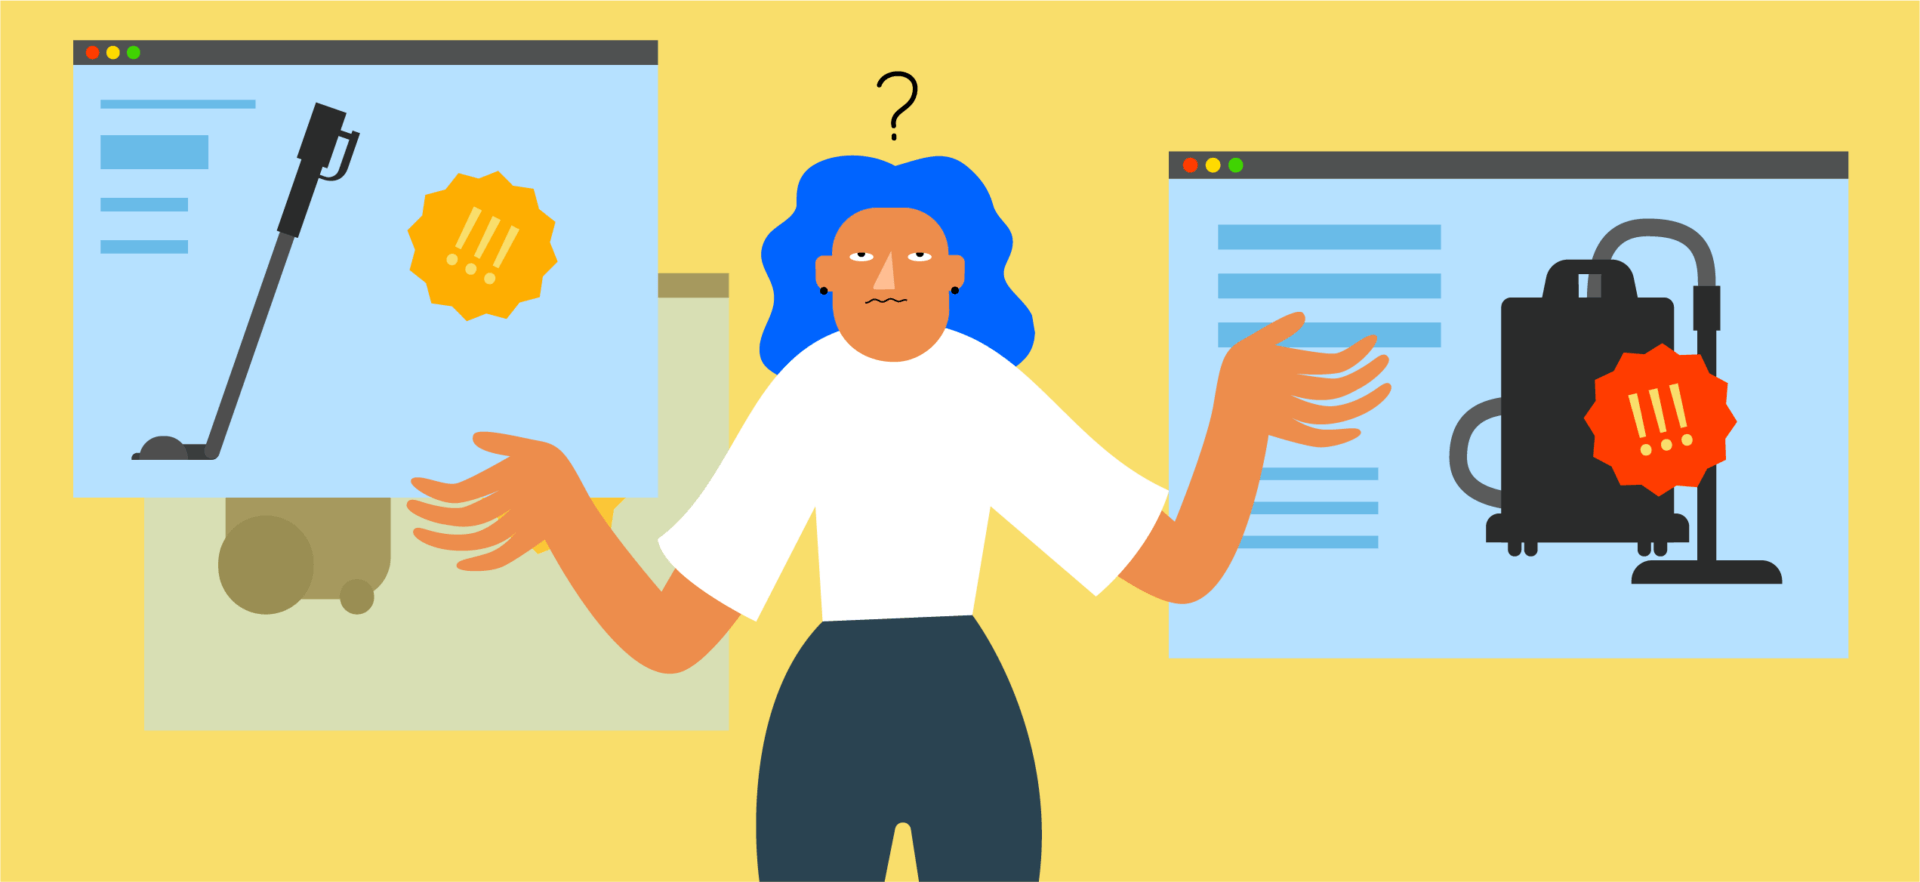
Next, determine whether you prefer LED, halogen, or HID bulbs. These may vary in brightness, beam pattern, color temperature, longevity, and price.
- LED bulbs are more energy-efficient and last longer than other models, but they may not fit older cars. Plus, they often have a higher price than halogen or HID bulbs, and their bright light can blind other drivers.
- Halogen headlight bulbs have a shorter lifespan and, consequently, require regular replacement. Some models are rather dim.
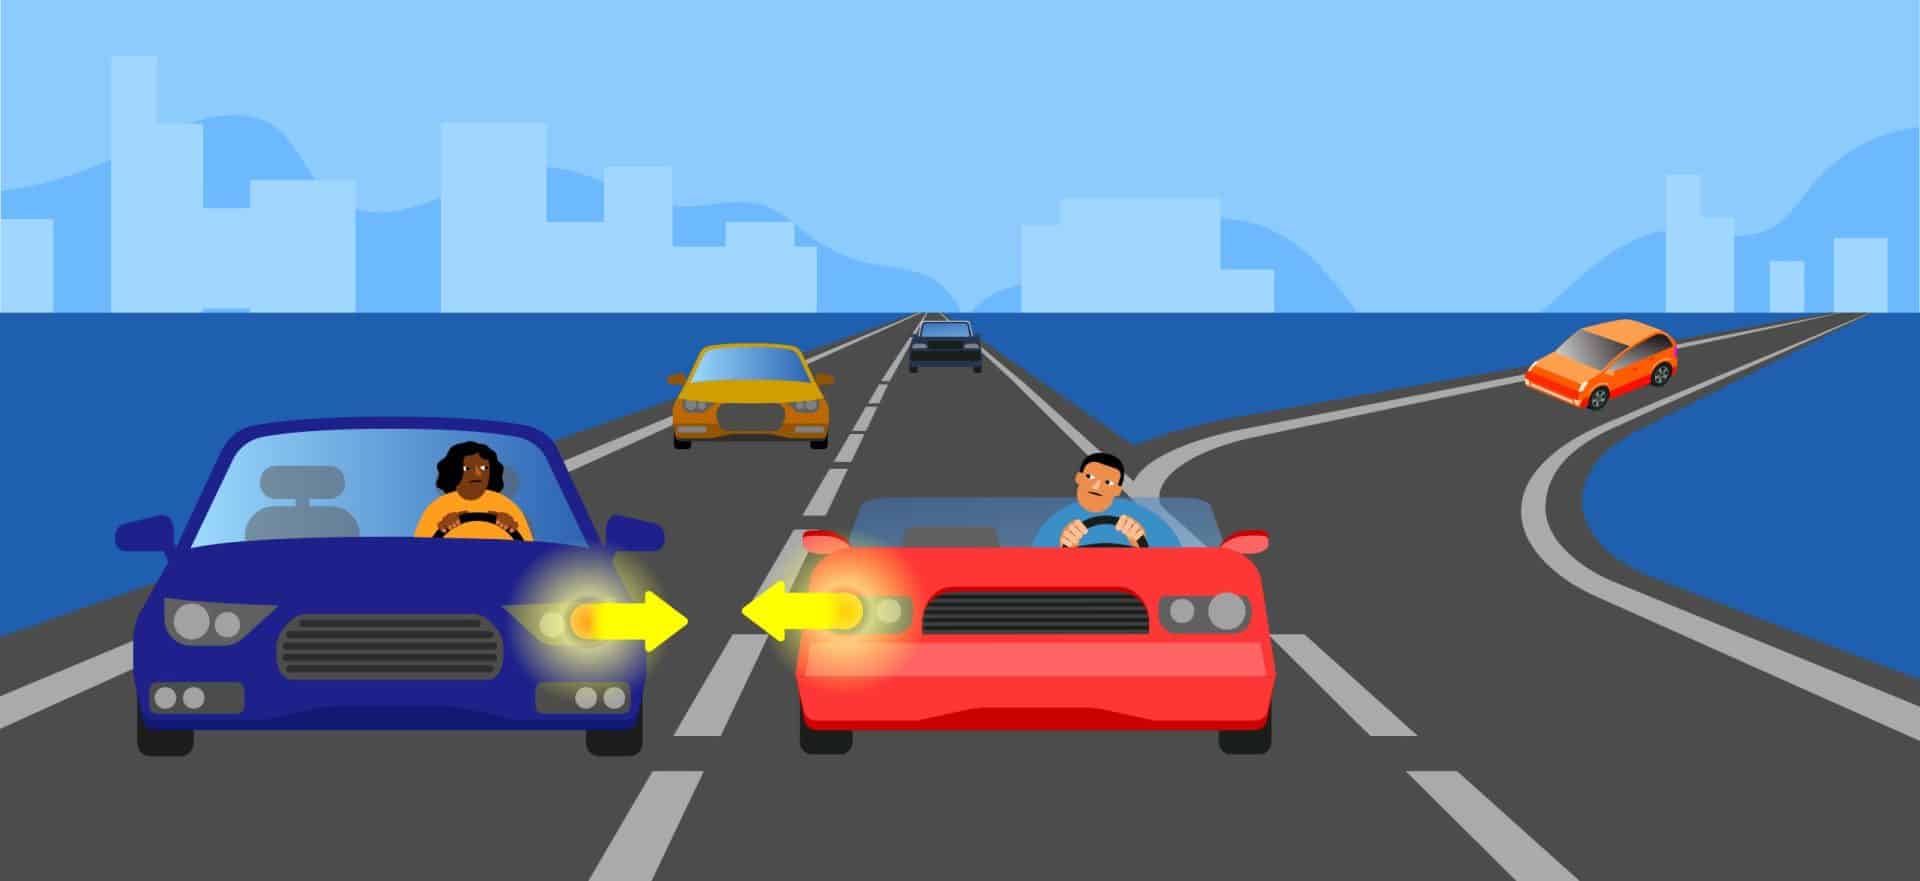
- HID bulbs are somewhere in the middle in terms of efficiency, longevity, and cost. A potential drawback is that their bright white light can make it harder for approaching drivers to see other road users, obstacles, and curves.
Also, note that both LED and HID bulbs may require additional wiring and components. However, some manufacturers and retailers sell “plug-and-play” LEDs, such as the Sealight S7S Wireless Bulbs.

How to Change a Headlight Bulb
Changing a headlight bulb is quite easy and shouldn’t take longer than 10-15 minutes unless you opt for LEDs. Except for “plug-and-play” models, LED headlight bulbs require replacing the entire lamp assembly, which should only be done by a mechanic.
That said, here’s how to replace a headlight bulb in seven steps.
1. Get the Right Tools for the Job
First, prepare the necessary equipment, including two replacement bulbs and basic tools like:
- A flathead or Phillips screwdriver
- A pair of pliers (consider using bulb pliers)
- A flashlight or headlamp
- A socket wrench
- Safety goggles (optional)
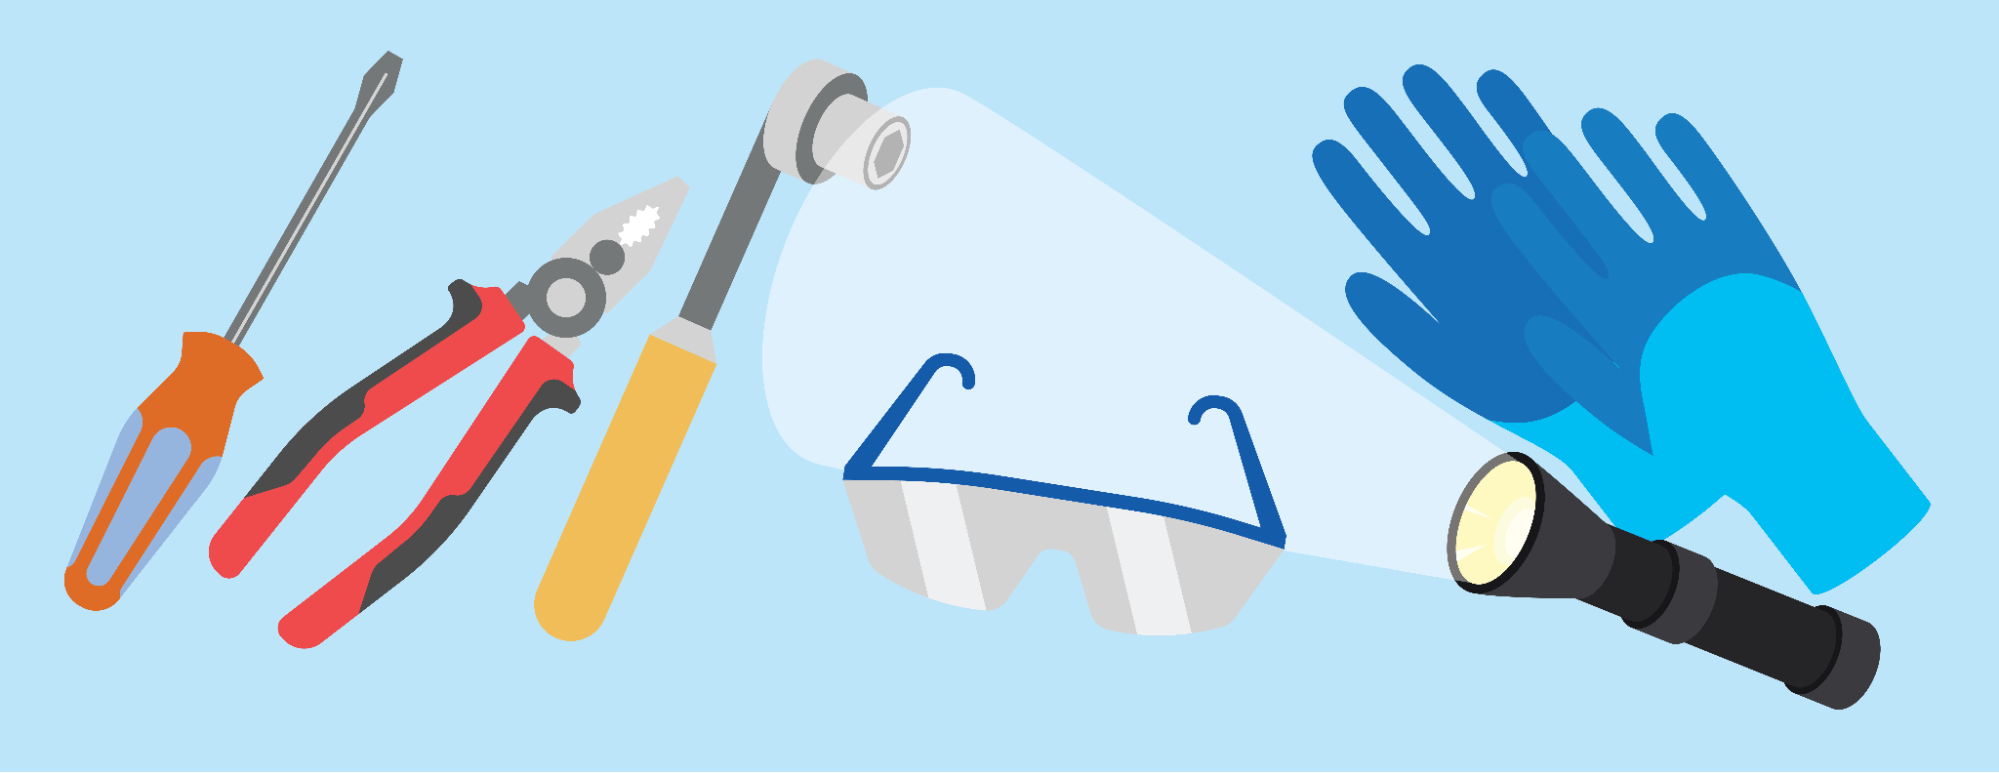
Apart from that, it’s a good idea to bring a pair of rubber gloves and a rag or paper towel. The latter will allow you to handle the bulb without touching the glass.
Take Safety Precautions
Always wear gloves when replacing a headlight bulb. This will prevent you from touching the glass with your bare hands, which could leave residues on its surface.
The gloves will also provide an extra layer of protection for your hands, reducing the risk of cuts. Plus, they allow for a better grip.
Wearing safety goggles won’t hurt either. These accessories will protect your eyes if the bulb breaks.
When you’re ready to change the bulb, turn off your car and let it cool down. After that, use a socket wrench to disconnect the negative battery terminal for safety purposes.
2. Locate the Headlight Assembly
The location of the headlight assembly may differ from one vehicle to another. So, you’ll need to open the hood and find the wires connected to the bulb. Use a flashlight or headlamp for better visibility.
The bulb is connected to the headlight housing by three power wires. Follow these wires until you locate the bulb, which should be held in by a locking mechanism.
On some cars, you may need to remove a cover or access panel to reach the bulb.
3. Disconnect the Headlight Wires
The locking mechanism holding the bulb in place may consist of a screw cap, metal clip, or plastic catch.
Depending on its design, you’ll have to press a tab or clip to disconnect the wires.
4. Remove the Old Bulb
Pull out the old bulb as you release the locking mechanism. If it doesn’t move, turn it counter-clockwise, 1/4 to 1/2.
Be careful not to break the clip or tab while removing the old bulb. If you damage these components, you’ll have to take out the entire headlight assembly to replace the locking mechanism.
5. Install the New Bulb
Put on your gloves and insert the new headlight bulb into the socket. Use a rag to avoid touching the glass.
Depending on the locking mechanism, you must either push in the bulb or twist it clockwise.
- Spring lock systems: Push in the headlight bulb until it’s secure.
- Twist and lock systems: Twist the bulb clockwise to lock it in place.

6. Reassemble the Headlight
Reconnect the power wires to the bulb and put the headlight housing and access panel (where applicable) back in.
Don’t forget to reconnect the negative battery terminal, too.
7. Test the New Headlight Bulb
Finally, start your car and turn on the headlights. Get out of the vehicle to make sure they’re working properly.
Common Issues and Troubleshooting Tips
Replacing a headlight bulb isn’t rocket science, but you may encounter some issues along the way. Let’s see a few examples.
1. A Loose Connection
A bulb socket that’s not securely connected to the headlight assembly may cause the headlights to work intermittently.
What you should do is double-check the bulb socket to make sure it’s secured in place. If it looks right, inspect the power wires for any signs of damage, such as corrosion or frayed ends.
You may also need to examine the headlight housing. Tighten any screws or brackets as needed.
2. Dim or Foggy Headlights
If the headlights seem dim or foggy after replacing the bulb, you may be dealing with an underlying issue. This problem may require headlight restoration.
3. Headlights Not Working
In some cases, a vehicle’s headlights may fail to work due to electrical issues.
For example, a blown fuse or faulty wiring can prevent the new bulb from lighting up. The same can happen if the headlight switch is malfunctioning.
4. Moisture or Contamination
If the bulbs keep burning out, check the headlight assembly for cracks.
A damaged headlight housing is more susceptible to moisture, debris, and dust buildup, which can cause the bulb to fail.
5. Improper Alignment
Misaligned headlights can affect your visibility on the road, increasing the odds of a car crash. Plus, they could cause glare for other drivers.
If you encounter this problem, you’ll need to locate the headlight adjustment screws. On most cars, they’re found behind the battery or inside the headlight housing.
After that, you’ll turn them clockwise or counter-clockwise until they are even.
6. Bulb Compatibility Issues
Some LED and HID bulbs may not be compatible with your vehicle’s electrical system. This can lead to flickering, uneven lighting, or error codes.
Most headlight problems are due to a faulty bulb, but in some cases, the wiring or the fuse may be the culprit. While it’s relatively easy to fix a blown fuse, you should see a mechanic for more complex issues (e.g., damaged wiring).
Take Care of Your New Headlight Bulbs for Lasting Brightness
As mentioned earlier, it’s recommended to replace both headlight bulbs at once. If you change only one bulb, it may result in an unbalanced light output.
Meanwhile, take the steps needed to maintain your headlight bulbs in good condition. Here are some tips to help you out:
- Inspect your headlights regularly: If the headlight housing is cracked or damaged, it can fill with water or debris—which can affect the integrity of the bulb.
- Check and adjust the bulbs: These components can misalign over time, leading to dangerous situations. Consider using a headlight alignment system to ensure the light is pointing in the right direction.
- Maintain the electrical connections: Inspect the electrical connections to the bulbs every few months. Make sure they are tight and have no signs of damage. Use compressed air or a wire brush and sandpaper to remove rust, dust, and grime.
- Avoid excessive vibrations: Bent wheels, uneven axles, damaged tires, and other problems can result in excessive vibration, causing the bulbs to fail. Schedule regular car inspections to prevent these issues in the first place.
- Keep your car in a garage: Extreme temperatures can affect the lifespan of your headlight bulbs. If possible, park your vehicle in a garage or at least use an insulated car cover.
- Seal your vehicle’s headlights: Apply UV-resistant sealants to protect your headlights from moisture and other environmental factors. The better you care for your headlights, the longer the bulbs will last (assuming they are of high quality).

As a final word, replace your headlight bulbs sooner rather than later. Consider upgrading to LEDs for lasting brightness and increased efficiency. These may cost more than other types of bulbs, but they could save you hundreds of dollars in the long run.